

RC Car Upgrades Your Guide to Using a Carbon Fiber Tube
Ever wonder how the top RC racers get their cars to handle with such razor-sharp precision? The secret often comes down to a simple but incredibly effective upgrade: a carbon fiber tube. This one small addition can completely transform a car's performance by boosting chassis stiffness, which is the key to faster lap times and nailing those perfect corners.
Why a Carbon Fiber Tube Is Your Secret Weapon for Speed
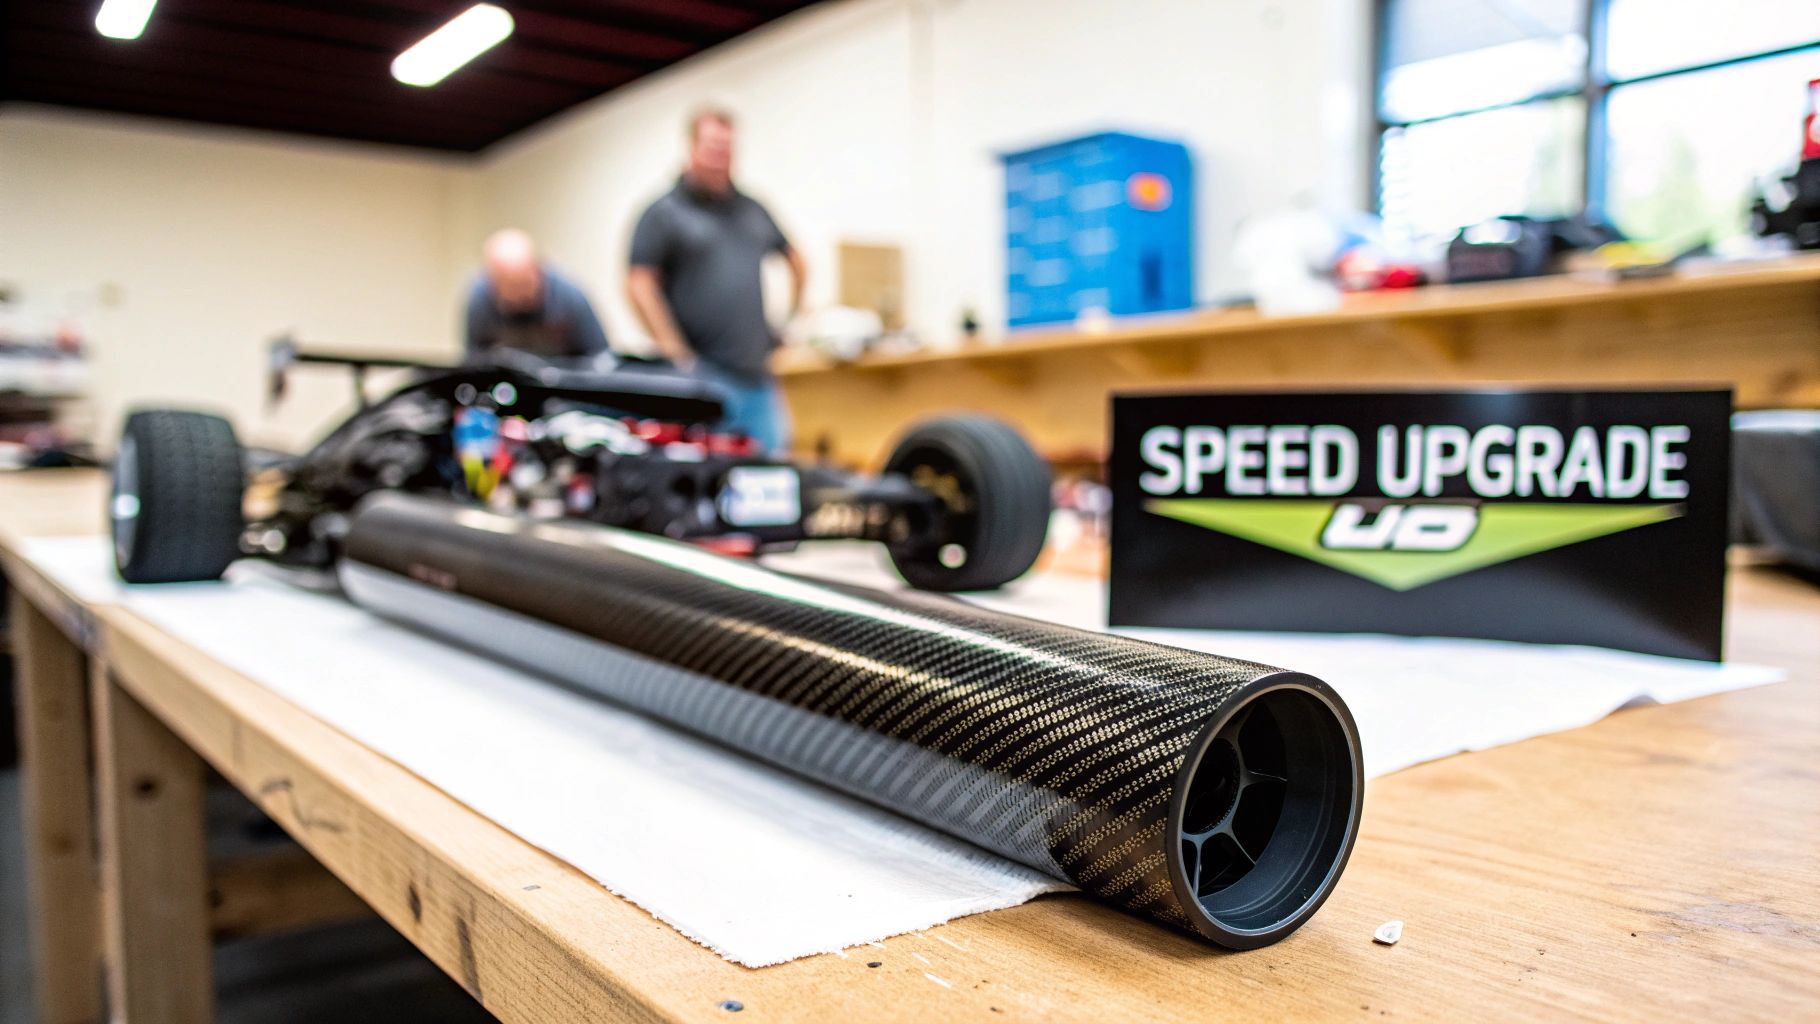
Think of a typical RC chassis as a flexible plastic ruler. When you throw it into a high-speed corner or punch the throttle, it bends and twists. This unwanted movement, what we call chassis flex, makes the car feel vague and unpredictable, making it a real challenge to hold a consistent line.
Now, imagine adding a super-light, unbendable spine to that ruler. That's exactly what a well-placed carbon fiber tube does for your RC car. By creating a rigid link between critical points on the chassis, it cuts down on that sloppy torsional flex.
The Direct Impact on Performance
This extra rigidity translates directly into real, measurable advantages on the track. A stiffer chassis responds instantly and predictably to your steering inputs, letting you carve through turns with way more confidence. It also allows the suspension to do its job correctly, keeping your tires glued to the track for maximum grip.
Key benefits you'll feel right away include:
- Improved Cornering Speed: The car stays flatter and more planted through the corners, letting you carry more speed.
- Enhanced Steering Response: The twitch of your finger on the transmitter translates to the wheels instantly, without getting lost in chassis twist.
- Greater Consistency: Your car’s handling stays predictable from the first lap to the last, even when the track changes.
A well-tuned chassis with minimal flex is the foundation of a podium-contending car. It creates a stable platform that allows other setup changes—like shock adjustments or camber links—to have a more noticeable and effective impact.
A Game-Changer for Competitive Racers
For 1/10 touring cars and 1/12 pan cars, where every millisecond is the difference between winning and losing, managing chassis flex is everything. Adding a simple carbon fiber tube as an upper deck brace or cross-support can turn a good car into a great one. For a deeper dive on this, check out our Vigor Carbon Upper Deck performance tuning guide, which is built on the same principles.
In the end, this single component isn't just another upgrade; it's a foundational piece for building a truly competitive racing machine.
Decoding Carbon Fiber Tube Specs for Your Build
Navigating carbon fiber tube specs can feel like learning a new language. You'll see terms like OD, ID, and wall thickness on product pages, and getting them right is critical for your RC car. These specs aren't just abstract numbers—they directly define how a tube fits, performs, and ultimately, how your car handles on the track.
The two most important measurements are the Outer Diameter (OD) and Inner Diameter (ID). The OD is the tube’s total width, which determines if it will physically fit into the clamps or mounting points on your chassis. The ID is the size of the hollow centre, which matters if you need to slide the tube over another part or run something through it, like an antenna wire.
These two dimensions give us the third key spec: wall thickness. It's just the difference between the OD and ID (divided by two), but it’s the single most important factor for a tube’s rigidity and weight.
Matching Wall Thickness to Your Mission
Think of wall thickness as the core of your performance equation. A thicker wall means more material, which makes the tube stiffer and stronger. This is exactly what you want for a main chassis brace where fighting flex is the number one priority.
On the other hand, a thinner wall makes for a lighter tube. This is the perfect choice for parts where shaving every gram is the goal and absolute stiffness isn't as critical.
Here’s a practical way to think about it for your next build:
- Thick-Walled Tubes (1.5mm+): Perfect for high-stress jobs like central chassis braces or cross-supports that need to resist torsional flex.
- Standard Tubes (1.0mm): A great all-arounder for battery braces, shock tower supports, and general stiffening.
- Thin-Walled Tubes (0.5mm): The go-to for lightweight parts like body posts, antenna mounts, or pan car driveshafts where weight is everything.
The secret to a well-balanced build is using the right wall thickness for the job. You can strategically add stiffness where it’s needed most while shedding weight in other areas, giving you a distinct competitive advantage.
A well-designed car often uses a mix of different wall thicknesses. You might use a beefy tube to tie the front and rear of the chassis together but opt for an ultralight one for the body posts. It's all about balancing strength and weight.
Weave and Finish: The Final Touches
Beyond the core dimensions, the visual details of a carbon fiber tube can give your build a professional, factory-team look. At digital-rc, you'll find tubes with different carbon weaves—most commonly twill or plain weave. While they offer slightly different flex characteristics, their main contribution is aesthetic.
The finish, whether matte or gloss, completes the look, letting you match your custom parts to your chassis's factory carbon for a seamless appearance.
The demand for these high-performance materials is growing fast. The North America carbon fiber market is projected to expand from USD $1.57 billion in 2025 to USD $2.22 billion by 2030, driven by its increasing use in high-performance fields like ours. To see the bigger picture of this industry trend, you can explore more about the market growth dynamics.
Common Carbon Fiber Tube Upgrades for Your RC Car
Theory is one thing, but making it happen at the pit table is where the real magic lies. Moving past the numbers, let's get into how a simple carbon fiber tube can fix common handling issues and give you a real advantage on the track. For high-end chassis like those from Awesomatix and XRAY, these custom mods are often the key to unlocking their true potential.
We’ll look at this as a classic ‘problem and solution’ scenario, showing you exactly where a custom carbon part can make the biggest difference.
Stiffening the Chassis for High-Grip Surfaces
Problem: You're on a high-grip carpet track, and your car feels inconsistent. One lap it’s locked in, the next it’s twitchy, especially in quick chicanes. That feeling is usually caused by unwanted chassis flex when the car is under heavy cornering loads.
Solution: Build a custom cross-brace using a stiff, thick-walled carbon fiber tube. By connecting key points on the chassis—like the suspension mounts or right across the centreline—you create a much more rigid structure that resists twisting. For a 1/10 touring car, a 5mm or 6mm OD tube with a 1.5mm wall gives you a massive boost in rigidity without adding much weight. This one change makes the car feel far more direct and predictable, letting you push harder with confidence.
Lowering the Centre of Gravity with a Battery Brace
Problem: You want to calm down body roll and carry more corner speed, but you've already exhausted your suspension tuning options. The next logical step is to lower your car’s centre of gravity (CG) to make it feel more planted. The stock battery holder is often bulky and sits higher than it needs to.
Solution: Fabricate a minimalist battery brace from a lightweight carbon fiber tube. Swapping out the standard plastic strap or carbon plate for a simple tube that spans the top of your LiPo sheds precious grams from a high point on the chassis. It's a simple mod that directly lowers the overall CG, translating to less body roll and faster transitions through the esses.
A well-placed carbon fiber tube doesn't just add stiffness; it lets you strategically remove weight from places you don't need it. This precise control over weight and rigidity is what separates a good setup from a great one.
Building an Ultra-Durable Body Post System
Problem: You take a minor tap on the boards, and now your plastic body posts are bent or broken. This completely ruins your car's aerodynamics and body position for the rest of the heat. Every time they bend, the plastic gets weaker, making them totally unreliable.
Solution: Ditch the flimsy stock posts and make your own from a durable carbon fiber tube. A 6mm OD tube with a 1mm wall is a fantastic balance of strength and low weight. These posts can take some serious hits without permanently bending or snapping. Not only does this save you from mid-race repairs, but it also guarantees your body stays perfectly positioned, giving you consistent aerodynamic performance lap after lap.
Lightweight Driveshafts for Pan Cars
Problem: In the hyper-competitive 1/12 pan car class, acceleration is everything. The rotating mass of the driveshaft directly impacts how quickly the motor can spool up, and a heavy steel axle can kill that crucial punch out of slow corners.
Solution: Build a lightweight driveshaft using a thin-walled carbon fiber tube. This upgrade dramatically reduces the rotating mass in your drivetrain. The result is a real, noticeable improvement in acceleration and a more efficient power delivery system. Your car will feel snappier on the throttle, giving you that critical edge when you're fighting for position.
How to Cut and Finish Carbon Fiber Tubes Like a Pro
Working with carbon fiber tubes might seem a little intimidating at first, but once you get the hang of it, the process is surprisingly straightforward. Nailing a clean cut and a durable finish is the key to making custom parts that not only perform well but also hold up to the abuse of on-road racing.
Let's walk through the entire process, step by step, so you can get professional-level results every time.
First things first: safety. Cutting carbon fiber kicks up a fine, airborne dust that you absolutely do not want to breathe in. It can also be a real skin irritant. Always work in a well-ventilated space, and make sure you're wearing a quality dust mask and protective gloves.
Choosing the Right Cutting Tool
You've got a couple of great options for cutting your tubes, and the one you pick really comes down to personal preference. The goal is always the same: a clean, square cut that doesn't fray the carbon weave.
- Dremel with a Diamond Wheel: This is the go-to for most RC builders for a reason. A diamond-coated cutoff wheel slices through carbon fiber quickly and cleanly, leaving a pretty smooth edge. It's the perfect balance of speed and precision.
- Fine-Toothed Handsaw: If you want maximum control, a jeweller's saw or a fine-toothed hacksaw works beautifully. It's a slower method, for sure, but it gives you pinpoint control, which is ideal for critical parts where every millimetre counts.
The whole point of using carbon fiber is to solve a specific problem on the chassis, usually related to unwanted flex or a lack of rigidity. It’s a direct, high-performance upgrade.

As the diagram shows, you identify an issue, and a custom carbon tube is often the perfect, targeted solution.
The Perfect Cut and Finish
Once you've got your tool, following these steps will give you a flawless result. This method stops the material from splintering and ensures your new parts are truly race-ready.
- Mark and Tape: Measure twice, cut once! Carefully mark your cut line, then wrap it with a layer of masking tape. This simple trick is the secret weapon against splintering the outer layers of the carbon weave.
- Cut Slowly and Evenly: Whether you're using a Dremel or a handsaw, let the tool do the work. Apply gentle, steady pressure and slowly rotate the tube as you cut. This helps ensure the end is perfectly square.
- Sand the Edges: The edge will be sharp right after the cut. Grab some fine-grit sandpaper—400-grit is a good place to start—and gently sand it to create a slight bevel. This small step prevents delamination and gives the part a clean, professional look.
- Seal the End: This is the final touch that adds serious durability. Apply a tiny drop of thin CA glue right onto the freshly sanded edge. The glue will wick into any exposed fibres, sealing them off and protecting them from impacts and vibrations.
For finishing other parts of your build, like body shells, a specialized tool can make all the difference. You can learn more about getting those perfect openings with the MR33 body grinding tool.
Securely Mounting Your Custom Carbon Fiber Parts
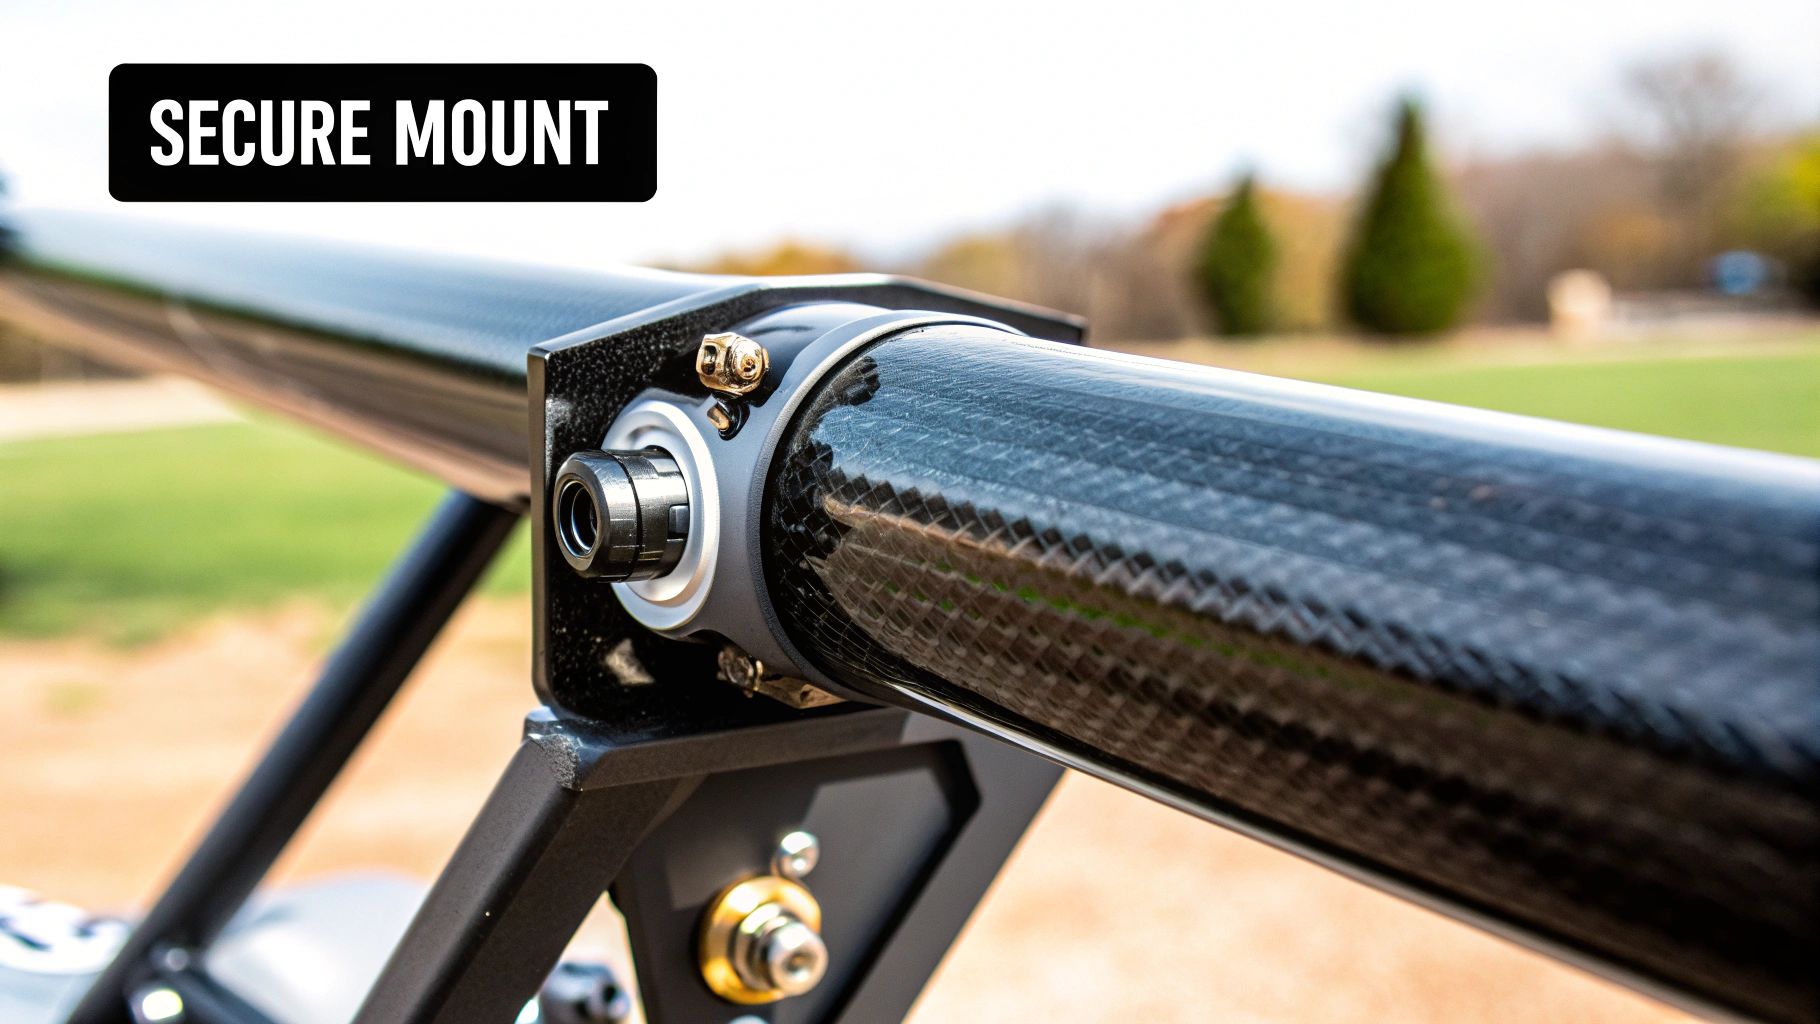
A perfectly cut and finished carbon fiber tube is a great start, but it’s completely useless if it flies off your car mid-race. The intense vibrations and hard hits of on-road racing will find any weak mounting points, guaranteed.
Choosing the right method comes down to one simple question: does this part need to be permanent or removable? Your answer will point you toward either adhesives for a rock-solid, set-it-and-forget-it bond, or mechanical fasteners for parts that need adjustment or replacement. Both work, but they excel in very different situations.
Choosing the Right Adhesive
When a part needs to stay put for good, adhesives are the way to go. But not all glues are created equal, and picking the right one is essential for a reliable connection between your carbon tube and the other materials on your chassis.
- CA Glue (Cyanoacrylate): Often just called "super glue," this is a fantastic choice for bonding carbon to carbon or carbon to most plastics. A medium or thick viscosity CA works best, as it fills tiny gaps and gives you a few extra seconds to get the position just right before it grabs.
- Two-Part Epoxy: For the ultimate bond strength, especially when joining carbon to aluminum, a two-part epoxy is the pro’s choice. Mixing the resin and hardener creates a chemical bond that’s incredibly tough and resistant to heat, shock, and vibration.
No matter which glue you choose, surface prep is everything. Scuffing both surfaces with sandpaper (around 240-grit) and then cleaning them with isopropyl alcohol will guarantee the strongest possible bond. Don't skip this step.
Mechanical Fastening for Versatility
For parts you’ll need to adjust, remove, or replace, mechanical fasteners are the ideal solution. This approach gives you the flexibility to fine-tune your setup without having to break a permanent bond. They're also perfect for attaching parts where a big glue joint just isn't practical.
Here are a few common options:
- Set Screws: A simple and effective method. You can drill and tap a hole in an aluminum mount, letting a small set screw clamp down directly onto the carbon fiber tube.
- Ball Studs: Perfect for creating pivot points for suspension links or braces. Threading a ball stud into the end of your tube (often into a small plastic or aluminum insert) creates a secure and adjustable connection.
- Specialized Clamps: Many manufacturers produce clamps designed specifically to hold tubes of various diameters, giving you a secure, bolt-on solution.
For a great example of a well-designed mounting system, check out the Vigor RC Carbon Horizontal Rear Body Mount. It shows exactly how to create a solid, yet easily adjustable, setup.
Answering Your Carbon Fiber Tube Questions
When you start diving into custom upgrades, the same questions always pop up. Let's get them answered so you can start your next build with confidence.
Is Carbon Fiber Always Better Than Aluminum?
Not always, but for on-road RC racing, it's almost always the right choice. The big win for carbon fiber is its incredible stiffness-to-weight ratio. When you're making a chassis brace, you want maximum rigidity with minimum mass, and that's where carbon shines.
Aluminum is more ductile, meaning it will bend on a hard hit where carbon might snap. But when every gram slows you down and affects your lap times, the lightweight strength of carbon fiber is exactly what you need.
What Diameter and Wall Thickness Should I Buy?
The easiest way to start is by measuring the stock part you're looking to replace. For most custom braces on 1/10 scale touring cars, an outer diameter between 3mm and 6mm is the sweet spot. We carry these common sizes at digital-rc, so you can find the perfect fit.
The wall thickness is where you fine-tune the stiffness. A 1mm wall is a fantastic all-around choice. If you're building a critical central chassis brace and need extreme rigidity, step up to a 1.5mm wall. For something super lightweight like an antenna mount, a 0.5mm wall is more than enough.
Yes, you can drill holes in a carbon fiber tube without it splitting, but your technique matters. Always wrap the area with masking tape first to stop the fibres from splintering. Use a very sharp drill bit (brad-point bits are great for this) and go slow with light pressure. You'll get a perfect, clean hole every time.
What's the Best Glue for Bonding Carbon Fiber?
It really depends on what you're bonding it to. For joining carbon-to-carbon or carbon-to-plastic parts, a medium or thick CA glue works perfectly and creates a solid bond. We recommend high-quality adhesives like those from Bob Smith Industries for reliable results.
However, if you're attaching a carbon tube to an aluminum part, a two-part epoxy is the way to go for a stronger, more durable connection. No matter what you use, always remember to scuff up and clean both surfaces before applying glue. It makes a huge difference in how well the adhesive holds.
Find the perfect carbon fiber tube for your next winning setup and explore all the essential upgrade parts at digital-rc. We offer fast, tax-free shipping across Canada to get you back on the track faster. Start building your advantage today at digitalrc.ca.