

A Racer's Guide to High-Performance RC Bodies 1/10
Think of your RC car body as more than just a shell—it's your single most impactful aerodynamic tool for winning races. The right 1/10 scale body is often the difference between a good lap and a winning one, directly influencing how your car behaves on the track.
Your Competitive Edge in 1/10 RC Racing
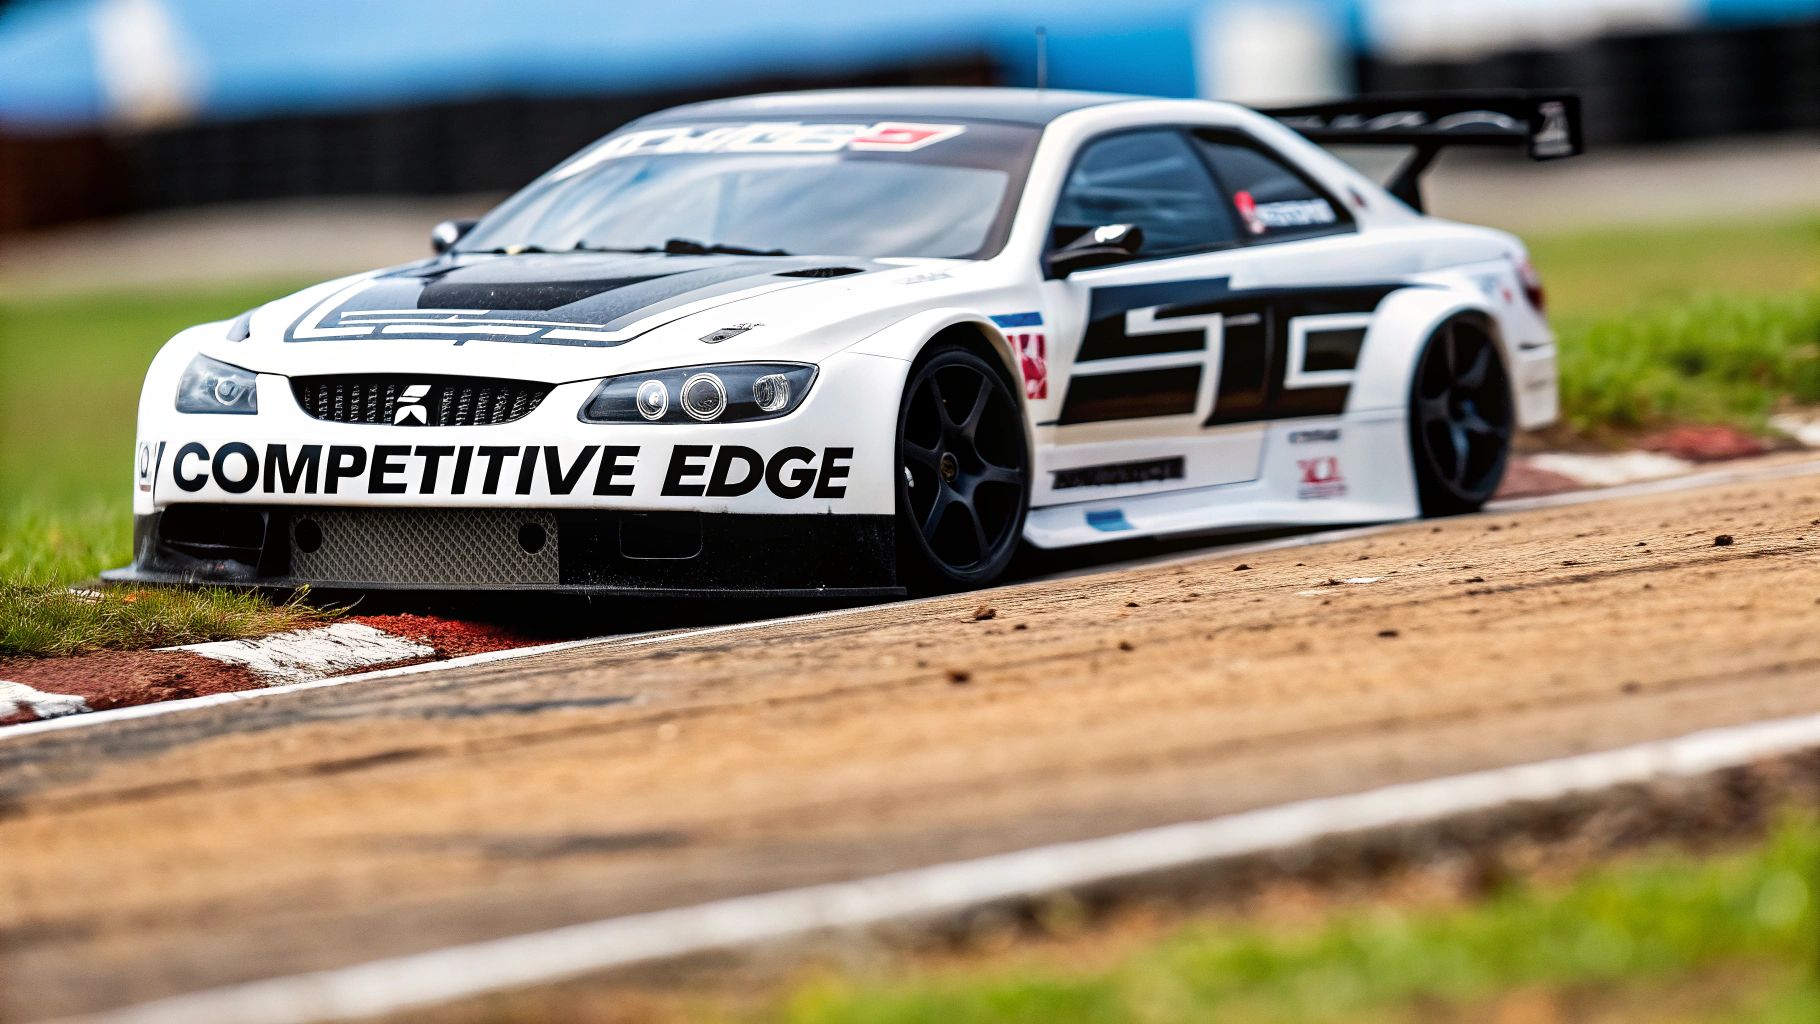
For serious racers, a well-chosen polycarbonate shell is a critical piece of performance equipment. It’s not about looks; it’s a sophisticated tool that manipulates airflow to generate downforce, improve stability, and fine-tune handling. Every curve, wing, and splitter has a purpose.
This guide breaks down how these shells influence every aspect of your car's behaviour, from high-speed stability on the main straight to aggressive grip in the tightest corners. Understanding these principles is the key to unlocking faster, more consistent lap times.
Translating Design Into On-Track Speed
The core principles of body performance—aerodynamics, weight, and rigidity—translate directly into real-world results on the clock. A body with an aggressive front end can sharpen your steering response, while a carefully shaped rear provides the stability needed to put the power down with confidence.
This connection between design and performance has fueled a growing demand within the Canadian racing scene. In fact, sales data shows a 47% increase in 1/10 RC body purchases between 2021 and 2025, highlighting just how important they are for serious competitors.
An RC body is essentially an upside-down airplane wing. Instead of creating lift to fly, it creates downforce to press the car into the track, generating immense grip that would otherwise be impossible.
Throughout this guide, we'll focus specifically on performance-driven brands like Mon-Tech and Zoo Racing, which are available right here on our site. Our goal is to give you the knowledge to pick a body that perfectly complements your chassis and driving style, giving you a distinct advantage on race day. We'll explore how to make an informed choice that moves you closer to that top step of the podium.
The Strategic Choice: Body Material and Style
When it comes to 1/10 scale RC bodies, one size definitely does not fit all. Think of your car's body as more than just a shell—it's the single most important aerodynamic tool you have. Your choice here will define how your car behaves on the track, and it all boils down to two core philosophies: high-downforce or low-drag.
A high-downforce body acts a lot like a real race car's massive wing. All those aggressive scoops, splitters, and sculpted features are designed to push the car firmly into the track. This creates incredible grip, making your car feel locked-in and stable through tight, technical corners. This is your go-to style for smaller tracks packed with turns, where cornering speed is everything.
On the flip side, a low-drag body is built for pure, straight-line speed. With a smoother, sleeker profile, it slices through the air with minimal resistance. This is a huge advantage on big, flowing tracks with long straights where hitting top speed is what gets you a fast lap time.
High-Downforce vs. Low-Drag: It’s All About the Track
Picking the right aero profile is a strategic call that depends entirely on the circuit you're racing on. A body that's a weapon on a tight track will feel sluggish on a wide-open one, and vice versa.
- High-Downforce Bodies: Our lineup of Mon-Tech bodies, like the M23, are a perfect example. They feature aggressive front splitters and pronounced rear wing elements designed to generate maximum grip and provide razor-sharp steering response. This gives you the confidence to attack corners without hesitation.
- Low-Drag Bodies: For tracks where raw horsepower is king, a body like the Zoo Racing Gorilla offers a much sleeker profile. It's all about reducing aerodynamic drag, letting your motor wind out to its absolute maximum RPM on the long straights.
The Feel of the Car: Why Material Thickness Matters
Beyond just the shape, the material itself plays a massive role in how your car handles. Most performance bodies are made from polycarbonate (you’ll often hear it called Lexan), but the thickness of that material can completely change your car's personality on the track.
The two most common options are standard (around 0.7mm) and lightweight (around 0.5mm). A lighter body lowers the car’s overall centre of gravity. It might not sound like much, but this small change makes the car feel far more nimble and responsive, especially when you're snapping it through quick chicanes. It's a noticeable advantage on the high-grip carpet tracks we see all across Canada, as it helps prevent the dreaded traction roll.
A lighter body doesn't just lower the centre of gravity; it also reduces the pendulum effect during cornering. This lets you transition from one corner to the next faster, giving you a much more connected and direct feel for what the car is doing.
Having a quiver of different bodies for various track conditions is a smart investment for any serious racer. In fact, market analysis from Canadian hobby shops shows that 1/10 RC bodies and related accessories make up about 22% of total on-road RC spending. For a competitive racer, that averages out to $450 CAD per year as of 2025. You can explore our curated collection of these performance bodies to find the perfect fit for your chassis and track.
Mastering Body Mounting for Perfect Balance
You can have the most dialed-in chassis in the world, but if your body is mounted improperly, you’re leaving performance on the table. It’s a detail many new racers overlook, but getting a perfect, balanced fit is a fundamental part of a competitive setup. This isn't just about looks; it's about making sure your car handles predictably when you hit the track.
A well-mounted body starts with understanding two key terms: wheelbase (the distance from your front axle to your rear axle) and track width (the distance between the centres of the wheels on the same axle). Your goal is to centre the body perfectly over the chassis. This ensures all those aerodynamic forces are applied evenly, preventing the car from pulling one way or the other.
The Mounting Process, Step-by-Step
Mounting a body is all about precision. It's tempting to rush through it to get your new paint scheme on the track, but that's a classic mistake that leads to an unbalanced car. Follow these steps, and you'll nail it every single time.
- Mark Your Post Locations: Place your clear, untrimmed body over the chassis. Take your time and get it perfectly positioned. Then, using a fine-tip marker, carefully dot the dead centre of each body post from the inside.
- Drill Pilot Holes: Before grabbing that big reamer, start with a small drill bit or the very tip of your body reamer to make a tiny pilot hole at each mark. This simple step prevents the reamer from wandering and keeps your final hole perfectly centred.
- Ream to Final Size: Now, use a proper body reamer to slowly and carefully enlarge the holes. The goal is a snug fit over the posts—not too tight, not too loose. A clean, perfectly round hole is your best defence against cracks forming later on.
- Test Fit and Adjust: Mount the body and take a good look. Is it perfectly centred? Is there equal clearance around all four tires? If not, make tiny adjustments now.
Of course, the mounting process comes after you've already chosen the right shell for your needs. This chart breaks down the thought process that goes into selecting a body based on its performance characteristics.
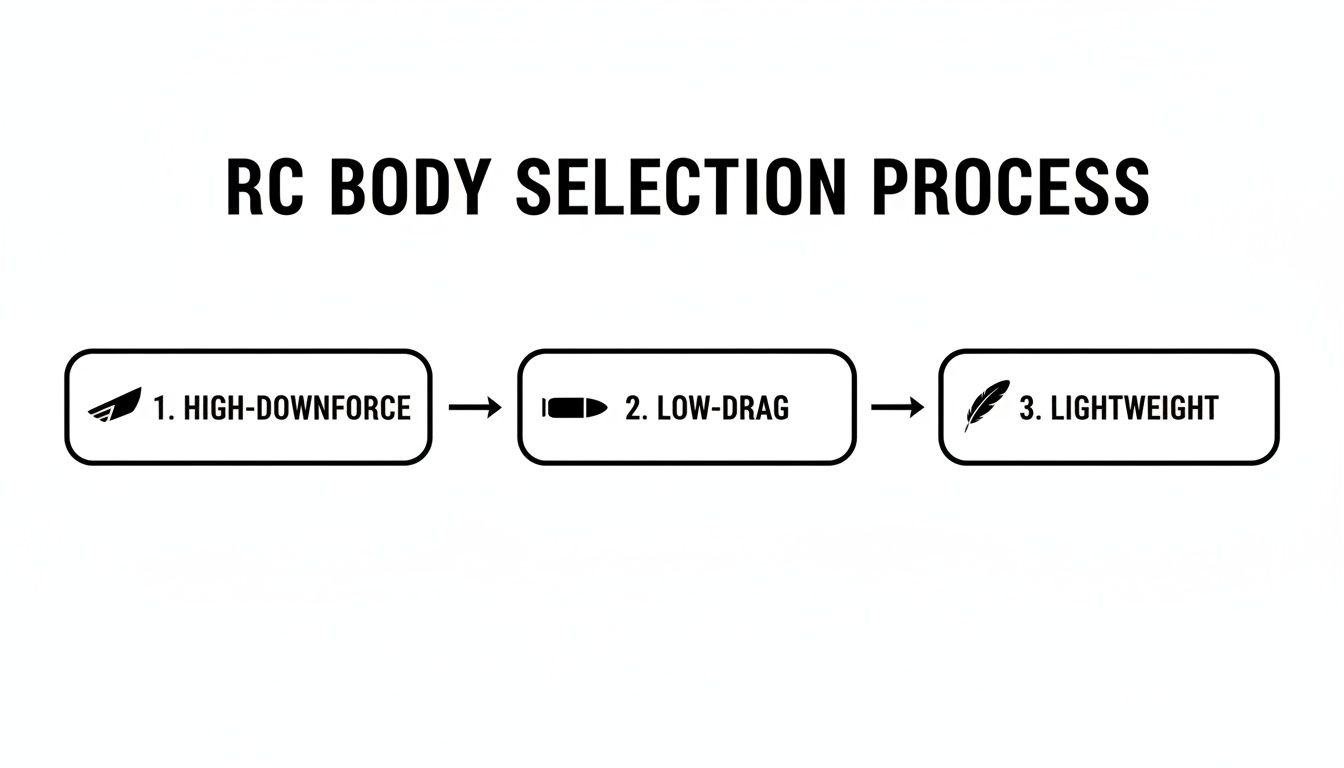
As you can see, it's a balancing act. Top-level racers are constantly deciding whether to prioritize downforce, low drag, or weight savings depending on the track and conditions.
Pro Tips for a Competitive Advantage
Getting the holes right is just the beginning. The top drivers always have a few extra tricks up their sleeve to find that last bit of performance.
One of the biggest secrets is to mount the body as low as legally possible. Every millimeter you lower it reduces your car’s centre of gravity, which directly translates to better cornering speed and stability. For racers looking to take this even further, you can learn more about why ultra-lite horizontal rear body mounts are essential for competitive racing in our detailed guide.
Here's a must-do for any serious racer: if you run multiple identical bodies, make a mounting template. After you've mounted your first body perfectly, use a piece of cardboard or scrap Lexan to trace the hole locations. This guarantees every single body you mount in the future is in the exact same spot, giving you unmatched consistency from one race to the next.
At the end of the day, a perfectly mounted body is a secure one. When you take the time to get the alignment and height just right, your 1/10 scale body becomes an integral part of your chassis. It works with the car, not against it, giving you a stable and predictable platform to go hunt for those faster lap times.
A Step-by-Step Guide to Finishing Your Body
Turning a clear polycarbonate shell into a race-ready masterpiece is a skill every competitive racer needs to master. A great finish on your 1/10-scale body is about more than just looking good; it's about creating a lightweight and durable shell that can handle the abuse of tight racing. This guide walks you through the whole process, ensuring you get a pro-level result every time.
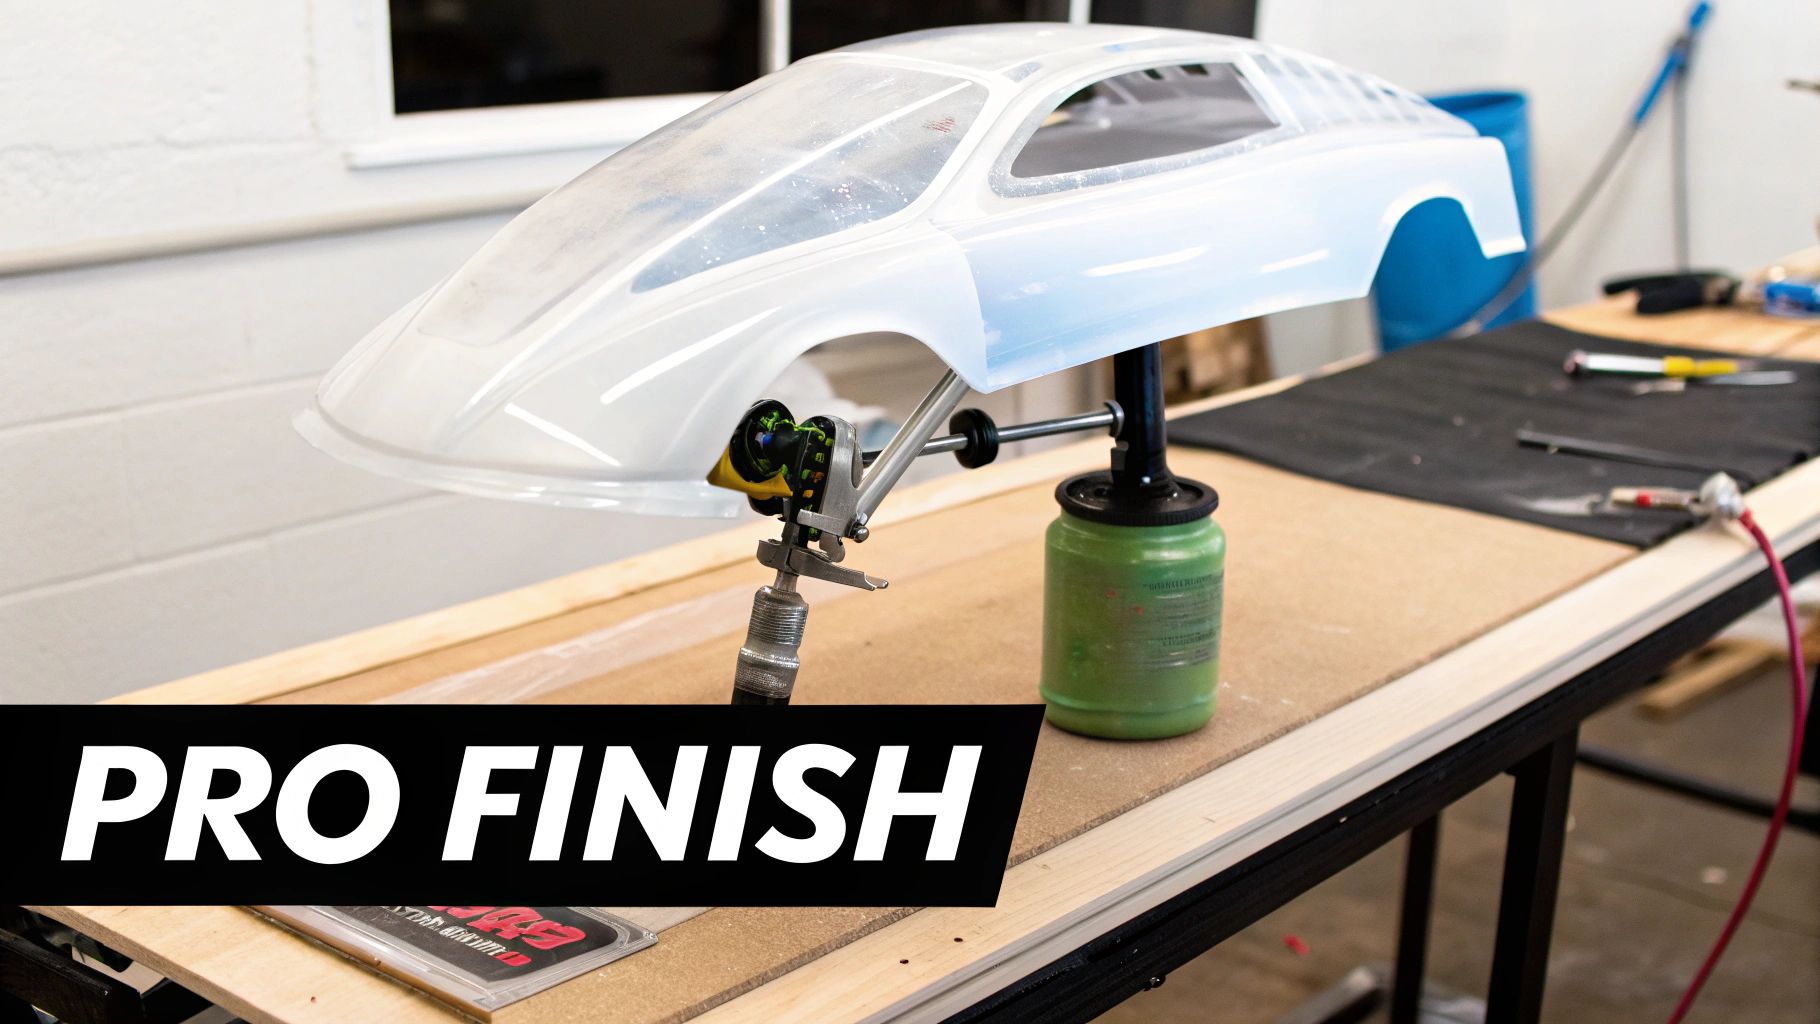
The journey from a clear shell to a finished body starts with careful preparation. Honestly, this is the single most important stage for getting a flawless paint job that actually lasts.
Preparation: The Foundation of a Perfect Finish
Before you even think about picking up a spray can, the body has to be perfectly clean. Every new body comes from the factory with a thin film of mould-release agent still on it. If you don't get this stuff off, your paint won't stick properly, and it’ll start flaking off after the first few hits.
- Wash it Thoroughly: Get in there with warm water and some mild dish soap. Use a soft sponge or cloth to scrub the inside of the body.
- Rinse and Dry Completely: After washing, give it a good rinse with clean water and let it air dry. You can speed things up with a lint-free cloth or compressed air, but make absolutely sure no moisture is left behind.
- Scuff the Surface: This is a pro tip. For maximum paint adhesion, lightly scuff the entire inner surface with a grey abrasive pad. It creates a slightly rough texture for the paint to grab onto, and it makes a huge difference in durability.
Once it's clean and dry, it's time to mask. Apply the window masks that came with the body to the inside, pressing down firmly on all the edges to stop any paint from bleeding underneath. For more complex designs, a lot of pro painters prefer using a liquid mask. You paint it on, let it dry, and then carefully cut your design with a hobby knife for incredibly sharp lines.
Painting and Trimming Like a Pro
With your masking done, it's time to lay down some colour. Always, always use paints made specifically for polycarbonate. These paints have flexing agents in them that prevent the paint from cracking or shattering on impact.
A critical rule for painting RC bodies is to work from dark to light. The very first colour you spray is the one you'll see most clearly from the outside. Any other colours get layered behind it.
Apply thin, even coats of paint from about 15-20 centimetres away. It’s way better to spray three light coats than one heavy one. This technique prevents the paint from running and gives you a much more consistent, professional-looking finish.
After the paint has fully cured, the precision work starts: trimming the body. This needs a steady hand and the right tools.
- Curved Scissors: A good pair of curved Lexan scissors is essential for cutting along the main trim lines and around the wheel wells. They make it so much easier to follow the body's contours smoothly.
- Body Reamer: For perfectly round mounting holes and aerodynamic cutouts, a body reamer is a must-have. It gives you a clean, professional cut that scissors just can't match.
To get those wheel wells perfectly smooth after cutting, a dedicated tool like the MR33 body grinding tool can give your body a true factory-finish look.
The final touches are all about carefully applying your decals and mounting the wing according to the manufacturer's guidelines. Take your time with these last steps—it’s what separates a good-looking body from a great one.
How Body Aerodynamics Shape Your Lap Times
To start shaving tenths off your lap times, you have to get serious about how your car cuts through the air. Your rc bodies 1/10 is so much more than a cool-looking shell; it's a carefully designed aerodynamic tool built to generate downforce and stick your car to the track.
Think of it like an airplane wing, just flipped completely upside down. Instead of creating lift to get airborne, it creates negative lift—downforce—that presses the tires into the track surface. This is what lets you carry way more speed through corners than mechanical grip alone ever could.
Every single curve, scoop, and angle on a modern touring car body has a job to do. The way the shell directs air over, under, and around your chassis has a massive impact on its handling at speed. Tiny design tweaks can lead to huge changes in on-track feel.
Reading a Body’s Aero Profile
Learning to "read" a body's aerodynamic profile is key to matching it with your driving style and the track you're on. You just need to know what to look for. Top-tier brands like Mon-Tech and Zoo Racing engineer bodies with very distinct features to hit specific performance targets.
- Front Splitter: An aggressive, low-slung front splitter acts like a plow, forcing high-pressure air up and over the body. This generates serious front-end downforce, giving you a sharper, more immediate turn-in.
- Roofline and Cabin Shape: A "cab-forward" design pushes the centre of aerodynamic pressure towards the front, which also boosts steering response. On the flip side, a smoother, more central cabin gives you a more balanced, neutral feel from front to rear.
- Rear Wing and Side Dams: Your rear wing is the main tool for tuning rear stability. A bigger wing or a steeper angle of attack creates more downforce, locking the rear end down and giving you more traction on corner exit.
The secret to a fast, planted car is finding the right aerodynamic balance. Too much front downforce will make the rear feel loose and nervous, while too much rear downforce causes understeer, making the car lazy and unwilling to turn in.
Fine-Tuning Your Handling
Your tuning options don't stop once you've chosen a body. Small adjustments can fine-tune its aerodynamic effect on the track. One of the most common and effective changes is adjusting the rear wing's position.
Moving the wing forward generally reduces rear grip, letting the car rotate more freely through the corners. Shifting it back increases rear stability, which is great for high-speed sweepers.
This ability to tune is critical for adapting to different circuits. A body that's perfect for a high-speed, flowing track might feel all wrong on a tight, technical layout without a few tweaks. While durability varies, modern shells are incredibly tough. Discover more insights about RC body durability on Etsy.
Once you understand how aerodynamics work, your car's body becomes one of your most powerful tuning tools.
Extending the Life of Your Racing Body
Competitive racing is brutal on equipment, and your 1/10-scale RC bodies take the brunt of the punishment. Protecting this crucial aerodynamic component isn't just about looks—it's key to maintaining consistent performance and saving money in the long run. A few simple routines can dramatically extend the life of your investment, keeping it effective race after race.
It all starts with proactive reinforcement. Before a body even sees the track, smart racers add strength to its weakest points. High-stress areas like the body mounting holes, fender arches, and the front splitter are notorious for cracking from minor impacts and chassis flex. A little prevention here goes a very long way.
Reinforcement and Repair Techniques
One of the most classic and effective methods is using drywall tape combined with a flexible adhesive like Shoe Goo. This technique creates a strong yet pliable backbone that absorbs impact energy, stopping small cracks before they can grow into race-ending failures.
- Drywall Tape: Apply small strips of self-adhesive fibreglass drywall tape to the inside of the body along the wheel arches and around the body post holes.
- Flexible Glue: Spread a thin layer of Shoe Goo or a similar flexible adhesive over the tape. This bonds the tape to the polycarbonate, creating a surprisingly durable composite patch.
Of course, cracks can still happen during a race weekend. But you don't have to toss the body immediately. A quick trackside repair can get you back out for the next heat. Specialised products are designed for exactly this scenario, like the ORCA Lexan Body Reinforce & Repair Glue. It uses a UV-curing formula for incredibly fast and strong repairs, saving a body that might otherwise be retired.
A well-maintained body is a predictable body. Reinforcing stress points not only prevents catastrophic failure but also helps maintain the shell's original rigidity, ensuring its aerodynamic profile remains consistent lap after lap.
Finally, don't neglect proper cleaning. After a race day, wipe down the inside and outside with a gentle cleaner that won't harm the polycarbonate or the paint. Stay away from harsh chemicals, as they can make the Lexan brittle over time. This simple step ensures your body stays strong throughout a demanding Canadian race season.
Got Questions About 1/10 RC Bodies? We've Got Answers.
When you're trying to shave tenths off your lap times, your RC body becomes a critical tuning tool. It's no surprise that we get a ton of questions from the Canadian racing community about how to pick the right one. Let's tackle some of the most common ones.
What’s the Best 1/10 RC Body for High-Grip Carpet?
For high-grip carpet tracks, you need a body that promotes aggressive steering and lets the car rotate quickly through tight chicanes. Forget all-purpose designs; you're looking for models with a distinct forward-cab profile and a sharp front splitter. Brands like Zoo Racing and Mon-Tech make bodies specifically for these conditions.
It’s also a huge advantage to run a lightweight version, usually around 0.5mm thick. This drops the car's centre of gravity, which is your best defence against the dreaded traction roll when you're pushing hard in the corners.
The secret for high-grip isn't just about total downforce; it's about where that downforce is focused. A forward-biased aero package makes the car feel nimble and eager to change direction—exactly what you need to dominate on a tight indoor circuit.
How Often Should I Replace My Racing Body?
There's no magic number here—it all comes down to wear and tear. A body is done when it has significant cracks that mess with its aerodynamic shape, or when it gets so flimsy from stress that it won't hold its form. A weak, floppy body can't provide consistent downforce, period.
Most serious racers keep a pristine 'race day' body and use an older, beat-up one for practice. Once your primary race body starts showing its age, it gets demoted to practice duty, and you break out a fresh one for the next big event.
Does a Complex Paint Job Affect Performance?
Yes, it absolutely can. While a wild, detailed livery looks awesome, every single layer of paint adds weight. A heavy, multi-coat paint job raises the car's overall centre of gravity, and that can genuinely hurt its on-track performance compared to a simple one or two-colour scheme.
In high-level racing, where every hundredth of a second is fought for, keeping the paint as light as possible is a real competitive edge. It's one of those subtle details that contributes to a more responsive and agile car, and it can be the thing that puts you on the podium.
At digital-rc, we stock the high-performance bodies from Mon-Tech, Zoo Racing, and other top brands that give you an edge on the track. Explore our curated collection to find the perfect aerodynamic solution for your chassis. Shop our full selection of 1/10 RC bodies today.