

Your Ultimate Guide to an RC Car Build Kit
Choosing an RC car build kit is about more than just ending up with a car—it's about the rewarding experience of building it yourself. You get complete control over every aspect of its performance and a deep, mechanical understanding you just can't get from a pre-assembled model. A kit turns you into both the engineer and the driver, transforming a box of parts into a high-performance machine you built from the ground up.
Why Building Beats Buying an RC Car
When you first get into remote control cars, you face a big choice: grab a ready-to-run (RTR) model or take on the challenge of building an RC car build kit. While an RTR gets you on the track instantly, the process of assembling your own car offers a much richer experience that pays off both in the workshop and during a race.
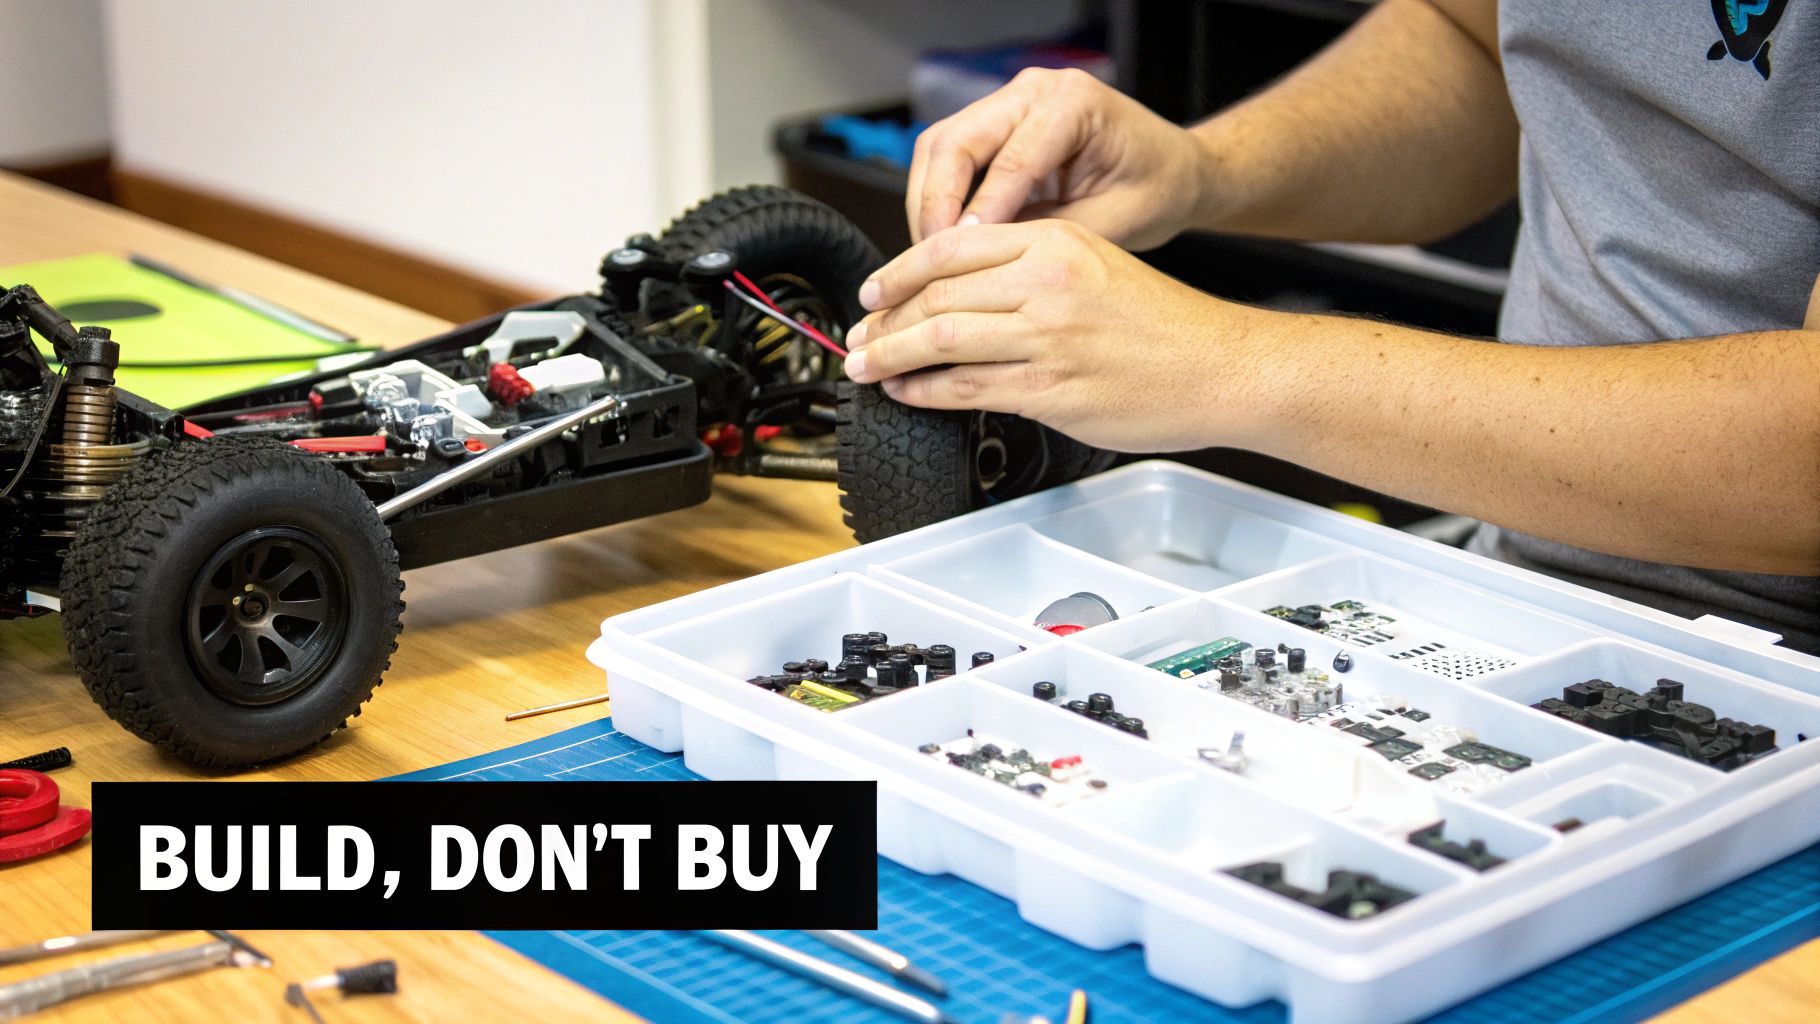
When you build from a kit, you learn the purpose of every single screw, gear, and shock. That fundamental knowledge is priceless when it's time for maintenance, troubleshooting, or fine-tuning your setup for a new track. Instead of being stumped by a problem, you’ll know exactly where to look and how to fix it, saving you a ton of time and frustration.
The True Value of a Kit Build
The real advantage of a kit is the freedom to customize and chase true performance. An RTR car is a compromise, usually packed with standard, budget-friendly electronics. A kit, on the other hand, is a blank slate. You get to hand-pick the perfect motor, ESC, and servo from our curated collection at digitalrc.ca, building a power system that’s perfectly matched to your driving style.
The satisfaction of driving a machine you built with your own hands is unmatched. Every tight corner and every fast lap is a direct result of your effort and attention to detail.
This hands-on process builds real mechanical skill. You'll learn firsthand about suspension geometry, differential action, and weight distribution—concepts that are just abstract with an RTR. This knowledge translates directly into better driving because you'll understand why your car behaves the way it does and how to adjust it for peak performance.
A Growing Trend Among Serious Hobbyists
The shift toward kits is a clear trend in Canada's growing RC scene. Electric RC cars, often sold as build kits, are the top choice for over 60% of hobbyists. Racers love them for their low-maintenance appeal and how easily they can be adapted for anything from smooth indoor tracks to bumpy off-road courses. It’s no surprise that serious hobbyists almost always choose kits for their massive upgrade potential and long-term value. You can explore more about these market trends to see why kits are pulling ahead.
Ultimately, choosing an RC car build kit is an investment in your hobby. It’s about more than just a car; it's about the experience, the knowledge you gain, and the pride of creating a truly unique, high-performance machine.
Kit Builder Profile vs Recommended Kit Type
Not sure where to start? This table will help you find the perfect kit based on your experience level and what you want to get out of the hobby.
| Builder Profile | Recommended Kit Type | Why It Works |
|---|---|---|
| The Curious Beginner | Tamiya TT-02 Series Kit | These kits are straightforward, affordable, and teach foundational mechanics. They're a great first build with a huge community for support. |
| The Aspiring Club Racer | Xpress AT1S 1/10 Touring Car | These platforms are competitive right out of the box and offer extensive tuning options to help you learn race craft without a massive investment. |
| The Technical Pro | Serpent Medius X20 '24 Carbon | Built for pure performance with premium materials and advanced geometry. Perfect for experienced racers seeking a competitive edge. |
| The "Tinkerer" | Tamiya On-Road Classic Re-Release | These kits focus on nostalgia and realism, offering endless opportunities to modify and personalize your vehicle for a unique look. |
Whether you're building for the podium or just for the love of the hobby, there’s a kit that fits your goals perfectly. The key is to pick a platform that matches your skill and ambition.
Choosing Your Chassis and Power System
Picking the right RC car build kit is easily the most important decision you'll make. It’s the foundation for everything that comes next, defining how your car will handle, what kind of racing you’ll be good at, and frankly, how much fun you'll have. This isn't just about grabbing a box with a cool-looking body; it’s about matching a chassis and power system to what you want to achieve on the track.
The first big choice is the class of vehicle. At digitalrc.ca, we are passionate about on-road racing, so our kits are engineered for precision on high-grip tracks. We specialize in 1/10 Touring Cars, F1 cars, and 1/12 Pan Cars, which all have low ground clearance and complex suspension geometry designed to maximize cornering speed. We also carry versatile Tamiya kits that can be built for anything from casual parking lot fun to spec-class racing.
On-Road Precision vs Off-Road Versatility
An on-road touring car kit is for the driver who gets a thrill from chasing the perfect lap time. These cars reward a meticulous setup and a clean, consistent driving line. The chassis are typically made from high-grade carbon fibre and alloy, creating a stiff, incredibly responsive platform that translates every input directly to the track. Models like the Xpress AT1S and Serpent X20 '24 embody this philosophy.
On the other hand, a versatile chassis like the Tamiya TT-02 can be built as a rally car or a touring car, offering a taste of different driving styles. The fun comes from adapting the car to various surfaces and enjoying the scale realism Tamiya is famous for.
Think of it like this: a high-end touring car is a scalpel, made for surgical precision on a prepared race track. A Tamiya kit is a fantastic all-rounder, built for enjoyment and adaptability.
Once you’ve landed on a chassis, it’s time to build its electronic heart and soul. This is what gives your car its power and personality.
Pairing Your Motor and ESC
The core of your car’s power comes from the partnership between the motor and the Electronic Speed Control (ESC). These two parts have to work together perfectly. The ESC is the brain, taking signals from your receiver and feeding the right amount of power to the motor. A mismatch here is a recipe for bad performance, overheating, and even fried electronics.
For any competitive 1/10 and 1/12 scale racing, a sensored brushless system is the only way to go. Sensored motors deliver an incredibly smooth and linear throttle response, which is absolutely critical for feathering the power through tight corners and getting a clean launch out of them. We recommend top-tier options like Hobbywing and Maclan.
When you're looking at motors, the "turn" rating is the number to watch. A lower turn number, like a 5.5T, means more RPM and higher top speed—perfect for big, flowing tracks. A higher turn number, like a 21.5T, delivers more torque and smoother acceleration, which gives you more control on smaller, more technical layouts. If you want to dive deeper into this, our team at digitalrc.ca can help you choose the right motor for your specific class.
Selecting the Right Steering Servo
The last piece of the core electronics puzzle is your steering servo. This little box controls how quickly and precisely your car reacts when you turn the wheel. Two numbers really matter here: speed and torque.
- Speed: This is measured in how long it takes the servo to rotate 60 degrees. A faster servo (which means a lower number) lets you make lightning-fast corrections, which is a massive advantage in racing.
- Torque: Measured in ounce-inches or kilogram-centimetres, this is simply the servo's turning strength. You need enough torque to point the wheels where you want them, especially under the heavy load of high-grip cornering.
For a 1/10 touring car, a servo with a speed around 0.07s and torque in the 12-15 kg-cm range is a fantastic starting point. Sticking with a trusted brand like Sanwa is always a smart move. Their reliability and precision give you the confidence you need to push the car right to its limit. By carefully choosing each of these components from our curated collections, you're setting your RC car build kit up with a perfectly balanced and potent system right from the start.
Your Hands-On Assembly Guide
This is where the real fun begins. With your parts laid out and tools at the ready, it’s time to turn that box of components into a high-performance racing machine. This isn't just a checklist; this walkthrough is built from our experience with hundreds of builds. It’s designed to guide you through the logical flow of assembling a premium RC car build kit and, more importantly, help you sidestep the common mistakes we've seen trip people up.
First things first: a clean, organized workspace is your best friend. Lay out your parts on a pit mat and group them by assembly step, just like in the manual. Trust me, this simple prep work saves a surprising amount of time and prevents that frantic search for a tiny screw that decided to roll into another dimension.
Kicking Off with the Drivetrain
Almost every on-road kit we've ever built starts with the drivetrain—specifically, the differential. This component is the absolute heart of your car's handling, dictating how power gets to the wheels. Building it right is critical for a smooth, predictable car on the track.
When you're filling your gear diff, add the oil slowly to avoid trapping air bubbles. A common rookie mistake is rushing this part. Fill it until the oil just covers the small cross pins, then let it sit for a few minutes. You'll see tiny bubbles rise to the surface. Letting them escape before you seal it up ensures consistent performance from the first lap to the last. If you skip this, the trapped air will expand and contract with heat, leading to an inconsistent feel on the track.
Next up, you'll be attaching the drivetrain components to the chassis. Pay very close attention to the gear mesh between your pinion and spur gear.
- Too tight: A mesh that's too tight will cause binding, generate a ton of excess heat, and put a huge strain on your motor and ESC. You'll hear it whining.
- Too loose: This is even worse. A loose mesh is a guaranteed way to strip the teeth right off your spur gear the first time you punch the throttle, ending your run instantly.
A great rule of thumb is to feel for a tiny amount of backlash, or "tick," when you rock the spur gear back and forth. That little bit of play tells you there's just enough space for smooth operation without the risk of stripping.
Building the Core Chassis and Suspension
With the drivetrain mounted, the chassis really starts to take shape. Now you'll be attaching the suspension arms, shock towers, and hubs. Precision is everything here. Your car's suspension geometry dictates how it handles cornering, bumps, and acceleration, so getting it right is non-negotiable.
Pro Tip: As you assemble the suspension, constantly check for free movement. Each arm should fall smoothly under its own weight without any binding or friction. A stiff suspension arm will ruin your car's handling before it even hits the track.
Here’s a crucial step often overlooked by beginners: apply thread-lock to any screw that goes into a metal part, like motor mounts or suspension blocks. The vibrations from a high-performance brushless system will absolutely work screws loose over time. A small dab of blue thread-lock ensures everything stays exactly where you set it. Just be sure to use it sparingly and keep it off any plastic parts.
Speaking of screws, a quality set of hex drivers is an absolute must. Using cheap, soft-metal tools is the fastest way to strip a screw head, turning a simple adjustment into a massive headache. We carry pro-grade tool sets from brands like Arrowmax that are designed to last.
Below is a visual guide showing the core component selection process for your RC car.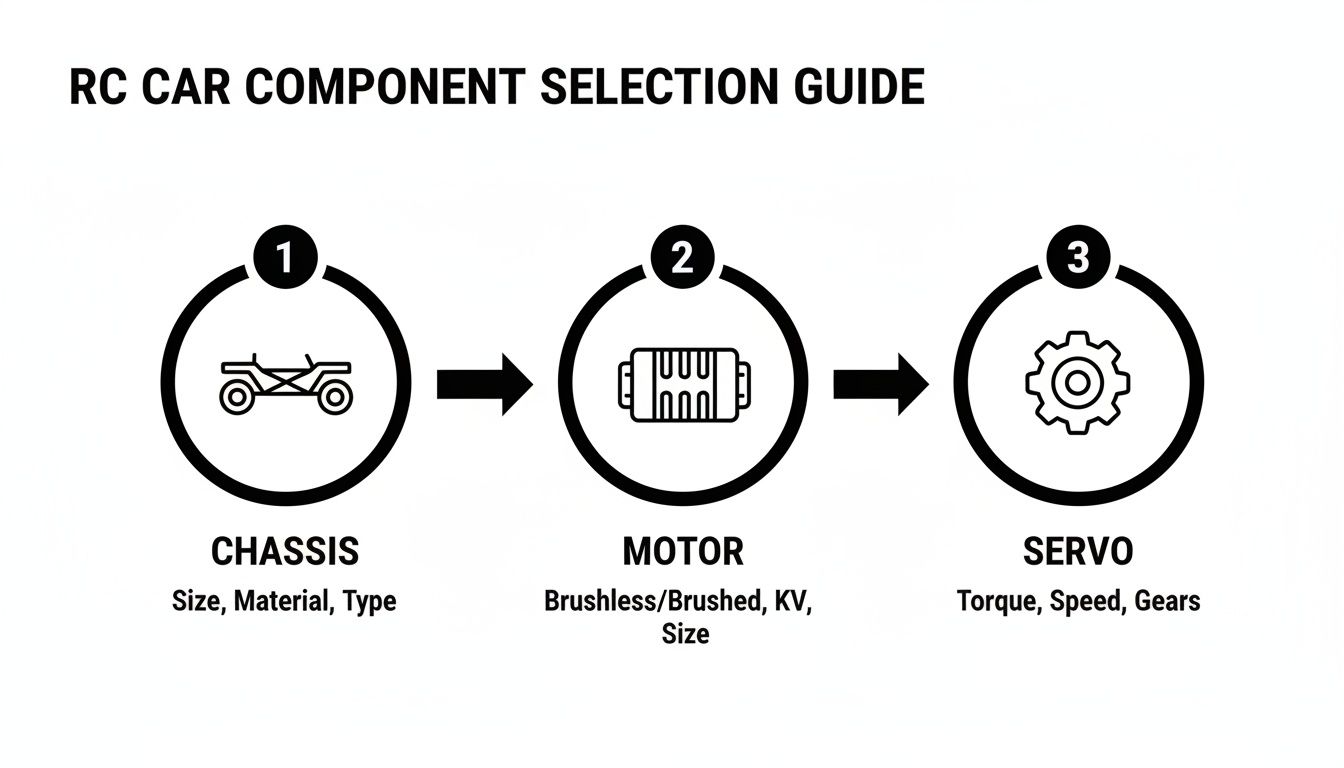
This flow really highlights the importance of starting with a solid chassis, then matching your motor and servo to create a balanced, high-performance system.
Assembling the Perfect Shocks
Building shocks is an art form, and getting it right is vital for consistent handling. When you build your shocks, the goal is to bleed them properly to remove every last bit of air. After filling with oil, slowly move the piston up and down to work out any trapped bubbles.
Once the cap is on, check the rebound. A perfectly built shock should have the shaft extend slowly and smoothly on its own after you compress it. For on-road touring cars, aiming for about 25% to 50% rebound is a fantastic starting point for most tracks. The real key, though, is ensuring all four shocks have identical rebound. This gives you a balanced car that feels the same turning left as it does right. Taking your time here will pay off massively in performance and tunability down the road.
Installing and Calibrating Your Electronics
With the rolling chassis built, it's time to bring your RC car build kit to life. This is where we install the brains and muscle—the electronics that turn a mechanical assembly into a responsive, track-ready machine. Getting this part right is what separates a good build from a great one. It’s all about clean wiring and precise calibration.
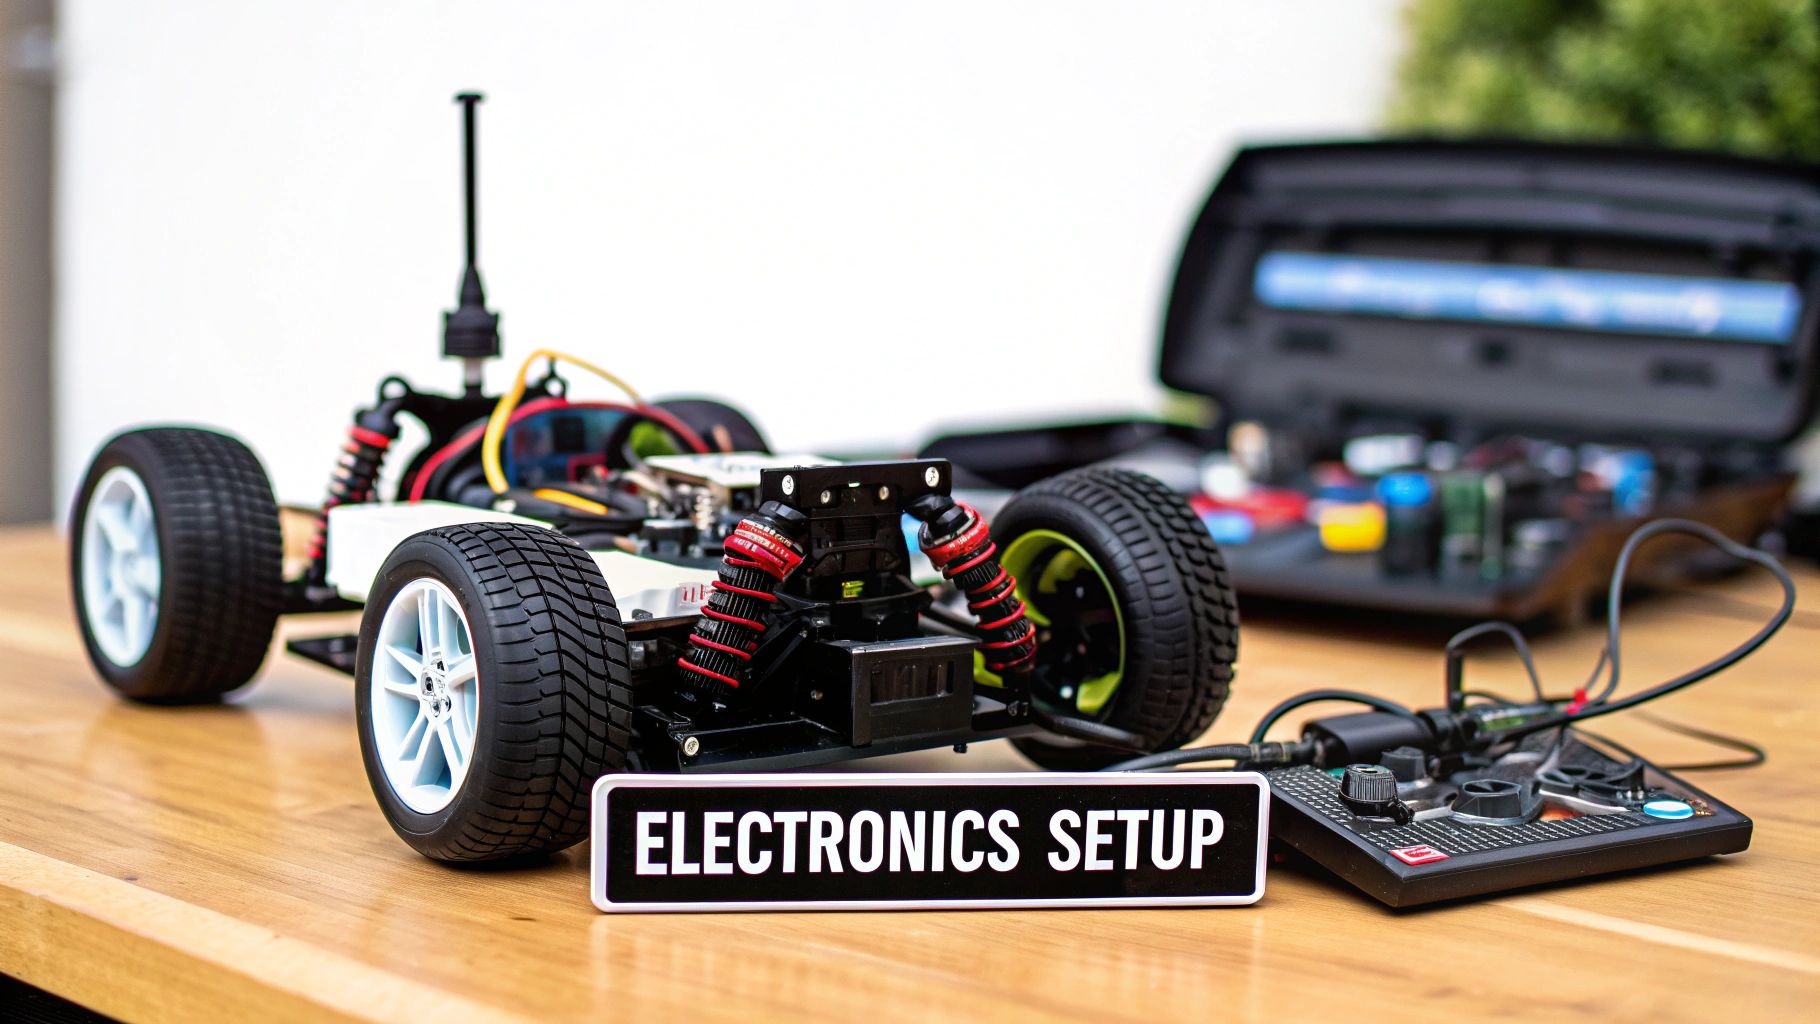
Before you start securing components, lay out your ESC, motor, servo, and receiver in the chassis. This lets you map out your wiring for the shortest, cleanest runs possible. Your goal is to keep wires tucked away from any moving parts, especially the centre driveshaft and steering linkages. A quality double-sided servo tape is your best friend here; it provides a secure mount for your ESC and receiver while helping to dampen vibrations.
Getting Your Steering Dialed In
Your steering servo is the direct link to your car's handling. Centring it properly before you hit the track is non-negotiable, as it ensures you get equal steering throw left and right—absolutely vital for balanced performance.
Here’s how to nail the setup:
- First, power up your transmitter and receiver with the servo plugged in. Crucially, do not attach the servo horn yet.
- Zero out all steering trim and sub-trim settings on your transmitter. This allows the servo to find its true electronic centre.
- Now you can press the servo horn onto the servo's output shaft. Get it as close to a perfect 90-degree angle to the servo body as you can.
- With the horn on, use your steering turnbuckles for the final fine-tuning to get the front wheels pointing perfectly straight.
Relying on electronic trim to fix a poorly installed servo horn is a common rookie mistake. Mechanical centring is always the better way. Once that's done, you'll set your End Point Adjustments (EPA), or "travel," on your radio. This prevents the servo from binding against the chassis and burning out. Simply turn the wheel fully left and right on your transmitter, adjusting the EPA until the steering stops just before it hits its physical limit.
Calibrating the Throttle for Smooth Power
Calibrating your Electronic Speed Control (ESC) is one of the most important steps new builders miss. This quick process syncs the ESC to your transmitter's throttle range, ensuring you get predictable power and responsive brakes. Skip this, and you might end up with a laggy throttle, weak brakes, or other weird issues.
The whole point of ESC calibration is to teach the controller where "neutral," "full throttle," and "full brake/reverse" are on your specific transmitter. Every radio is a little different, so this isn't an optional step.
While the exact procedure varies slightly by brand, the core process is nearly universal:
- With everything powered on, you’ll typically enter calibration mode by holding a "set" button on the ESC as you turn it on.
- The ESC will then ask you to leave the throttle at neutral, pull for full throttle, and finally push for full brake.
- A series of beeps or flashing lights will confirm that the settings are saved.
This simple two-minute job unlocks the full performance of your motor and ESC. For specific instructions, always refer to the manual for your Hobbywing, Maclan, or other ESC.
The First Power-On Checklist
Before you connect that LiPo for the first time, run through this quick safety check. It takes seconds and can save you from frying your brand-new electronics.
- Check Pinion Mesh: Make sure there's just a tiny amount of play between the pinion and spur gear.
- Verify Wiring: Do a final check that all connections are secure and the polarity is correct—red to red, black to black.
- Remove Wheels: It's always a good idea to power up for the first time with the wheels off, just in case the motor lurches unexpectedly.
- Transmitter First: Always power on your transmitter before the car, and turn the car off before the transmitter. This classic rule prevents runaways.
Properly installing and calibrating the electronics in your RC car build kit is what truly completes the build. Take your time here. A well-sorted car is reliable, responsive, and ready for fine-tuning at the track.
Mastering Your Initial Setup and Tuning
A perfectly built RC car build kit is a massive accomplishment, but the assembly is really just the beginning. The secret to unlocking its real performance on the track is all in the setup and tuning. This is where you stop being a builder and start thinking like a race engineer, making tiny, precise tweaks that deliver huge gains in speed and consistency.
That first run out on the track—what we call the "shakedown"—isn't about chasing lap records. It's purely about making sure every component works exactly as it should and establishing a solid, reliable baseline. From that starting point, every change you make becomes a calculated step toward a faster, more planted car.
The Three Pillars of a Baseline Setup
Before you even dream of hitting the throttle, there are three fundamental things you need to get right: ride height, camber, and toe. These adjustments are the absolute foundation of your car's handling. Get them dialled in, and you'll have a predictable car to work with.
-
Ride Height: This is simply the gap between the bottom of your chassis and the track surface. Lowering it usually adds grip on smooth, high-bite tracks but can make the chassis slap the ground over bumps. A great starting point for most 1/10 touring cars is somewhere between 5.0mm to 5.5mm.
-
Camber: This is the angle of your tires when you look at the car from the front or back. Negative camber, where the top of the tire leans inward, is key for generating grip in the corners. A standard baseline setting is -1.5 to -2.0 degrees on all four corners.
-
Toe Angle: This is all about the direction your wheels point. For the front, "toe-out" (wheels pointing slightly away from each other) helps the car turn in more sharply. In the rear, "toe-in" (wheels pointing toward each other) adds crucial stability when you're hard on the power.
Look, you can try to eyeball these settings, but it's nearly impossible to do it accurately. Investing in a quality setup station with proper ride height and camber gauges from our shop is the single best move you can make. It guarantees your settings are precise and, more importantly, repeatable.
Fine-Tuning Your Suspension
With the basic geometry sorted, your shocks become the primary tool for tuning how the car handles the track itself. The two biggest variables you'll play with are the shock oil viscosity and where you mount the shocks.
Changing the shock oil's weight (measured in cst or wt) dictates your damping. Thicker oil slows the shock down, making the car feel more stable but a bit numb over bumps. Thinner oil does the exact opposite, freeing up the car and making it more responsive.
Moving the shock mounting positions on the tower and suspension arms changes the suspension's leverage. If you lay the shocks down (using the holes closer to the car's centreline), the suspension gets softer and generates more grip—perfect for bumpy or low-traction tracks. Standing the shocks up makes the car feel more direct and responsive, which is exactly what you want on high-grip carpet.
Here in Canada, the on-road RC scene is incredibly vibrant, with clubs and tracks pushing racers to find versatile setups. The on-road competition is fierce, making precise tuning absolutely critical for anyone wanting to be competitive. Getting your hands on the right tuning options, from springs to sway bars, is key to staying ahead.
A Practical Baseline for Your First Run
To get you going, here’s a solid, neutral setup that works well on most medium-grip asphalt or carpet tracks. Use this as your starting point, and tune from here.
| Setup Parameter | Front Setting | Rear Setting | Effect on Handling |
|---|---|---|---|
| Ride Height | 5.2mm | 5.2mm | A balanced starting point for most surfaces. |
| Camber | -1.5 degrees | -1.5 degrees | Provides good cornering grip without excessive tire wear. |
| Toe | 1.0 degree out | 3.0 degrees in | Gives sharp steering response with a stable rear end. |
| Shock Oil | 450 cst | 450 cst | A neutral damping rate for predictable handling. |
Once you get these settings dialled in with precise tools from our collection, your new RC car build kit will feel well-behaved and predictable for its first shakedown. The key from here is to make only one change at a time, test the results, and feel how each adjustment affects the car on track. That methodical approach is what separates the good tuners from the great ones.
Common Questions About Building Your RC Car
Even with a detailed guide in hand, diving into your first RC car build is bound to stir up a few questions. That's totally normal. To help you build with confidence, we've put together some answers to the most common things we hear from hobbyists just like you.
Think of this as your personal build-day FAQ. Getting these details sorted out from the start makes the whole process smoother and a lot more fun.
What Are The Most Essential Tools For My First Kit?
A massive toolbox might look the part, but you can build almost any high-performance kit with just a handful of quality tools. Honestly, investing in good tools right from the get-go is one of the smartest moves you can make—it saves you from stripped screws and turns potential frustration into a satisfying build experience.
These are the absolute non-negotiables for your workbench:
- Quality Hex Drivers: You'll be using 1.5mm, 2.0mm, and 2.5mm sizes constantly. Don't cheap out here; hardened steel tips are a must.
- Nut Drivers: Your go-to sizes will be 5.5mm for M3 nuts and 7.0mm for M4 wheel nuts.
- Specialty Pliers: A good pair of needle-nose pliers is essential, but dedicated shock pliers for gripping shock shafts without scratching them are a total game-changer.
- Precision Hobby Knife: Perfect for cleaning up flash or trimming extra plastic from moulded parts to ensure everything fits just right.
You'll also need a decent soldering iron for wiring up your motor, ESC, and battery connectors. Oh, and don't forget a small bottle of thread-locking compound for any screw going into a metal part—it's crucial. Using the right tools, like the ones in our hand-picked collection, really does make all the difference.
Should I Choose a Brushed or Brushless Motor?
This is a classic question, and the answer really comes down to your budget and what you plan to do with the car. A brushed motor system is the traditional, more affordable route. It's a simpler design that provides good power, making it a fine entry point for a Tamiya kit. The downside? It requires more maintenance, like cleaning the commutator and eventually replacing the brushes.
A brushless system, however, is a massive leap forward in performance. It gives you way more power, higher top speeds, and fantastic efficiency with virtually zero maintenance. For any kind of racing or serious hobby use, a sensored brushless setup is the undisputed standard.
A sensored system delivers the smoothest throttle control you can imagine. That silky-smooth response is critical for putting power down, maintaining traction, and hitting your lines perfectly on the track. While it costs more upfront, the performance and durability make it a worthwhile long-term investment.
For the 1/10 and 1/12 scale kits we focus on, we almost always recommend a quality sensored brushless system from a brand like Hobbywing or Maclan. It's the only way to unlock the true potential of a high-performance chassis.
How Do I Fix Steering That Is Not Centred?
This is probably the most common setup hiccup we see, but thankfully, the fix is straightforward and precise. If your car pulls to one side when the steering wheel is straight, the solution is mechanical, not electronic.
First things first, make sure your transmitter's steering trim is dialled back to zero. Power on your car and your radio. Now, carefully pop the servo horn off the servo. With power on, the servo will automatically find its true centre position.
Next, re-attach the horn so it's as perfectly perpendicular to the servo as possible—straight up and down. From there, you'll use the steering links (the turnbuckles) to make those final, small adjustments until your front wheels are pointing dead straight. Just trying to fix a crooked servo horn with your radio's trim is a big mistake; it will give you an unequal steering throw, meaning the car will turn sharper in one direction. This mechanical centring method is the only way to get balanced, predictable handling.
At digitalrc.ca, we're here to support you through every step of your build, from choosing the kit to tuning it for a win. Explore our complete collection of premium kits, electronics, and tools to get your next high-performance project started. Build your next champion at digitalrc.ca.