

A Pro's Guide to RC Cars Kits to Build and Tune
For any serious competitive racer, picking the right kit isn't just the first step—it's the most important one. Your kit is so much more than a box of parts. It’s the very foundation of a machine that can either dominate the track or leave you struggling in the back of the pack. A top-tier kit gives you the adjustability and durability you need to turn your driving skill into podium finishes.
Choosing Your Winning RC Car Kit
Your journey to the top of the leaderboard starts here. This isn't about just picking a car that looks fast on the shelf; it's about selecting a chassis that’s a perfect match for your racing class, the tracks you'll be on, and your personal driving style. At Digital-RC, we’ve curated our selection specifically for high-performance 1/10 touring and 1/12 pan car racing, so you know every kit we offer is a potential winner.
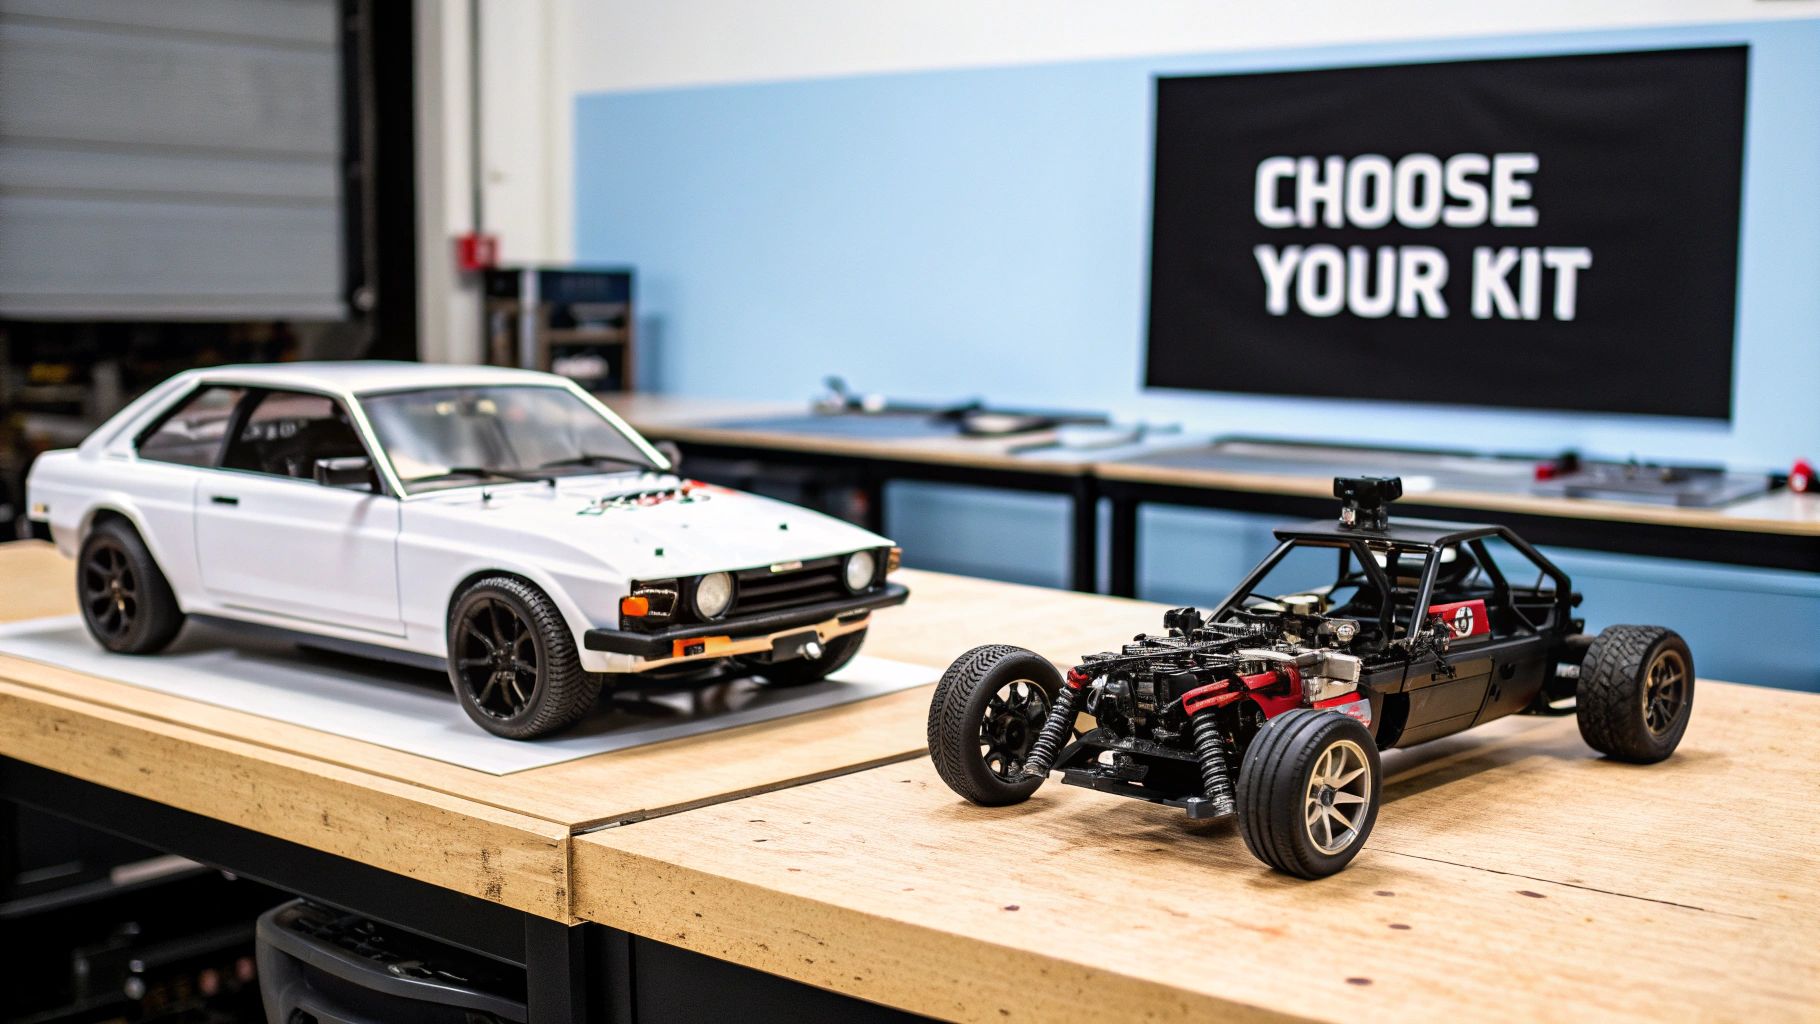
Take chassis materials, for example. The choice between carbon fibre and aluminum has a massive real-world impact on performance. Imagine you're prepping for a big race on a high-grip indoor carpet track. A chassis with a stiff carbon fibre construction is going to give you that immediate, razor-sharp response needed for lightning-fast direction changes.
Now, picture a bumpy, low-grip outdoor asphalt circuit. Here, a more flexible aluminum chassis might be the better weapon, as it can generate more mechanical grip and feel far more predictable when the track gets tricky. Our kits from brands like XRAY often come with options for both, allowing you to fine-tune your car's flex characteristics.
Drivetrain Decisions: Shaft vs. Belt Drive
Another critical decision you'll face is the drivetrain. In 1/10 touring cars, your two main options are shaft drive and belt drive, and they each have very distinct personalities on the track.
- Belt Drive: Known for its incredibly smooth and efficient power delivery. This buttery-smooth feel can make the car easier to handle, especially in high-power modified classes where taming the beast is half the battle. This is the design philosophy behind top-tier kits like the XRAY X4.
- Shaft Drive: This setup offers a more direct, punchy acceleration. That instant throttle response can be a huge advantage in stock racing classes, where every millisecond you gain rocketing out of a tight corner counts. The Awesomatix A12 is a prime example of a dominant shaft-driven design in the 1/12 pan car class.
Your choice here directly shapes the car's on-power steering feel and overall character. A belt-driven car often feels more fluid and linear, while a shaft-driven car can feel more aggressive and twitchy to throttle inputs. Neither is universally "better"—the right choice is the one that complements your driving style.
The goal is to build a car that feels like a natural extension of yourself. Every component, from the chassis material to the drivetrain, contributes to that critical connection between driver and machine. The build process itself becomes a strategic advantage.
Matching the Chassis to the Track
Think of your RC car kit as a specialized tool. You wouldn't use a hammer for a screw, and you shouldn't choose a kit that fights the track you're on. High-performance kits from brands like Awesomatix and XRAY are engineered with specific environments in mind.
A kit with a mid-motor layout, like the Awesomatix A800MMX, is often the go-to for high-grip surfaces because it promotes better rotation and corner speed. On the other hand, some setups might give you that extra bit of rear traction you need on a slippery surface. Understanding these design philosophies is key.
- High-Grip Carpet: Look for kits with features like a stiff chassis, aggressive suspension geometry, and options for short shocks. These elements are all designed to maximize cornering speed and responsiveness.
- Low-Grip Asphalt: Here, you'll want kits with more chassis flex, longer suspension arms, and layouts that promote rear weight bias. These features help the car dig in, generate more grip, and stay stable.
Ultimately, selecting the right kit from our catalogue at Digital-RC means looking beyond the spec sheet. It’s about picturing how the car will behave on your home track and in your hands. It’s about making an informed decision that sets you up for success long before you tighten the first screw. This thoughtful approach to choosing from the many RC cars kits to build is what separates the casual hobbyist from the serious competitor.
Getting Your Electronics Dialed In
Okay, you’ve picked out your chassis. Now for the fun part: bringing it to life. The electronics you choose are the heart and soul of your race car, turning that beautiful rolling kit into a razor-sharp track weapon. Getting the power plant and control system right is everything, and here at Digital-RC, we stock the components you need to build a perfectly matched, high-performance package for any competitive class.
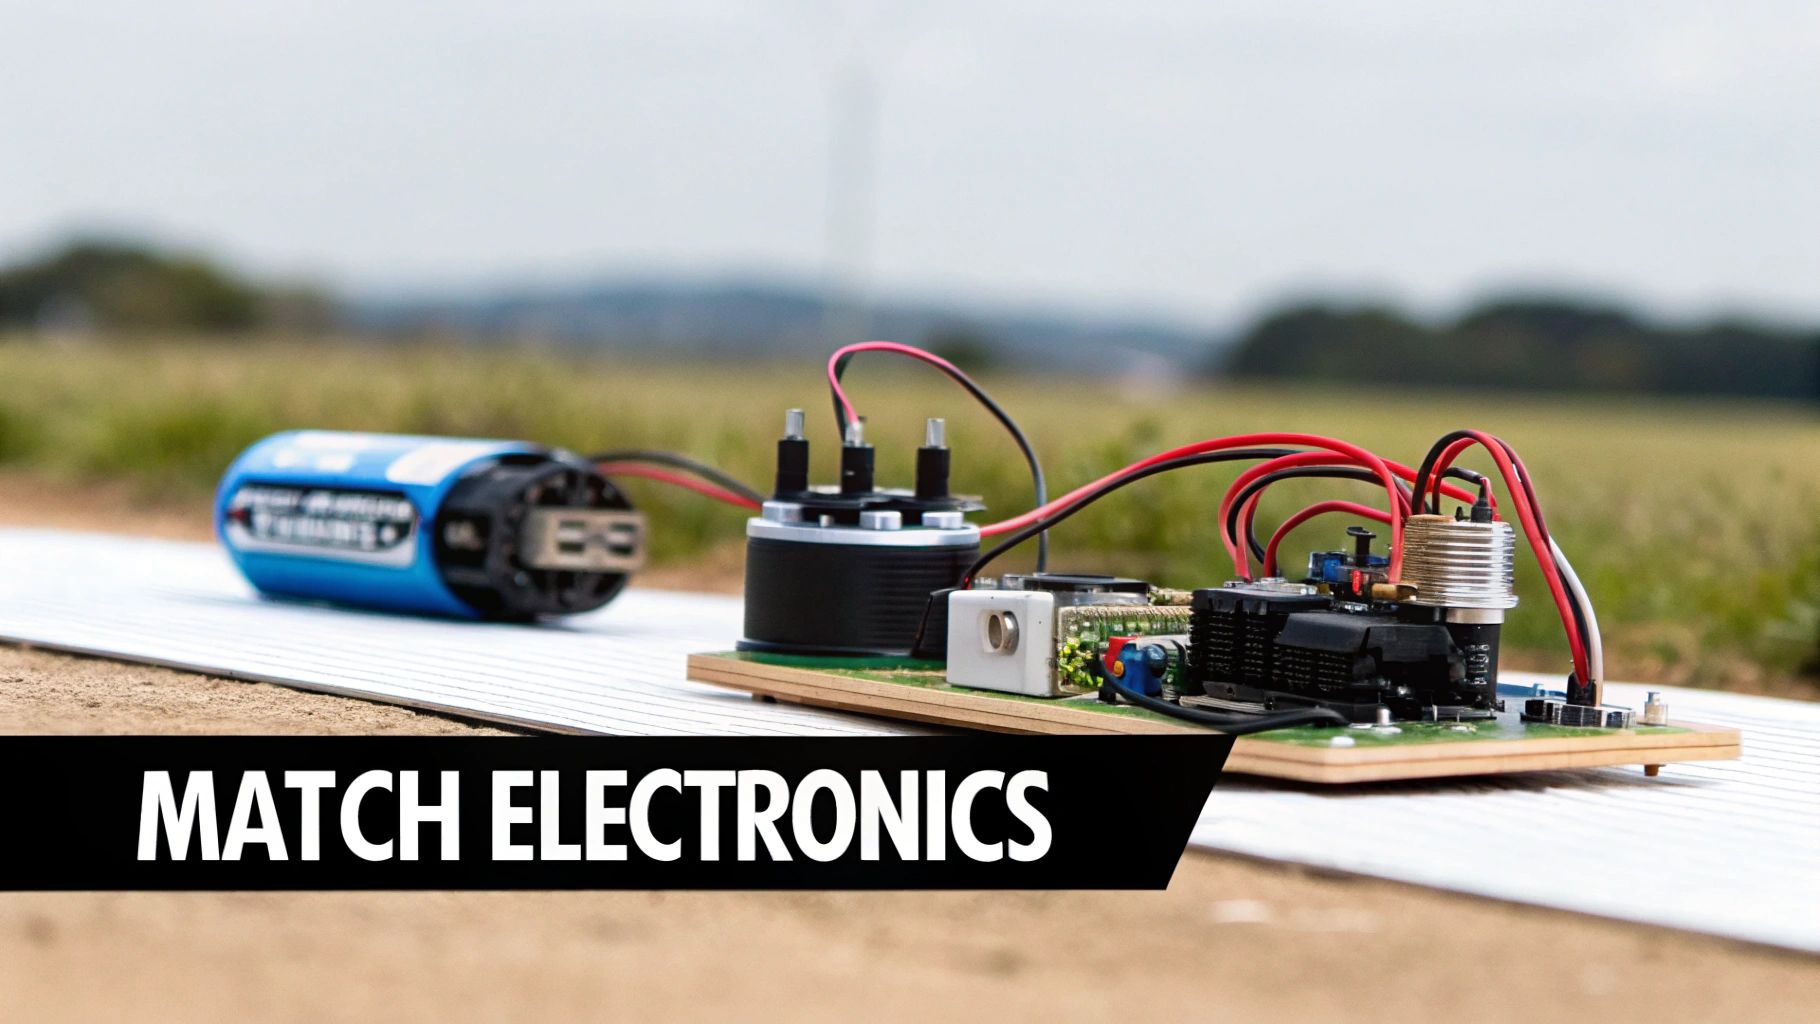
Before you even think about adding items to your cart, you need to know your racing class inside and out. Competitive RC is usually split into two main camps: Spec and Modified.
Spec classes, like the incredibly popular 17.5T stock touring category, put a hard limit on motor power. This levels the playing field and makes the racing all about driver skill. Modified, on the other hand, is the wild west—very few motor restrictions mean you're dealing with insane speeds where managing all that power is the name of the game.
This single distinction drives your entire decision-making process for your Electronic Speed Controller (ESC) and motor. For any sanctioned event, like those under ROAR (Remotely Operated Auto Racers) rules, spec class ESCs have to run in "blinky mode." This setting kills any electronic timing advance, guaranteeing no one has a secret horsepower advantage tucked away in their ESC settings.
Choosing Your Motor and ESC Combo
Think of your motor and ESC as a single unit. They have to work together perfectly. For a 17.5T spec build, this means a ROAR-approved motor and a top-tier ESC that runs cool and efficient in blinky mode. We carry proven winning combos from brands like Hobbywing and Fantom Racing that are engineered for this exact purpose.
Here’s a quick overview of what to consider when picking your electronics for 1/10 Touring Cars.
Essential Electronics for Competitive 1/10 Touring Car Kits
| Component | Spec Class (e.g., 17.5T) | Modified Class (e.g., 5.5T) | Key Consideration |
|---|---|---|---|
| ESC | ROAR-approved, "blinky" mode | High continuous amp rating (160A+) | Smooth power delivery and reliability are non-negotiable. |
| Motor | ROAR-approved 17.5T | 4.5T - 6.5T typical | Choose based on track size—torque for short tracks, RPM for long straights. |
| Servo | Low-profile digital servo | Low-profile digital servo | Speed (under 0.07s) and torque (12-15 kg/cm) are critical. |
| Battery | 2S LiPo (ROAR-approved) | 2S LiPo (ROAR-approved) | High C-rating for punch; low internal resistance for consistent voltage. |
This table should give you a solid starting point. The goal is to create a balanced system where no single component is holding another back.
- ESC Selection: Go for an ESC like the Hobbywing XR10 Pro G2S with its high continuous amp rating and a reputation for smooth power delivery. A quality ESC just feels better and delivers consistent performance lap after lap. For a deeper dive, check out our guide on matching your ESC to your motor to get it perfect.
- Motor Choice: In spec racing, not all motors are the same, even with the same turn rating. Some are torque monsters, great for punching out of tight corners. Others are built to scream down the straights with high RPM. Your home track's layout should heavily influence your choice.
The Servo and Radio: Your Connection to the Car
The motor and ESC get you going fast, but your servo and radio system are what get you through the corners. This is your direct link to the car, translating your commands into precise movements on the track.
A servo's performance boils down to two numbers: speed and torque.
- Speed: This is how fast the servo can sweep from one side to the other. A quicker servo (lower transit time) lets you make lightning-fast corrections and turn in more aggressively.
- Torque: This is the servo's muscle. You need enough torque to hold your steering angle through a high-G sweeper without the cornering forces pushing the wheels off-line.
For any competitive 1/10 touring car, a fast, strong, low-profile digital servo like the ones we stock from ProTek RC is the only way to go. It’s the key to that locked-in, responsive feel every racer chases.
Your radio system is the lifeline to your car. One with low latency—the tiny delay between your input and the car's reaction—is absolutely mandatory. A fraction of a second is the difference between nailing the apex and tagging the board.
By selecting each electronic component with care, you're building a cohesive system where every part works in harmony. That synergy is what separates a good build from a race-winning one, giving you a car that’s not only fast but also predictable and confidence-inspiring to drive on the absolute limit. This deliberate approach to assembling RC cars kits to build is the mark of a true competitor.
Setting Up Your Pro Build Station
A championship-winning car is born long before it ever hits the track. Its journey doesn’t start when you open the kit—it begins at your build station. A clean, organized, and properly equipped workspace is the secret weapon of every top-tier mechanic, ensuring every screw, shim, and solder joint is perfect from the start.
This isn’t about having a massive workshop; it’s about having the right tools and a methodical approach. The difference between a good build and a great one often comes down to the precision that professional tools provide. Trying to assemble a high-end chassis with a cheap, rounded-out hex key is a recipe for stripping a screw in an expensive carbon fibre part. We’ve all been there.
The Tools That Make the Difference
Building modern race kits requires specialized equipment. While a basic set of drivers will get you started, stepping up to purpose-built tools will save you time, frustration, and money in the long run. They allow for a level of precision that general-purpose hardware store tools simply can't match.
Here are the non-negotiables for a pro-level build station:
- Quality Hex Drivers: Invest in a set of hardened-steel hex drivers (1.5mm, 2.0mm, 2.5mm) from brands like MIP or HUDY. They provide a much better fit than L-shaped Allen keys, drastically reducing the risk of stripping screw heads.
- Shock Pliers: These multi-purpose tools are essential for building silky-smooth shocks. They let you grip the shock shaft without scratching it and help with popping ball ends on and off.
- Precision Gauges: A digital caliper, ride height gauge, and camber gauge are critical. You can't eyeball a setup and expect it to be fast; these tools ensure your car is perfectly symmetrical and set to your exact specifications.
Beyond these, a temperature-controlled soldering iron is mandatory for clean and reliable electronics work. A good iron ensures you get a solid connection without overheating and damaging sensitive components like your ESC or motor.
Organizing for Efficiency
An efficient build area is one where everything you need is within arm’s reach. You don't want to be hunting for a 0.1mm shim in the middle of building a differential. This is where a simple organizational system pays huge dividends.
A well-prepared build station does more than just organize parts; it fosters a mindset of precision. When every tool and component has its place, you can focus entirely on the quality of your assembly, which translates directly to on-track performance and reliability.
Magnetic parts trays are a lifesaver for keeping track of tiny screws and washers. Additionally, having your go-to chemicals—like thread-lock and shock oil—clearly labelled and accessible prevents costly mistakes. For example, accidentally using high-strength red thread-lock on a screw that needs to be removed for routine maintenance can turn a simple adjustment into a nightmare. Always use a medium-strength (blue) thread-lock for metal-to-metal screws that you'll need to disassemble later.
To find the right equipment for your bench, you can explore our full range of professional RC setup tools that are curated for competitive racers.
While you're focused on building the latest high-tech racing machine, it's interesting to note the enduring value of classic kits. Vintage Tamiya RC car kits have skyrocketed in value in California collector markets, with mint, unbuilt early off-roaders like the 1984 Grasshopper fetching up to $3,000 at 2025 auctions. This surge is driven by a strong collector scene and nostalgia for iconic models, showing how much passion exists in the RC world.
Assembling Your Kit with Pro Insights
This is where the real fun begins. There’s nothing quite like opening up those bags of precision-machined parts and watching your high-performance machine take shape. Think of the instruction manual as your map, but consider this guide your seasoned co-pilot, here to point out the little tricks that manuals never mention. We're not just following steps; we're building with intention to make sure your car is mechanically perfect right from the bench.
A methodical approach is everything. I always break down my builds into logical phases: chassis, drivetrain, suspension, and finally, electronics. Tackling it this way stops you from feeling overwhelmed and helps you catch any potential issues early on. Before you even snip open bag one, lay everything out on a clean, organized build station.
This simple workflow is what I use for every single build—it’s all about getting organized before you start turning wrenches and firing up the soldering iron.
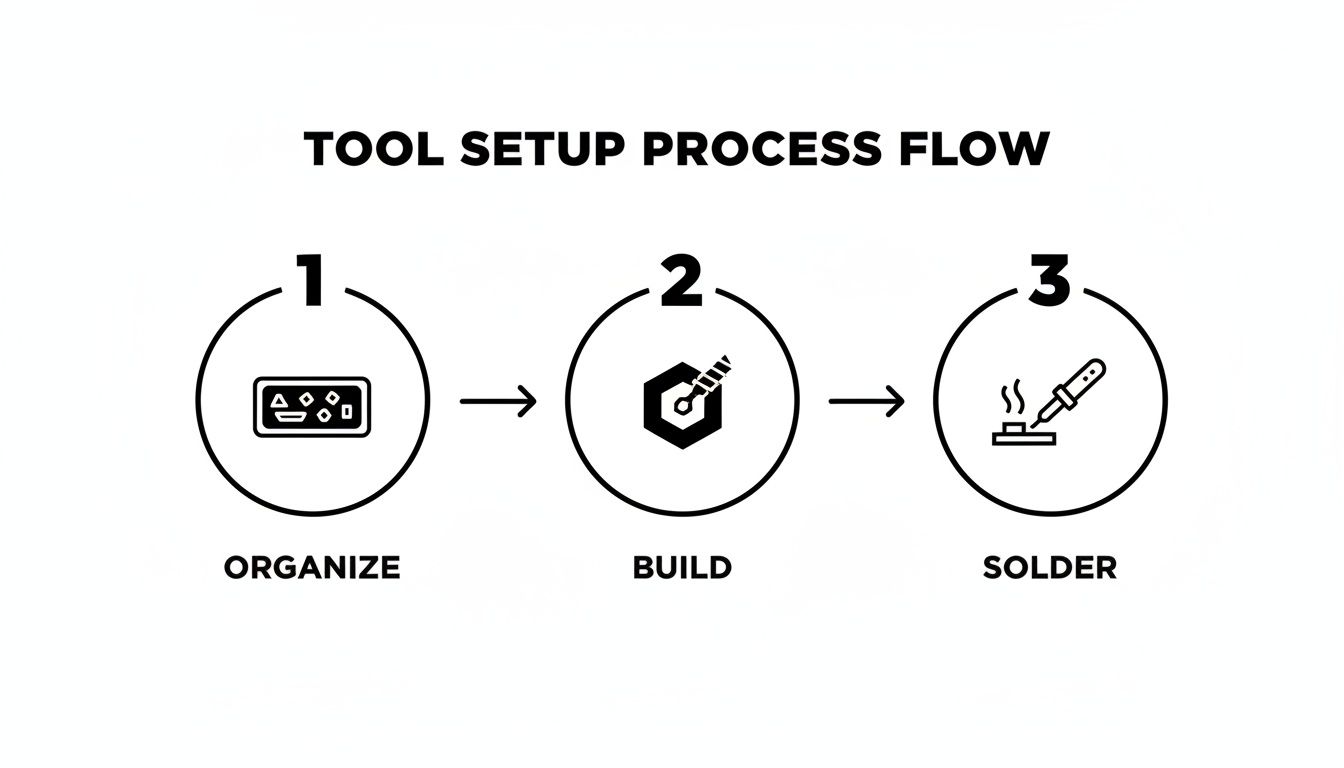
This process highlights that a successful build isn't just about assembling parts. It's a structured approach where preparation and key tasks get the dedicated focus they deserve.
Chassis and Drivetrain Foundations
Nearly every kit build starts with the chassis and differentials—the backbone of your car. As you start attaching the bulkheads to the carbon fibre plate, pay close attention to screw lengths. It’s an easy mistake to make, but using a screw that's even a millimetre too long can damage a part or, even worse, tweak the chassis and ruin its handling.
The differential is the first place where your attention to detail has a direct impact on the track. A poorly built diff will feel notchy, leak fluid, or make the car's handling inconsistent. The goal is a diff that's buttery smooth but has zero slop.
- Shimming for Success: Proper shimming is the secret to a free-spinning drivetrain. When the differentials are installed in the bulkheads, there should be almost zero side-to-side play, but they must spin freely without any hint of binding. Use thin shims to dial in that perfect balance.
- Diff Fluid Finesse: When you fill a gear diff, make sure you get the level right and give the oil a few minutes to settle. This lets any air bubbles escape, guaranteeing consistent performance from the start of the race to the finish.
A free-spinning drivetrain is free horsepower. Every bit of friction you eliminate during the build means more power makes it to the wheels. In ultra-competitive stock racing, that's a massive advantage.
Building a World-Class Suspension
Next up is the suspension, the most dynamic part of the car. I can't stress this enough: perfectly built shocks are the single most important factor for good handling. If your shocks are inconsistent, the car will be unpredictable and impossible to drive at the limit. The mission here is to build four shocks that are absolutely identical, with silky-smooth action and zero air bubbles.
This part can feel a bit tedious, but the patience you invest here pays off massively on the track. When you assemble the shock cartridges, use a tiny dab of green slime or shock o-ring grease. It creates a perfect seal without causing any unwanted friction, or "stiction."
After filling the shocks with oil, let them sit for several minutes with the shafts fully extended. This gives all the tiny air bubbles time to rise to the top. Slowly cycling the piston up and down will help release any that are trapped. The final step is "bleeding" the shock to set the rebound. Follow the manual, but aim for perfect consistency across all four. For a solid baseline setup, a target of around 25% rebound is a great starting point.
Clean Wiring for Ultimate Reliability
The final construction phase is installing the electronics. This is where a build can go from looking professional to looking like a rat's nest. A tidy wiring job isn't just for looks; it dramatically improves reliability and makes trackside maintenance a whole lot easier.
Before you even touch the soldering iron, plan your layout. Place the ESC, receiver, and motor where they'll go and visualize the shortest, cleanest path for every wire.
- Measure Twice, Cut Once: Keep your wires as short as you can without putting them under tension. Any excess wire adds unnecessary weight and creates a risk of it getting snagged in the drivetrain.
- Use Braided Sleeving: For that pro-level finish, grab some braided wire sleeving. It bundles your wires together neatly, protects them, and gives the car a polished look that’s also easy to clean.
- Secure Everything: Use thin zip ties or quality double-sided tape to secure your wires to the chassis. A loose wire that gets caught in a belt or suspension arm can end your race in an instant.
By focusing on these pro insights while assembling your rc cars kits to build, you're doing more than just putting parts together. You're building a solid foundation for speed, ensuring your car is not only fast but also durable and consistent, lap after lap.
Your First Setup for Track Domination
A perfectly built car is just the starting point. The setup is what turns that mechanical potential into blistering lap times, bridging the gap between your workbench and the winner's circle.
The goal isn't to chase some "magic" setup right away. Instead, we're going to establish a solid, neutral baseline that you can trust and tune for any track condition you encounter.
With your beautifully assembled rc cars kits to build, diving into setup can feel a bit overwhelming. Don't sweat it. We’ll focus on the fundamentals that have the biggest impact, giving you a predictable car for that first shakedown run.
Establishing a Neutral Baseline
Every adjustment on a race car is interconnected. Change your ride height, and you'll affect your camber. That's why we always begin with a balanced, neutral setup that acts as a reliable reference point. For a typical 1/10 touring car, this is exactly where most experienced racers start.
These three settings are the foundation of a well-handling car:
- Ride Height: This is simply the distance from the bottom of your chassis to the ground. A great starting point is 5.5mm in the front and 5.5mm in the rear for carpet. For asphalt, you might go a touch higher. This single adjustment has a huge impact on weight transfer and how the car rolls through corners.
- Camber: Look at the car from the front—camber is the angle of the tires relative to the track. We start with -2.0 degrees of negative camber all around. This ensures the tire's contact patch is maximized as the chassis rolls during cornering, giving you more grip when you need it most.
- Droop: Measured with the wheels off the ground, droop dictates how far the suspension arms can travel downwards. It plays a massive role in weight transfer and traction. A good baseline is 5.0mm in the front and 4.0mm in the rear (this is measured over your ride height).
Nail these three adjustments, and your car will feel balanced and predictable from the very first lap.
To help you get started, here's a quick-reference table for a neutral setup that works well for most modern 1/10 touring cars. Think of this as your "get on the track" cheat sheet.
Baseline Setup Guide for 1/10 On-Road Touring Cars
| Tuning Parameter | Carpet Track (High Grip) | Asphalt Track (Medium Grip) | Effect on Handling |
|---|---|---|---|
| Ride Height | 5.0mm - 5.5mm | 5.5mm - 6.0mm | Lowering reduces roll; raising increases it. |
| Camber | -2.0° Front / -2.0° Rear | -1.5° Front / -1.5° Rear | More negative camber increases mid-corner grip. |
| Toe-In (Rear) | 2.5° - 3.0° | 2.0° - 2.5° | More toe-in adds rear stability on acceleration. |
| Droop (Over Ride Height) | 5.0mm Front / 4.0mm Rear | 6.0mm Front / 5.0mm Rear | More droop allows more weight transfer, increasing grip. |
| Shock Oil | 450cst - 500cst | 350cst - 400cst | Thicker oil slows suspension response, calming the car. |
Remember, this is a starting point. Your car, tires, and track will have their own unique needs, but this baseline will get you in the ballpark immediately.
Understanding Key Adjustments
With a solid baseline, you can start making small, purposeful changes. One of the most powerful tuning tools at your disposal is rear toe-in.
This is the angle of the rear tires pointing inwards towards the chassis centreline. Adding more rear toe-in (say, going from 2.5 to 3.0 degrees) almost always increases rear stability, especially when you're powering out of a corner. It makes the car feel more "planted," though it can scrub a little straight-line speed. It’s the go-to adjustment for taming a loose car.
The secret to effective tuning is to change only one thing at a time. This allows you to clearly feel the effect of that single adjustment on the track. If you change three things at once, you'll never know which one actually made the difference.
Electronics Calibration and Tire Prep
A killer mechanical setup is only half the battle. You absolutely must calibrate your ESC to your radio. This process, which is detailed in your ESC's manual, syncs your transmitter's neutral, full throttle, and full brake points. A poorly calibrated ESC leads to jerky power delivery or inconsistent brakes, making the car a nightmare to drive smoothly.
Finally, we arrive at the most critical tuning element of all: your tires. No setup change in the world can make up for the wrong tire choice or bad prep. What tire to use is entirely dependent on the track surface and even the temperature that day. For a much deeper dive, you can learn more about RC car tires in our comprehensive guide.
Preparation is just as important as selection. For carpet racing, this means applying tire additive (traction compound), letting it soak, and wiping it clean before a run. The amount of time you let that additive soak directly affects your grip levels. Mastering this process is a true art form and one of the biggest secrets to finding serious pace.
Why Digital-RC Is Your Ultimate Build Partner
We've walked through what it takes to build a truly competitive car, from the first screw to the final setup sheet. The good news is you don't have to go it alone. We stock everything you need to bring that vision to life, right here at Digital-RC.
Our selection of rc cars kits to build, electronics, and tools from top-tier brands like Awesomatix and XRAY isn't just a random collection of parts. It's a curated ecosystem. We've hand-picked components that are proven to work together, completely eliminating the compatibility guesswork that can derail a build.
This means you can confidently pair a high-performance chassis with a race-proven ESC and motor, knowing every single component is designed for a perfect fit and maximum performance. You get to spend less time worrying if parts will mesh and more time focusing on building a precise, clean, and fast race car.
Your Pit Crew for Success
Think of us as your personal pit crew, always on standby. Our team is made up of racers who have faced the exact challenges discussed in this guide. Whether you're stuck choosing the right shock oil for a specific track or trying to figure out the cleanest way to lay out your electronics, we're here to offer practical advice that actually works.
When you choose Digital-RC, you’re not just buying parts. You're gaining a partner who is genuinely committed to your success on the track. We're invested in helping you get that car built, dialed in, and across the finish line first.
And when you need something fast, we've got you covered. Our fast, same-day shipping on orders placed before noon means less time waiting by the door and more time at the track. This is absolutely critical when you realize you need a last-minute spare part or a different pinion gear for a big race weekend. We make sure you have what you need, right when you need it, to keep you competitive.
Common Questions About Building RC Car Kits
If you're jumping into the world of competitive RC car kits to build, you’re bound to have some questions. That journey from a box of parts to a race-ready machine is incredibly rewarding, but it can feel a little intimidating at first. Let's clear up some of the most common things we hear from racers just like you.
First off, what’s the real difference between a kit and a Ready-to-Run (RTR) car? An RTR comes pre-built with all the basic electronics, which is perfect for just getting your feet wet. But a kit is where the real performance advantage lies. It gives you complete control to hand-pick every single component—the ESC, motor, servo, you name it—for a fully customized build tuned for maximum speed.
Build Time and Common Pitfalls
One of the first questions people ask is, "How long will this take?" For your first 1/10 scale touring car kit, a good rule of thumb is to set aside 8 to 15 hours. The single best piece of advice I can give you is this: take your time. Rushing the build is the fastest way to make small mistakes that will come back to haunt you on race day.
The mistakes that cause the biggest headaches are almost always the simple ones. Over-tightening a screw can strip a thread or even warp a plastic part. If your shocks aren't built perfectly, your car's handling will be frustratingly inconsistent. And a bad solder joint is just a ticking time bomb waiting to fail you mid-race.
Prepping for Race Day with Spares
No matter how meticulous your build is, racing means contact. It's just part of the sport. The difference between a minor bump and a day-ending incident is being prepared. To make sure a small crash doesn't send you packing, there are a few essential spares you should always have in your pit box.
These are the parts that tend to break first in a crash:
- Suspension Arms: They take the brunt of most impacts.
- Steering Knuckles: A hard hit to the front wheel can easily snap one.
- Spur Gear: A tiny rock getting kicked up from the track can strip the teeth in an instant.
Having these spares on hand means you can make a quick repair in the pits and be back on the track for your next heat without missing a beat.
Get everything you need for your next build, from the chassis to the spares, right here at Digital-RC. Explore our curated collections of winning RC car kits and parts and enjoy fast, same-day shipping.