

Your Complete Guide to the Perfect RC Truck Build Kit
Diving into an RC truck build kit is a completely different world from grabbing a ready-to-run model off the shelf. It’s a hands-on project that connects you with your machine in a way that pre-built trucks just can't match, giving you an insider's understanding of its mechanics and total control from the very start.
Why Building a Kit Is The Way to Go
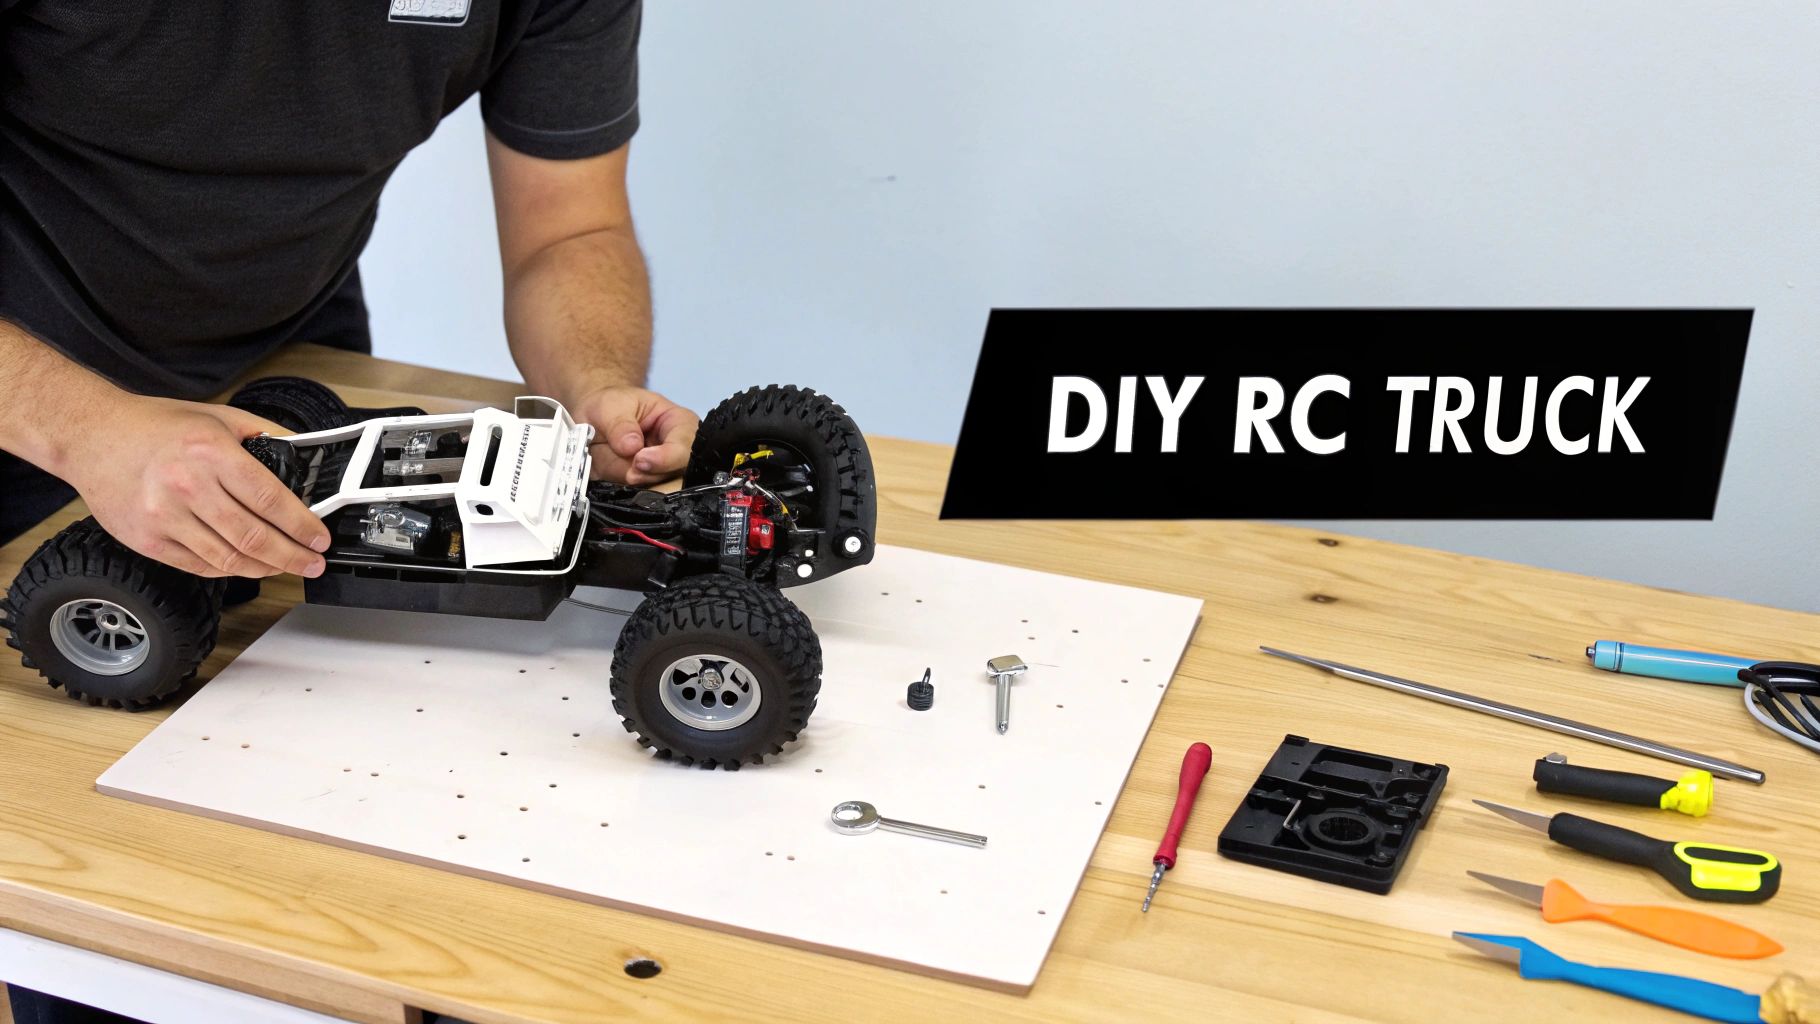
The choice between a kit and a ready-to-run (RTR) model really sets the tone for your whole experience in the RC hobby. Sure, an RTR gets you on the ground in minutes, but assembling a kit is a far more rewarding process that pays off every time you hit the track or the trail.
When you build a vehicle from the ground up, you learn exactly how every single part works together. That knowledge is gold when it comes to maintenance, troubleshooting, and tuning for better performance later on. You're not just driving it; you're the mechanic who knows every nut and bolt.
You're in Complete Control of the Performance
One of the biggest wins for a kit build is the freedom to choose your own electronics. RTRs come with pre-installed, often basic, components that get the job done. A kit, on the other hand, lets you hand-pick the perfect motor, Electronic Speed Controller (ESC), servo, and radio system to match your driving style and goals.
Here at Digital-RC, we stock a curated selection of race-proven electronics that let you build a top-tier setup from day one.
- Motor and ESC: You can select a powerhouse combo from Hobbywing or Team Powers, tailored for the low-end torque needed for rock crawling or the high-RPM insanity required for competitive racing.
- Steering Servo: Drop in a high-speed, high-torque servo from a brand like Sanwa, ProTek RC, or Reedy for the kind of sharp, responsive steering that can mean the difference between winning and coming in second.
- Radio System: Choose a transmitter from Sanwa or Futaba that feels right in your hands, with the features you actually need for a connected, confident driving experience.
This level of control means your truck is built for serious performance right out of the box, with no need for immediate "must-have" upgrades.
The Pure Satisfaction of the Build
There's a special kind of pride that comes from turning a box of parts into a fully functional, high-performance RC truck. Every step, from building the differentials to filling the shocks with oil, connects you to the machine. For a lot of us, that process is the hobby.
The North American RC truck market is booming, with over 4.5 million units sold in 2024 alone. Builder kits continue to have a dedicated following among enthusiasts who live for the hands-on assembly and deep customization that define the competitive side of the hobby. You can explore more data on RC market trends to see just how passionate the builder community really is.
Gathering Your Essential Tools and Electronics
A successful RC truck build doesn't happen by accident. It starts long before you crack open the kit box, with the right tools and components laid out and ready to go. Think of it like a chef prepping their ingredients—getting everything in order first makes the entire process smoother, more fun, and leads to a much better result.
This is the part you can't skip. Trying to build a kit with the wrong tools is a fast track to stripped screws and a whole lot of frustration. Just as importantly, pairing a high-end chassis with mismatched electronics is a surefire way to get underwhelming performance. Let's walk through the essentials you'll need to do it right.
The Essential Toolkit and Electronics Checklist
You don’t need a professional mechanic's entire setup, but a few key, high-quality tools are non-negotiable for a modern RC truck kit. Investing in good tools now will prevent damage to your new parts and make the entire assembly process a breeze. Here’s a quick checklist of the must-have tools and a look at the electronics that will bring your truck to life, with some of our top picks from the store.
| Category | Item | Our Top Recommendation |
|---|---|---|
| Tools | Quality Hex Drivers (1.5mm, 2.0mm, 2.5mm) | MIP Thorp Hex Drivers. They are the industry standard for a reason. |
| Tools | Nut Drivers (5.5mm, 7.0mm) | Matching MIP Nut Drivers for perfect fitment on wheel nuts. |
| Tools | Shock Pliers | Protek RC's shock pliers protect your shock shafts from scratches. |
| Tools | Thread-Locking Compound (Blue) | ProTek RC Thread Locking Compound secures any metal-on-metal screw connection. |
| Electronics | Motor & ESC Combo | Hobbywing or Team Powers brushless systems for power and reliability. |
| Electronics | Steering Servo | High-speed, high-torque servos from Sanwa, ProTek RC, or Reedy. |
| Electronics | Radio System | A Sanwa or Futaba 2.4GHz transmitter and receiver for a glitch-free signal. |
Having these basics on hand means you can follow the instruction manual without any frustrating interruptions. It’s the difference between a fun, rewarding build and a weekend headache.
Choosing Your Core Electronics
This is where you give your truck its personality. The motor, Electronic Speed Controller (ESC), servo, and radio system are the heart and soul of your build, and your choices here will define how it drives.
The electric RC segment now dominates the market, holding over 60% market share for a reason—it’s powerful, reliable, and endlessly tuneable. This is part of a bigger picture, with the global RC truck market on track to hit $775 million by 2030, driven by enthusiasts just like you building incredible custom machines. For a wider selection of kits and parts from other brands, you can also check out reputable online suppliers like Yasutrading.
Pro Tip: When picking electronics from our store, always double-check the product specs for compatibility. We design our product pages to make it easy to find perfectly matched motors and ESCs, taking the guesswork out of building a powerful and reliable setup.
Here's a breakdown of the key decisions you'll make, with some solid options available right from our catalogue.
Motor and ESC Combination
This is your power plant. The biggest decision is between a brushed or brushless system, and for most modern kits, brushless is the way to go. Brushless motors deliver more power, run more efficiently, and last much longer, making them the standard for racing and serious bashing.
We stock powerful Hobbywing and Team Powers combos that are proven winners on the track. If you're not sure where to start, an XR10 Pro G2S ESC paired with a G4 motor is a top-tier combination for competitive racing.
Steering Servo
Your servo dictates your truck's agility. A slow or weak servo feels sluggish and makes the truck hard to control precisely. When you're looking at specs, pay attention to two numbers:
- Speed: How fast the servo arm moves, measured in seconds per 60 degrees.
- Torque: How much turning force it can apply, measured in oz-in or kg-cm.
A high-speed, high-torque servo from a brand like Sanwa, Reedy, or ProTek RC gives you that crisp, immediate steering response you need to hit your lines perfectly, whether you're on a race track or navigating a technical rock trail.
Radio System (Transmitter & Receiver)
This is your connection to the truck. A quality 2.4GHz radio system is non-negotiable for a reliable, interference-free signal. Modern radios from Sanwa and Futaba also come with features like endpoint adjustments (EPA), dual rates, and exponential control (expo), which let you fine-tune the truck's handling to feel exactly the way you want it to.
And with our same-day delivery on orders placed before noon, we can get all these essential tools and high-performance electronics to your door fast. That way, you can get started on your build with everything you need, right from the jump.
Assembling the Chassis, Drivetrain, and Suspension
This is where the magic happens. Your RC truck build kit goes from a box of carefully organized parts to something that actually resembles the high-performance machine you've been imagining. The mechanical assembly—chassis, drivetrain, and suspension—is the heart and soul of your truck. Getting this part right pays off big time in durability and performance on the track. We're not just going to follow the manual; we're going to build a rock-solid core for your truck.
This chart lays out the entire process, from getting your tools together to starting the actual build.
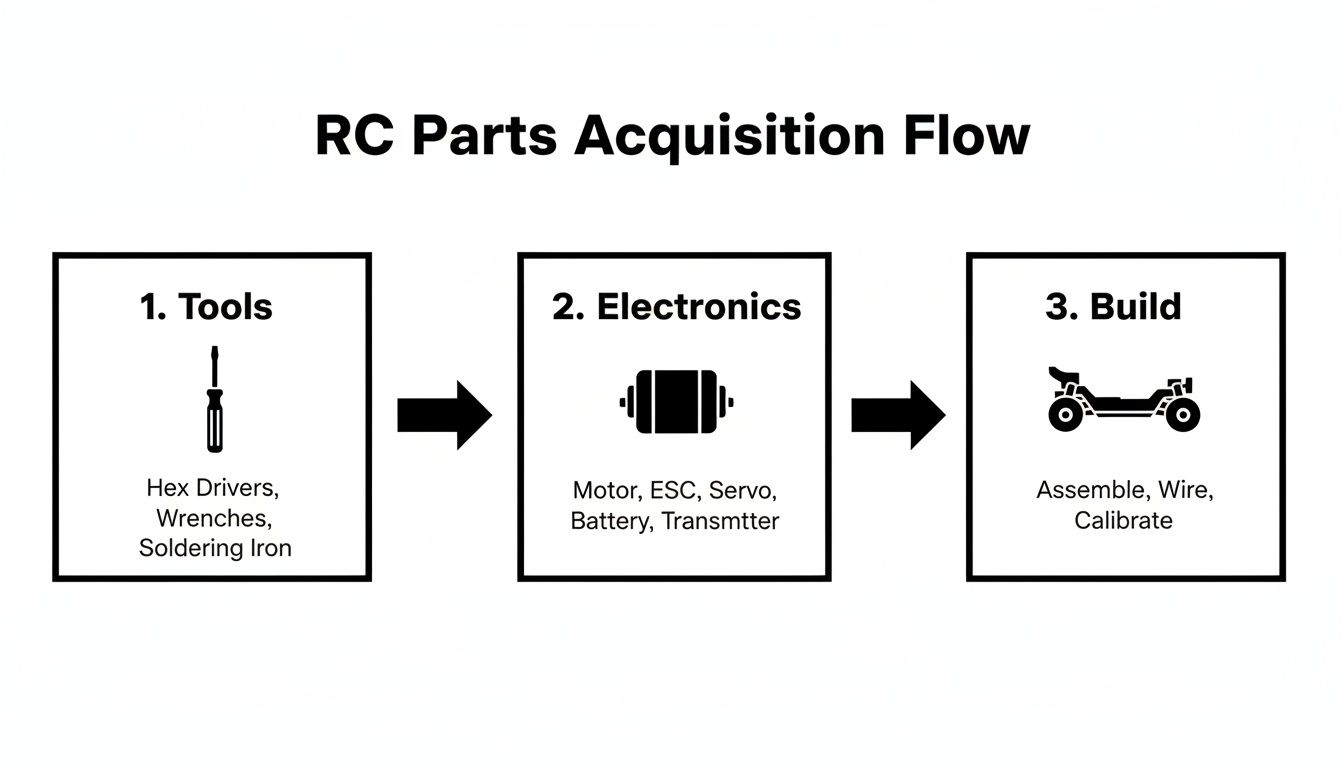
As you can see, a successful assembly starts long before you touch the first screw. Having the right tools and all your electronics on hand makes the whole process smoother.
We’ll kick things off with the main chassis rails or tub. This is the backbone of your build. As you start attaching bulkheads and chassis braces, it's time for a pro tip that will save you headaches down the road: use blue thread-locking compound on every single metal-on-metal screw. Seriously. This tiny step is crucial for preventing vibrations from shaking things loose during a hard run, which can lead to a catastrophic failure.
Building a Silky Smooth Drivetrain
The drivetrain is what gets the power from your motor to the wheels, and making it efficient is everything. A drivetrain that spins freely without any binding lets your motor work less, run cooler, and deliver more punch when you need it. It all starts with the differentials.
Be meticulous when you're filling the diffs with silicone oil. We carry a full range of diff oils from Team Associated and TLR so you can tune your setup perfectly. You want to fill the diffs just enough to cover the cross pins, then slowly rotate the gears to bleed out any trapped air bubbles. If you overfill them, the diff can "lock up" when it heats up. Underfill it, and you'll get inconsistent performance. The oil weight itself is a major tuning option—thicker oil creates more resistance, which helps put power down on high-grip surfaces.
Next up is the transmission. Whether it’s a simple direct drive or a complex multi-gear setup, the core principles are the same. Use the grease specified in the manual—typically black grease for metal gears and a lighter, clear grease for plastics. Pay close attention to shimming. Shims are just tiny washers that take up the side-to-side play in shafts and gears.
Your goal is zero slop without creating any binding. You should be able to spin the main transmission output shaft with your fingers and feel nothing but a buttery-smooth rotation. If you feel any notchiness or resistance, stop and re-check your work. This is the secret to a quiet, efficient, and bulletproof drivetrain.
Perfecting Your Suspension Assembly
With the core of the truck built, it’s time to move on to the suspension system. This means building the A-arms, hubs, and most importantly, the shock absorbers. A properly built suspension is what keeps your tires glued to the ground, giving you predictable handling over every bump and jump.
When putting together the A-arms and hubs, your number one focus is free movement. As you slide the hinge pins in, make sure the arms pivot up and down with absolutely zero binding. If an arm feels stiff, you might need to gently ream the hinge pin holes with a tool like the Team Associated Factory Team Reamer. Skipping this step puts a ton of unnecessary strain on your steering servo and leads to inconsistent handling.
Building shocks is an art form, but it’s one you can master with a little patience. Here’s how to get a perfect, air-free build every time:
- Fill the shocks with oil right to the top of the shock body.
- Slowly move the piston up and down to work out any air bubbles trapped underneath.
- Let them sit for a few minutes. This allows any tiny remaining bubbles to rise to the surface.
- Bleed the excess oil by placing the diaphragm on top and then slowly threading on the cap. The extra oil will bleed out through the small holes in the cap.
The aim here is to have absolutely zero air inside the shock. This creates smooth, consistent damping action. A shock with even a little air inside will feel springy and unpredictable.
Finally, as you attach the shocks and the camber and steering links, constantly check the suspension’s full range of motion. Compress it all the way and let it rebound. It should move freely without catching on anything. This is also when you'll start to see how adjustments like caster affect handling. Taking the time to fine-tune these settings is what separates a good build from a truly great one.
Installing and Wiring Your Electronics
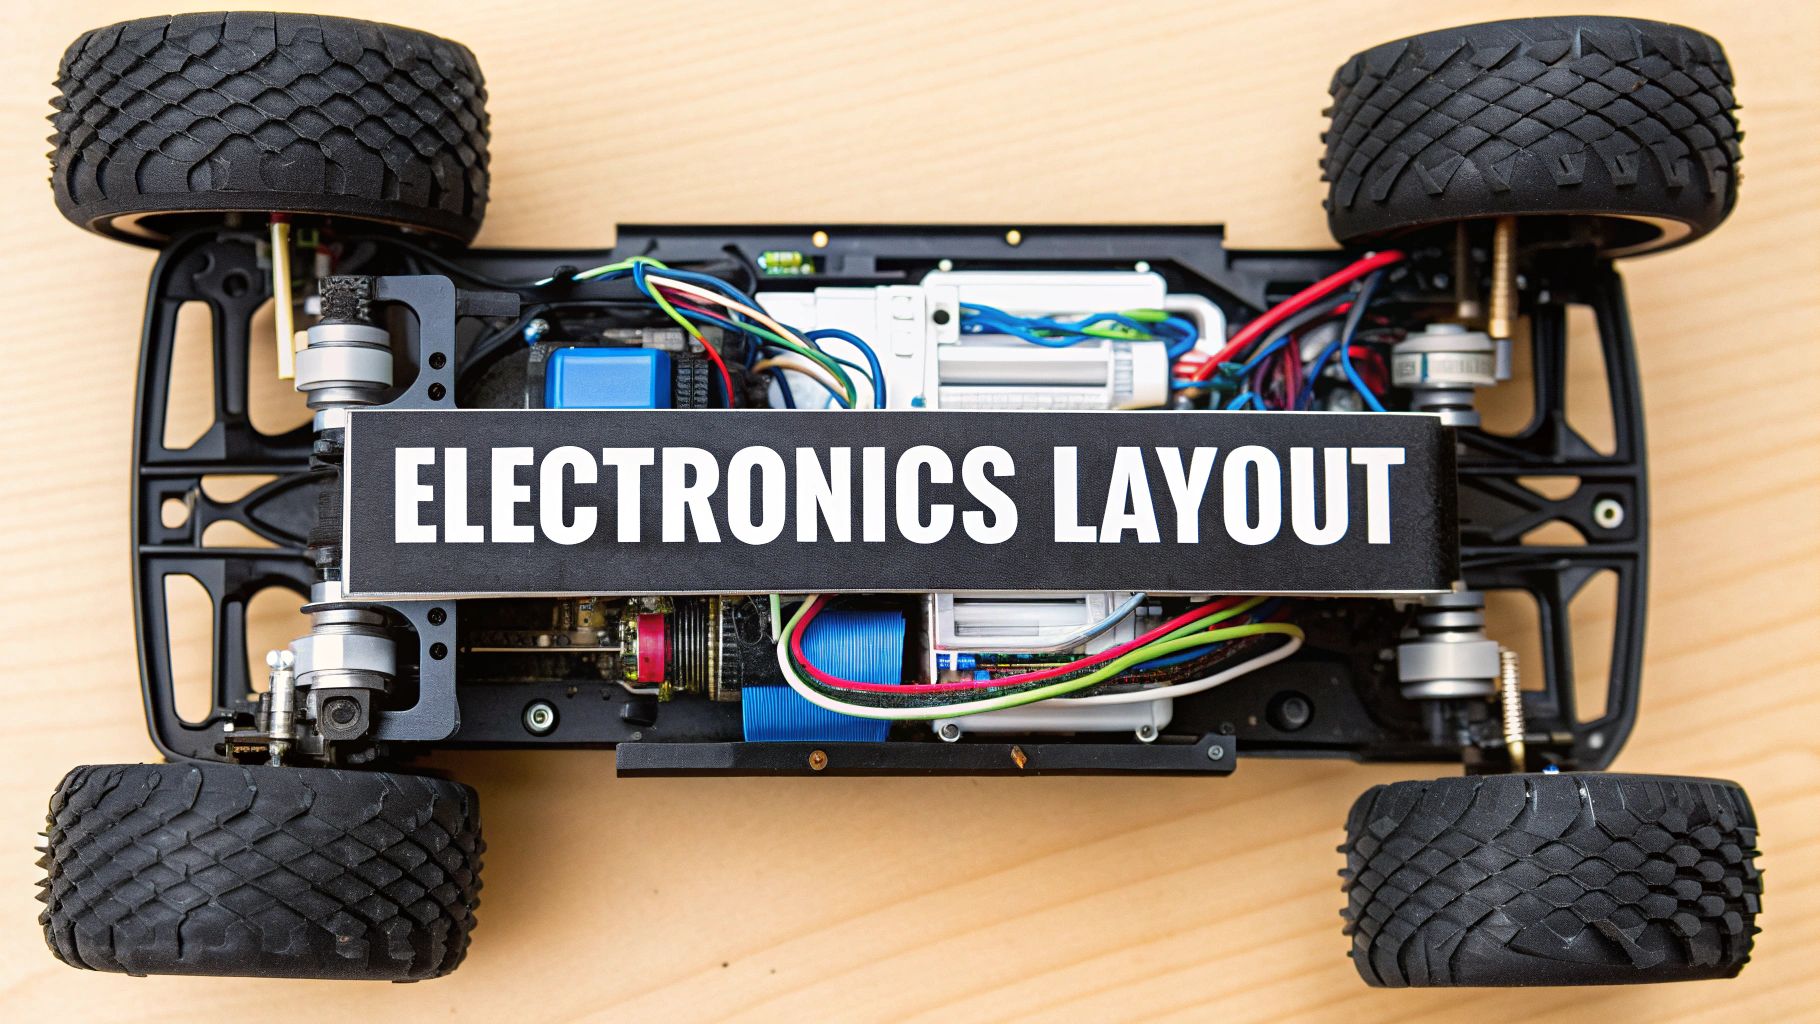
Alright, with the mechanical side of things sorted, it's time to bring your RC truck build kit to life. We're installing the nervous system: the motor, ESC, servo, and receiver. A clean electronics install isn't just for show—it's the secret to a reliable truck that’s a breeze to work on later.
The real mark of a pro build is smart wire management. You absolutely cannot have loose wires flopping around. They'll inevitably find their way into a spinning driveshaft, get snagged on the track, or worse, cause an electrical short. Our goal here is a tidy, secure setup that holds up under the abuse of bashing or racing.
Placing Your Components for Optimal Balance
Before you even think about peeling the backing off that double-sided tape, take a moment to lay all your electronics out in the chassis. Think about the weight distribution, not just front-to-back but also left-to-right. A balanced truck is a predictable truck, and that predictability is what lets you push it harder through corners and over jumps.
Most modern kits give you designated spots for everything, but you usually have a little bit of wiggle room. Try to get the heavy hitters—like the motor and ESC—as close to the centreline and as low as possible. This lowers the truck’s centre of gravity, which is a massive win for stability.
When you're handling these sensitive parts, static discharge is a real risk. It’s always a good idea to work in a protected area; professional-grade ESD workspace and storage solutions are what the pros use to prevent accidental damage.
Setting the Perfect Gear Mesh
Listen up, because this is one of the most critical steps in your entire build. Setting the gear mesh—the tiny gap between the motor's pinion gear and the main spur gear—has a huge impact on both performance and longevity. Get this wrong, and you're in for a bad time.
- Too Tight: If the mesh is too tight, you'll hear a distinct, loud whining sound. This puts a ton of strain on your motor, makes your ESC draw way too much power, and is a fast track to overheating everything.
- Too Loose: A loose mesh creates a nasty clicking or grinding noise when you hit the throttle. That's the sound of gear teeth skipping over each other, and it will shred your plastic spur gear in a matter of seconds.
The old-school method still works best. Slip a small strip of regular paper between the pinion and spur, push them together firmly while you tighten the motor screws, then rotate the spur to push the paper out. You should feel a tiny bit of "tick-tick" play when you rock the spur gear. That's the sweet spot.
Professional Wire Management and Soldering
Neat wiring is the signature of a quality build. Your main objective is to keep every wire clear of anything that moves—driveshafts, steering linkages, suspension arms, you name it. Use small zip ties or braided wire loom to bundle things up and anchor them securely to the chassis.
Pro Tip: Always leave a little bit of slack in your motor wires when you cut them to length. A chassis flexes a lot more than you'd think, and that little bit of extra wire prevents stress on the solder joints, which is a common point of failure. A short, clean run is good; a wire under tension is a ticking time bomb.
If your motor and ESC came without connectors, you’ll need to break out the soldering iron. You'll want a decent iron (at least 60 watts) and good quality solder. A strong joint should look clean and shiny. If it's dull or lumpy, that's a "cold" joint—it's weak, creates resistance, and needs to be redone.
Programming Your Electronic Speed Controller (ESC)
Before the truck can turn a wheel, you need to calibrate your ESC to your radio. This process simply teaches the ESC where the neutral, full-throttle, and full-brake points are on your transmitter. Every brand is a little different, so follow the manufacturer's instructions, but it's usually a quick and painless process.
Most ESCs from brands like Hobbywing also have a ton of settings you can tweak using a program card or mobile app. This allows you to adjust things like drag brake, punch, and timing to fine-tune performance perfectly for the track conditions.
The world of RC truck builder kits is a fascinating corner of the hobby. While ready-to-run trucks have exploded in popularity for their convenience, kits will always be the top choice for serious racers and hobbyists who demand peak performance and total customization. It’s a clear sign that people are moving beyond basic toys and are willing to invest in a true hobby-grade experience.
Performing the Initial Setup and Baseline Tune
Your RC truck has officially transformed from a box of parts into a rolling chassis. It's tempting to throw in a battery and go for a rip, but this next stage—the initial setup and tuning—is what separates a good build from a great one.
These careful calibration steps ensure your truck is controllable, predictable, and doesn't destroy its own components on the first run.
Think of this as the pre-flight check. It’s all about syncing up your electronics so they speak the same language and establishing a neutral, balanced starting point for your suspension. This baseline tune will make your first drive a success and give you a solid foundation for making targeted adjustments later. Let's get it dialled in.
Calibrating Your Core Electronics
Before your truck can move an inch, the radio, receiver, ESC, and servo all need to get acquainted. These initial electronic handshakes are non-negotiable for proper function and safety.
First up, you'll need to bind your transmitter to your receiver. This process creates a unique digital link between the two, so your truck only listens to your commands. The process is straightforward: you'll typically hold a small button on the receiver while powering it on, then turn on your transmitter. Once the receiver's light goes solid, you're locked in.
Next, and this is critical, is calibrating the ESC to your radio's throttle range. This teaches the ESC what signals mean neutral, full throttle, and full brake/reverse. Without this step, your truck might not arm, could have a delayed throttle response, or might even take off unexpectedly. Your ESC's manual has the exact steps, but it usually involves holding a button while powering on and then pulling full throttle and full brake on your transmitter.
One of the most common reasons a new build won't work is because the ESC calibration was skipped. It’s a simple but vital step that ensures smooth power delivery and prevents erratic behaviour. Always make sure your throttle trim is set to zero on the transmitter before you begin.
Finally, you have to set your steering endpoints, also known as "travel" or EPA (End Point Adjustment). This function limits how far the servo can turn the front wheels. If you skip this, the servo will try to push the steering knuckles past their physical limits, creating a buzzing sound and eventually burning itself out.
Here’s how to set them correctly:
- Turn the wheel on your transmitter all the way to the left.
- In your radio's menu, decrease the left endpoint value until the steering stops just before it hits its physical limit.
- Repeat the process for the right side.
This single adjustment will dramatically extend the life of your steering servo.
Establishing a Baseline Suspension Tune
With the electronics sorted, it's time to get the chassis set up for its first run. A good baseline tune makes the truck stable and predictable, giving you a reference point for future adjustments. We're focusing on three key areas: ride height, camber, and toe.
Ride Height
This is the distance from the bottom of the chassis to the ground. A good starting point is to have the suspension A-arms sitting perfectly level. You can adjust this by turning the spring preload collars on your shocks. Clockwise adds preload and raises the truck, while counter-clockwise lowers it.
Camber Angle
This is the vertical angle of your wheels when viewed from the front.
- Negative Camber: The tops of the tires lean inward. This is what you want—typically -1 to -2 degrees for most off-road trucks. It improves cornering grip by keeping more of the tire's contact patch on the ground as the chassis rolls.
- Positive Camber: The tops of the tires lean outward. Avoid this, as it reduces grip and creates unstable handling.
You adjust camber by shortening or lengthening the upper suspension links, often called camber links.
Toe Angle
This is the angle of your wheels when viewed from above.
- Toe-in: The front of the tires point slightly inward. A small amount of toe-in (1-2 degrees) at the rear adds stability under acceleration.
- Toe-out: The front of the tires point slightly outward. A small amount of toe-out (1-2 degrees) at the front can make steering feel more responsive on turn-in.
Start with the kit's recommended settings for these angles. They are almost always a fantastic, well-tested starting point developed by professional drivers. From there, you can make small, one-at-a-time adjustments to suit your driving style and terrain.
Common Questions About Your RC Truck Build
Even the most meticulous RC truck build kit can throw a few curveballs your way. From a stubborn electronic glitch to a tuning question you just can't crack, don't worry—you're not the first to hit these snags. Let's walk through some of the most common issues that crop up and get you back on track.
These are the little hurdles that are simple to clear once you know what to look for. Getting them right is the key to unlocking what your new truck can really do.
What Is the Most Common Mistake Beginners Make Building a Kit?
Hands down, the single biggest mistake is setting the gear mesh incorrectly. It's either way too tight or far too loose.
If it’s too tight, you'll hear a very distinct, high-pitched whining sound. That’s the sound of immense strain on your motor and ESC, which will quickly lead to overheating and potential damage.
If it's too loose, you'll hear a nasty clicking or grinding noise when you hit the throttle. That's the sound of the pinion gear's teeth skipping over—and stripping—the teeth right off your spur gear.
The goal is a tiny, almost imperceptible amount of play between the pinion and spur gears. A classic trick that still works perfectly is to slide a small strip of regular paper between the gears. Push them together, tighten down the motor, and then pull the paper out. That tiny gap is usually the perfect sweet spot for smooth power.
Why Is My Steering Not Working Correctly?
If your steering is acting up, it's usually one of a few things. First, always power on your transmitter and truck and let the servo find its natural centre before you attach the servo horn. When you do attach it, get the horn as close to a perfect 90-degree angle to the servo as you can.
If the wheels turn the wrong way when you steer, don't just flip the horn around. The right way to fix this is to use the "servo reversing" function in your radio's menu.
Most importantly, you must set your steering endpoints (you'll see this called "travel" or "EPA" in your radio settings). If you skip this, the servo will try to keep turning the steering knuckles past their physical stopping point. You'll hear a loud buzzing noise, and you will burn out your servo—quickly. Go into your radio menu and adjust the endpoints so the steering stops just shy of its mechanical limit.
My ESC Keeps Beeping and Won't Arm. What Should I Do?
This is almost always an ESC calibration issue. Your Electronic Speed Controller needs to learn the neutral, full throttle, and full brake/reverse positions from your specific transmitter. The very first thing you should do is follow the calibration steps outlined in your ESC's manual.
Before you start, make sure the throttle trim on your radio is set to zero. If you've calibrated it and it still won't arm, check if the throttle channel is reversed on your transmitter. Most modern ESCs have a safety feature that stops them from arming if they detect any throttle input at startup, which is exactly what happens if the channel is reversed.
How Do I Choose the Right Shock Oil for My Truck?
Shock oil weight, measured in "wt," is a fundamental tuning tool. It controls how fast your suspension compresses and rebounds. For most off-road trucks and on-road cars, the 30wt to 40wt oil from brands like Team Associated or TLR included in many kits we offer is a fantastic starting point.
Here’s a quick guide to get you started:
- For big jumps or high-grip tracks: You'll want a thicker oil (like 50-60wt). This slows the suspension down, which helps prevent the chassis from bottoming out on landings or rolling too much in corners.
- For rough, bumpy terrain: A thinner oil (like 25-30wt) lets the suspension react much faster. This is what you want to keep the tires glued to the surface over small, rapid bumps.
Always start with what the kit recommends. Drive the truck, get a feel for it, and then make small adjustments based on the terrain you're actually running on.
Building and fine-tuning your RC truck is a rewarding journey. For all the high-performance electronics, precision tools, and expert-grade parts you need to complete your build, digital-rc has you covered with fast, same-day delivery across Canada. Get your parts now at https://digitalrc.ca.