

Threaded insert m3: A Practical Guide for RC Cars
Think of an M3 threaded insert as a permanent metal upgrade for the screw holes in your plastic or carbon fibre RC parts. Instead of screwing directly into a soft material that can easily strip, you're creating a durable, machine-perfect thread that can be used over and over again. It’s a massive reliability boost, especially for competitive racers.
Why M3 Threaded Inserts Are a Game Changer for Your RC Car
For any serious on-road racer, especially those running high-performance kits like Awesomatix or XRAY, a single stripped screw can end a race weekend. It’s a common frustration when you're dealing with plastic or even carbon fibre parts that see frequent wrenching and high stress. This is exactly where a quality threaded insert m3 transforms your build from fragile to formidable.
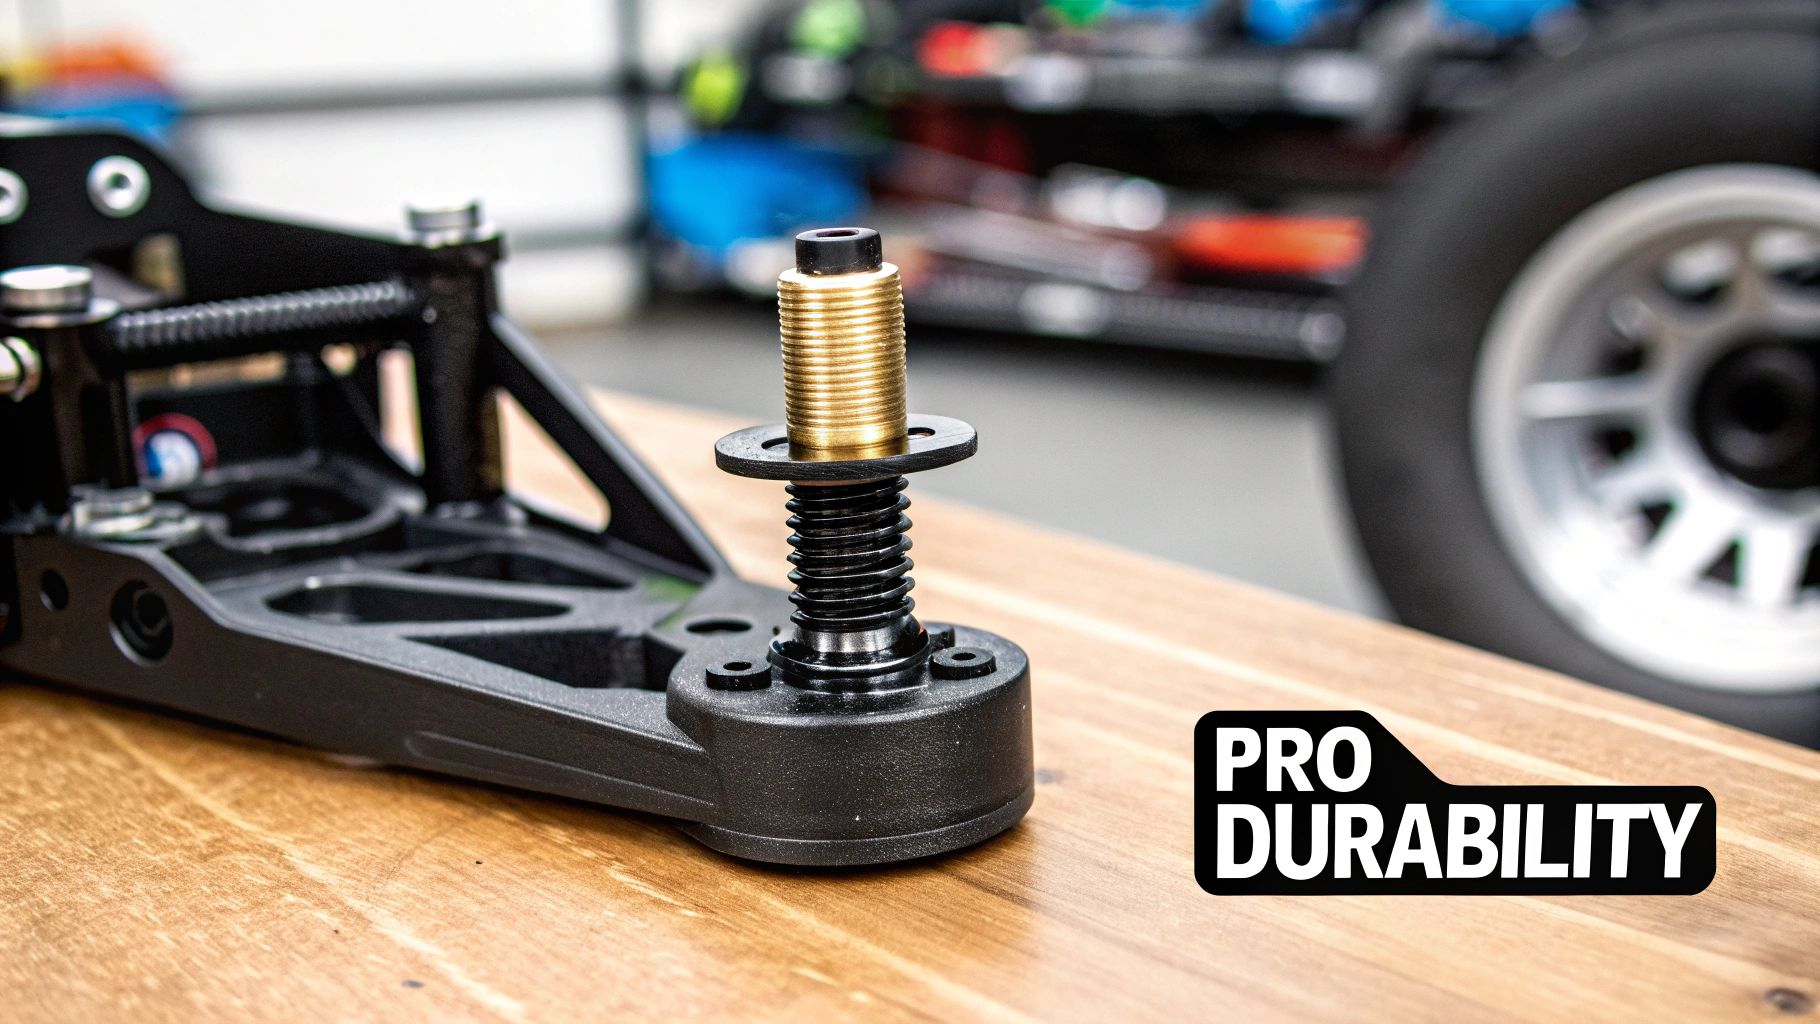
Picture yourself repeatedly disassembling a suspension mount or adjusting a servo holder. Every single time you tighten a screw back into the plastic, those threads get a little weaker. Eventually, they give way—and usually at the worst possible moment. An M3 threaded insert stops this problem cold by providing a strong, metallic point of contact.
The Core Benefits for Racers
Installing these small components gives you several practical advantages that translate directly to better performance and less time in the pits. The biggest benefits are pretty clear:
- Exceptional Durability: Metal threads can handle far more tightening and loosening cycles than plastic ever could, preventing stripped holes in critical areas like shock towers and bulkheads.
- Consistent Screw Torque: You can apply precise and repeatable torque settings without worrying about damaging the part. This ensures your setup stays consistent lap after lap.
- Faster, Reliable Maintenance: Wrenching between heats becomes quicker and more confident. You can trust that your screws will tighten securely every single time, which goes a long way in reducing pre-race anxiety.
By turning a weak point into a strength, an M3 threaded insert provides pro-level reliability. It’s not just a repair; it’s a fundamental upgrade that makes your chassis more robust and easier to work on.
Ultimately, these inserts are a small investment that pays huge dividends in peace of mind and on-track dependability. They let you push your car harder, knowing its most vital connections are completely rock-solid.
Choosing the Right M3 Threaded Insert for Your Build
Not all M3 inserts are created equal. When you're wrenching on a high-performance RC car, picking the right one is just as critical as choosing the right tyres for the track. The specific part you're modifying and the stresses it has to handle will dictate the best choice.
Your decision really boils down to two things: the installation type and the insert's material. For most of the work we do on our race cars, a few key types cover pretty much every situation you'll run into.
Matching the Insert to the Material
The most common inserts you’ll find in any serious racer's pit box are heat-set and press-fit.
Heat-set inserts are your best friend for 3D-printed parts. Think custom fan shrouds, electronics trays, or unique brackets. A quick touch with a soldering iron melts the plastic just enough for the insert’s knurled edges to bite in and lock down permanently. On the other hand, press-fit inserts are made for harder materials where applying heat is a bad idea.
The golden rule is simple: match the insert to the part's material. Trying to force a heat-set insert into a brittle composite part will likely crack it, while a press-fit insert in a soft 3D print will probably vibrate loose on the first lap.
So, before you grab an insert, ask yourself where it’s going. Is it for that PLA fan mount you just printed, or are you trying to beef up the threads in a factory composite bulkhead? That one question is the key to getting a perfect, reliable installation.
Brass Versus Stainless Steel
Once you know the type of insert you need, the next choice is the material. It’s almost always a decision between brass and stainless steel.
- Brass Inserts: These are the workhorses for most RC applications. Brass conducts heat beautifully, which makes it perfect for heat-set installations. It’s also naturally corrosion-resistant and plenty strong for things like servo mounts, battery holders, and electronics trays.
- Stainless Steel Inserts: When you need absolute strength, stainless steel is the only way to go. For high-stress areas like suspension mounts, motor bulkheads, or steering components, its superior durability ensures threads won't strip or fail under a hard impact.
At digital-rc, we stock both brass and stainless steel M3 inserts, so you can pick the perfect type for your specific project. This means you have ready access to high-quality components tailored for RC car use.
To make things easier, here’s a quick-reference guide to help you pick the right insert for different parts on your 1/10 or 1/12 scale on-road car.
M3 Threaded Insert Selection Guide for RC Parts
| Part Material | Recommended Insert Type | Best Material | Common Use Case |
|---|---|---|---|
| 3D-Printed (PLA, PETG, ABS) | Heat-Set | Brass | Custom fan shrouds, electronics trays, body posts |
| Molded Composite Plastics | Press-Fit or Heat-Set | Brass/Stainless Steel | Suspension arms, shock towers, bulkheads |
| G10 / FR-4 | Press-Fit | Stainless Steel | Chassis plates, high-stress mounting points |
| Carbon Fibre | Press-Fit (with care) | Stainless Steel | Top decks, steering components, chassis braces |
This table should help you quickly identify the best starting point for your project, ensuring your modifications are both strong and reliable right from the start.
How to Install Heat-Set M3 Inserts Like a Pro
Putting a heat-set threaded insert m3 into a 3D-printed RC part is one of the most satisfying jobs you can do. It’s a simple process that adds a professional touch and incredible strength, but it demands a bit of care. The goal is to melt the plastic just enough for the insert to sink in, then let it cool and lock itself into place. Get it right, and you’ve created a tough, durable thread that’s miles better than screwing directly into plastic.
A clean installation really comes down to having the right tools. You don't need a massive workshop, but a few key items will make the difference between a perfect fit and a melted mess.
Essential Tools and Preparation
Before you even think about heating things up, get your workspace organised. A clear bench is just as important as the tools themselves.
- A Temperature-Controlled Soldering Iron: This is non-negotiable. Being able to set a specific temperature is what stops you from overheating the plastic and causing it to bubble or warp. A good, portable soldering iron station is one of the best investments any RC racer can make.
- The Correct Drill Bit: The size of your pilot hole is everything. For a typical M3 heat-set insert (which usually has a 4.2mm to 4.5mm outer diameter), a 4.0mm drill bit is almost always the right starting point. Always double-check the specs for the specific inserts you're using.
- A Drill Press or Hand Drill: A drill press is the gold standard because it guarantees a perfectly straight hole. That said, a steady hand with a regular drill works just fine for most RC parts.
- Safety Glasses: Obvious, but important. Always protect your eyes when you're drilling or working with a hot soldering iron.
With your tools laid out, it's time to drill the pilot hole. Precision here is what matters most. If the hole is too small, excess plastic will squeeze out and create a nasty mushroom-shaped bulge around the insert. Too large, and the insert won’t have enough material to grip, resulting in a weak bond that can easily pull out. Take your time and make sure the hole is clean and straight.
Step-By-Step Installation Guide
Once your part is drilled and your iron is hot, you’re ready to install the M3 threaded insert. For common plastics like PETG or ABS, a temperature between 215°C and 240°C is the sweet spot. I always suggest starting on the lower end of that range and bumping it up slightly if needed.
- Heat the Iron: Set your soldering iron to the target temperature and give it a minute to fully heat up.
- Position the Insert: Place the M3 insert over the pilot hole, making sure it’s sitting flat and looks centred.
- Apply Gentle Heat & Pressure: Lightly touch the tip of the soldering iron to the top of the insert. Apply slow, steady, and gentle downward pressure. You don't need to force it at all.
- Let the Heat Do the Work: You'll feel the brass insert transfer heat to the plastic almost immediately. The plastic will soften, and the insert will start to sink smoothly into the hole.
- Press Until Flush: Keep that gentle pressure going until the top of the insert is perfectly level with the surface of the part.
- Remove the Iron Quickly: As soon as the insert is in position, pull the soldering iron straight up and away. A quick, clean motion is best.
- Let It Cool Completely: This is crucial. Don’t touch or move the part for at least a minute. This gives the melted plastic time to cool and solidify around the knurled edges, creating that super-strong mechanical lock.
This visual guide is a great way to think about the selection process, which happens long before you grab your soldering iron.
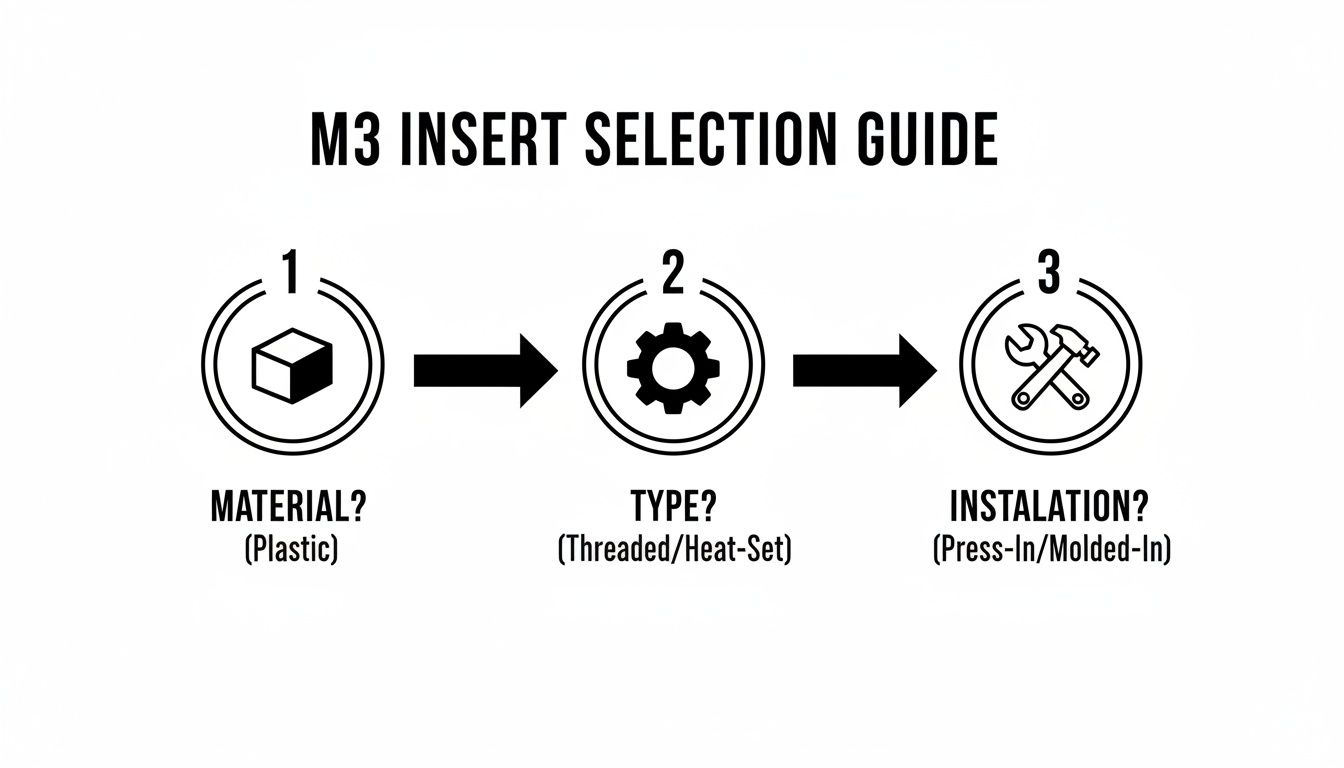
As the graphic shows, your material and how you plan to use the part should guide your choice of insert. That decision then dictates the right installation method. It’s this kind of practical knowledge that you won’t find on a product page, which is why hands-on guides are so valuable for RC hobbyists.
Pro Tip: If you don't have a special soldering tip designed for inserts, just thread a spare M3 screw into the insert. Heat the head of the screw instead. This little trick also helps keep the insert perfectly straight as it goes in.
While we're focused on RC cars, understanding the general installation principles for inserts is useful for all sorts of projects. Seeing how it's done in other applications, like the gate inserts in that video, reinforces the core concepts of getting a solid mechanical fit. Follow these steps, and you’ll get a professional result that adds serious durability to your custom parts.
Installing Press-Fit and Self-Tapping M3 Inserts
Heat-set inserts are fantastic for 3D-printed parts, but they’re not the right tool for every job on your RC car. When you’re dealing with materials that can’t take the heat—like composites, carbon fibre, or certain hard plastics—you need a different game plan.
This is where press-fit and self-tapping M3 inserts shine. They provide a rock-solid mechanical grip without a single degree of heat, making them perfect for those more delicate or specialized parts on your chassis.
A press-fit threaded insert m3 relies on pure friction; its knurled body digs into the walls of a perfectly sized hole. A self-tapping insert, however, is a bit more aggressive. It actually cuts its own threads into the material as you drive it in, just like a screw. Deciding which one to use really comes down to the hardness of the material you're working with and the tools you have on hand.
The Right Tools for a Cold Installation
Unlike the gentle touch of a soldering iron, installing these inserts is all about controlled force. One wrong move and you can easily crack or permanently ruin an expensive carbon fibre part. Precision and slow, steady pressure are absolutely essential for success.
To get this done right, you’ll need a few key tools:
- An Arbor Press or Drill Press: This is the gold standard. A press lets you apply perfectly straight, even pressure, guaranteeing the insert goes in straight without putting dangerous stress on the surrounding material.
- A Bench Vice: No press? A quality bench vice is the next best thing. Just be sure to use soft jaws to protect your part. Apply pressure slowly and steadily to seat the insert correctly.
- The Correct Driver or Installation Tool: For self-tapping inserts, you'll need a specific driver bit that matches the insert's head. Our guide on hex key sets dives deeper into why using the right tool for any fastener is so important.
Whatever you do, never try to hammer a press-fit insert into place. The shock can easily fracture composites or cause carbon fibre to delaminate. Always use a slow, controlled press for a clean, secure fit.
Pro Tips for Maximum Holding Power
When these inserts are installed properly, they’ll hold up to the serious abuse of racing. But for high-vibration spots like motor mounts or suspension blocks, a little extra insurance goes a long way to keep everything locked down.
For press-fit inserts, a tiny drop of retaining compound (like a medium-strength threadlocker) on the outside before installation can make a huge difference. The compound fills in any microscopic gaps, creating an incredibly strong bond once it cures.
With self-tapping inserts, the trick is all in the pilot hole. Make sure it’s the exact recommended size. This allows the insert to cut clean, sharp threads, giving you maximum grip without over-stressing and cracking the material.
Troubleshooting Common M3 Insert Installation Problems
Even when you're careful, installing M3 threaded inserts can sometimes go sideways. A slight wobble of the soldering iron, a pilot hole that’s a hair too big, or just a bit too much heat can lead to a less-than-perfect result. The good news is that most of these common hiccups are totally fixable without having to bin an expensive part.
Knowing how to spot and fix these issues is a key skill for any serious RC builder. It builds confidence and makes sure every modification you make is strong, reliable, and looks clean. Let's walk through the most frequent challenges and how to solve them.
The Insert Is Installed Crooked
This is probably the most common one. You pull the iron away, and the insert is sitting at a slight angle instead of being perfectly perpendicular to the surface. It’s a pain because it can stop screws from seating properly and throw off the alignment of other parts.
Usually, this happens from uneven pressure during installation or if the pilot hole was drilled at an angle. To fix it, gently reheat the insert with your soldering iron just until the plastic around it softens. Thread a spare M3 screw into it to use as a handle, then carefully nudge it straight before letting it cool completely.
The Insert Spins Freely in the Hole
If you try to tighten a screw and your threaded insert m3 just spins in its hole, it means the knurls never got a good bite into the plastic. Nine times out of ten, this points to a pilot hole that was drilled too large, leaving nothing for the insert to grab onto.
For a quick trackside fix, you can pull the insert out, add a small drop of CA glue or epoxy into the hole, and press the insert back in, making sure it’s straight. Let it cure fully before you put any load on it.
A spinning insert is a weak point waiting to fail. For high-stress components like suspension mounts, it's always best to remove the failed insert and assess if the part can be reliably repaired or if it needs replacement.
Removing a Failed or Damaged Insert
Sometimes an insert is just too mangled or poorly installed to be saved. Getting it out without wrecking the component is the name of the game.
- For Heat-Set Inserts: The easiest way is to just reheat it. Thread an M3 screw partway into the insert, heat the screw head with your soldering iron, and gently pull straight up as the plastic softens.
- For Press-Fit Inserts: These can be a bit tougher. Try drilling out the centre of the insert with a bit that's slightly smaller than its outer diameter. This should relieve the pressure enough to pry it out.
Once the old insert is out, clean any debris from the hole. You might be able to install a new one, but consider using a retaining compound like a medium-strength threadlocker to help it bond securely in the now slightly oversized hole.
M3 Insert Troubleshooting Guide
When things go wrong, a quick diagnosis can save you a lot of frustration. Here’s a simple table to help you identify the likely cause and find the right solution for common M3 insert problems.
| Problem | Likely Cause | Solution |
|---|---|---|
| Insert is crooked | Uneven pressure during installation or angled pilot hole. | Gently reheat the insert, thread in an M3 screw, and use it as a handle to straighten the insert. Let cool completely. |
| Insert spins in hole | Pilot hole is too large; knurls didn't grip the plastic. | Remove the insert, apply a small drop of CA glue or epoxy to the hole, and reinstall. For high-stress parts, consider replacing the component. |
| Plastic melted around insert | Soldering iron was too hot or held in place for too long. | Clean up the excess melted plastic with a sharp hobby knife once it has cooled. Adjust your iron's temperature or reduce heating time on your next attempt. |
| Screw won't thread in | Insert was installed crooked, or plastic debris is in the threads. | Check alignment first. If it's straight, run an M3 tap or a clean M3 screw through the insert to clear any plastic that may have squeezed inside during installation. |
| Insert won't go in straight | Pilot hole is too small, or the entrance isn't chamfered. | Verify the pilot hole size is correct. Use a countersink bit or larger drill bit to create a small chamfer at the top of the hole to help guide the insert in. |
Remember, patience is key. Rushing the installation is the number one cause of most of these issues. Taking an extra moment to double-check your hole size and apply steady, even pressure will give you a perfect result almost every time.
Your M3 Threaded Insert Questions Answered
When you're wrenching on a high-performance RC car, a few key questions about parts like the threaded insert m3 always seem to pop up. Getting straight, practical answers can be the difference between a bulletproof build and a weekend full of frustration. This section cuts through the noise and tackles the most common questions we hear from racers.
We’ll cover the essential topics that often cause confusion, from what materials to use where, to the fine tolerances needed for a rock-solid installation. The goal here is to give you the quick, experience-based insights you need to build with confidence.
Can I Install Inserts Into Carbon Fibre?
Yes, you absolutely can, but it demands a careful and precise approach. For carbon fibre, you should only ever use press-fit inserts. Never, ever apply heat. Heating the insert will compromise the epoxy resin holding the carbon layers together, causing it to delaminate and fail.
The trick is to drill a perfectly sized pilot hole and use an arbor press or a quality bench vice to apply slow, even pressure. This avoids any sudden shock that could crack or weaken the carbon fibre plate, ensuring a secure fit without damaging your expensive chassis parts.
How Strong Are Brass Inserts Really?
Brass inserts are surprisingly tough and more than strong enough for the vast majority of RC applications. They are the go-to choice for securing things like electronics, servo mounts, fan shrouds, and even top decks. They just work.
However, for the most extreme, high-stress areas—think lower suspension mounts on a touring car that take direct hits—upgrading to stainless steel inserts provides an extra margin of safety and durability against hard impacts.
The rule of thumb is simple: if a part is likely to take a direct hit in a crash, use stainless steel. For everything else, the excellent thermal properties and solid strength of brass make it the ideal, easy-to-install choice.
What Is the Right Hole Size Tolerance?
Precision is everything for a secure fit. For heat-set inserts, your pilot hole needs to be slightly smaller than the insert's outer diameter. This allows the displaced plastic to flow into and lock around the knurls as you press it in. A tolerance of -0.1mm to -0.2mm is a great starting point.
For press-fit inserts, the tolerance is even tighter. You'll often need a hole that’s almost exactly the same size as the insert's minor diameter to guarantee a firm, friction-based fit. The best advice? Always test on a scrap piece of material first.
Following the manufacturer’s guidelines for the specific M3 inserts you buy from a trusted supplier like digital-rc is always the best practice. And if you're curious about what's next, you can explore innovations in fasteners like Smart Fasteners and 3D-Printed Bolts that are shaping the future of the hardware industry.
At digital-rc, we stock the specific M3 threaded inserts and precision tools proven to work best for on-road RC racing. Upgrade your build with components trusted by competitive racers. Find the perfect solution for your chassis today at https://digitalrc.ca.