

Elevate Your rc car body 1/10: The Ultimate Guide to Selection and Prep
Serious racers know a 1/10 scale RC car body isn't just for looks—it's a critical piece of tuning gear. For anyone competing at a high level, picking the right body from a brand like Mon-Tech or Zoo Racing is just as important as choosing your motor or tires. It can absolutely be the difference-maker on race day.
Why Your RC Car Body Is More Than Just a Shell
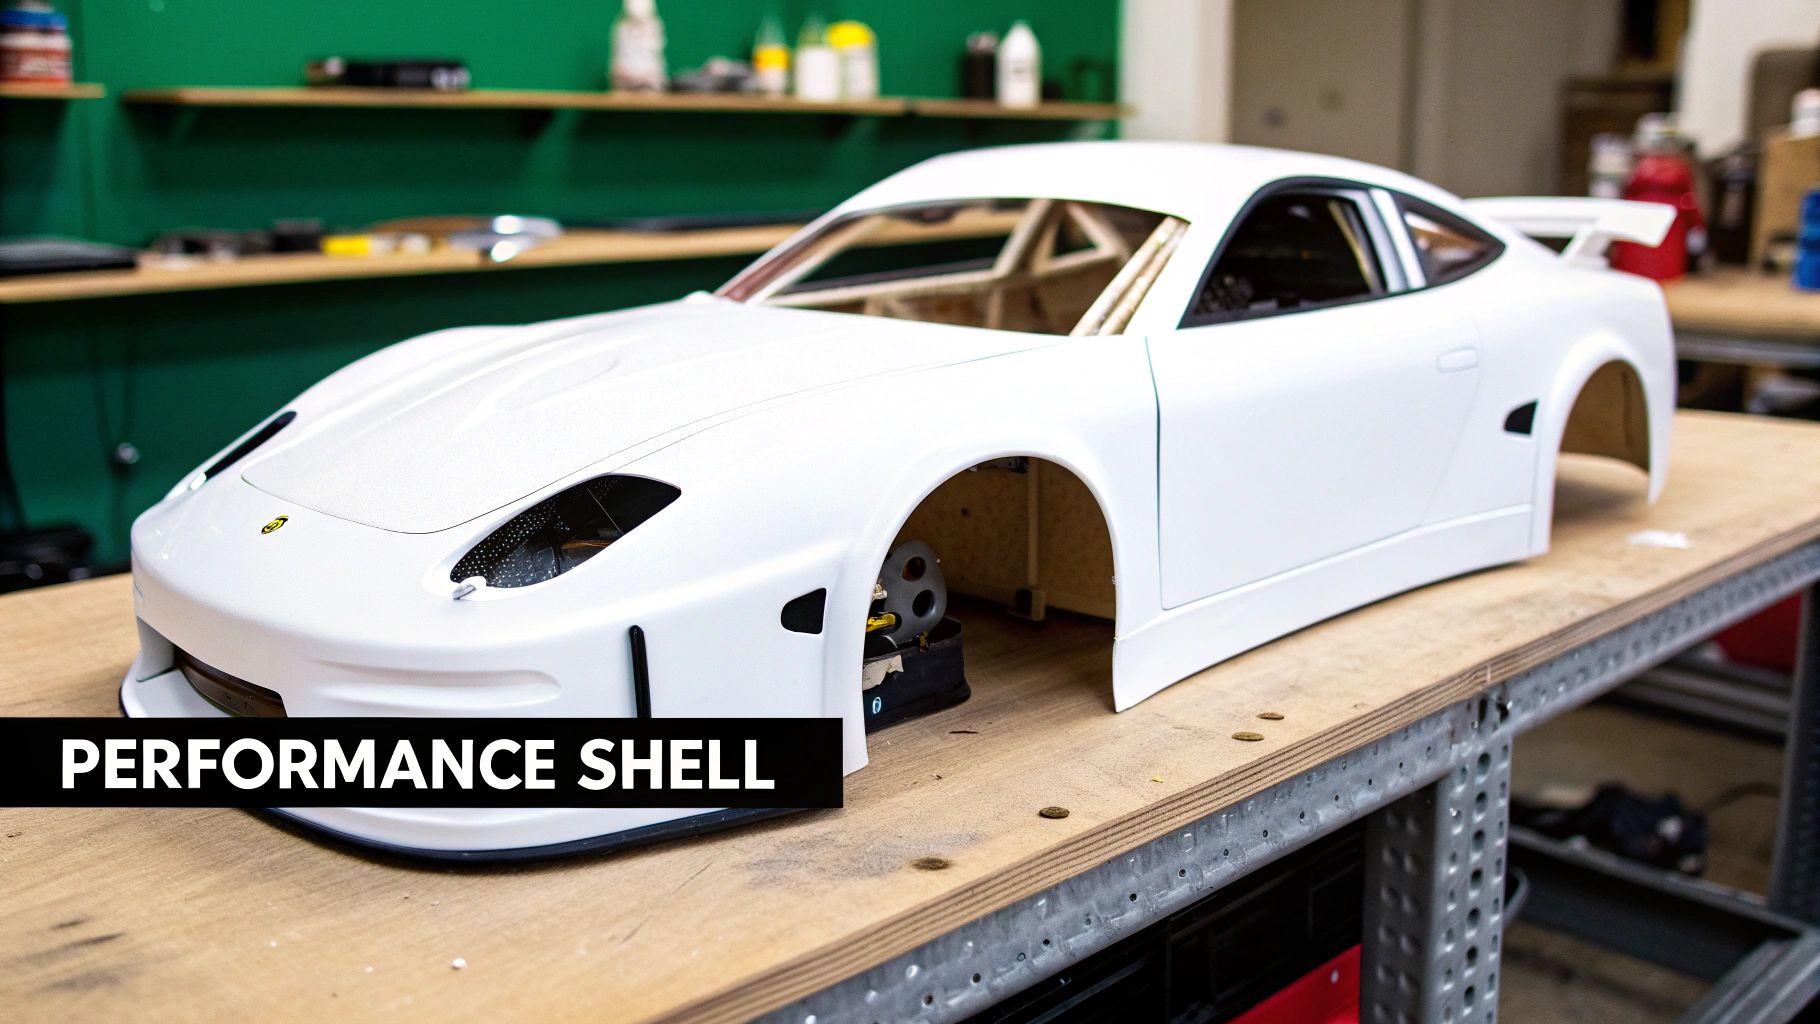
It’s easy to see an RC body as just a canvas for a slick paint job. But for seasoned competitors, that clear shell is a powerful tool for dialing in the car's handling and raw speed. It's the very first thing that cuts through the air, and its shape completely dictates how your car behaves at pace.
Think of it like the difference between a parachute and a fighter jet wing. A body with aggressive wings and sharp angles generates downforce, planting the car on the track for insane grip in the corners. On the other hand, a sleek, low-profile design slices through the air with minimal resistance, giving you that extra edge on the main straight.
A Key Performance Component
The body you bolt on has a direct and immediate impact on your lap times. A good one works in harmony with your chassis—whether it’s a high-end Awesomatix or a competitive XRAY—to find that perfect balance. This guide will walk you through exactly what you need to know to make the right call.
We'll break down the key factors, including:
- Aerodynamic Effects: Understanding how downforce and drag change your cornering and straight-line speed.
- Weight and Balance: How body weight and mounting position influence the centre of gravity.
- Chassis Compatibility: Nailing the fit for wheelbase and width.
- Material Selection: Choosing between standard and lightweight options for durability vs. performance.
The Winning Difference on Canadian Tracks
Across the Canadian RC racing scene, this focus on aero performance is undeniable. At clubs in Toronto, Vancouver, and Montreal, 68% of top-level 1/10 touring car builds now use lightweight Lexan bodies to gain an aerodynamic edge.
The proof is in the lap times. At the 2025 ROAR Canadian Nationals in Ottawa, racers using clear, pre-cut bodies were, on average, a staggering 2.3 seconds faster per 30-lap heat than those with heavier, fully painted shells. You can explore the latest 1/10 scale body options available in Canada to see these performance gains firsthand.
Making the right choice can completely transform your car's feel on the track and give you a real competitive advantage.
Nailing the Perfect Fit for Your Chassis
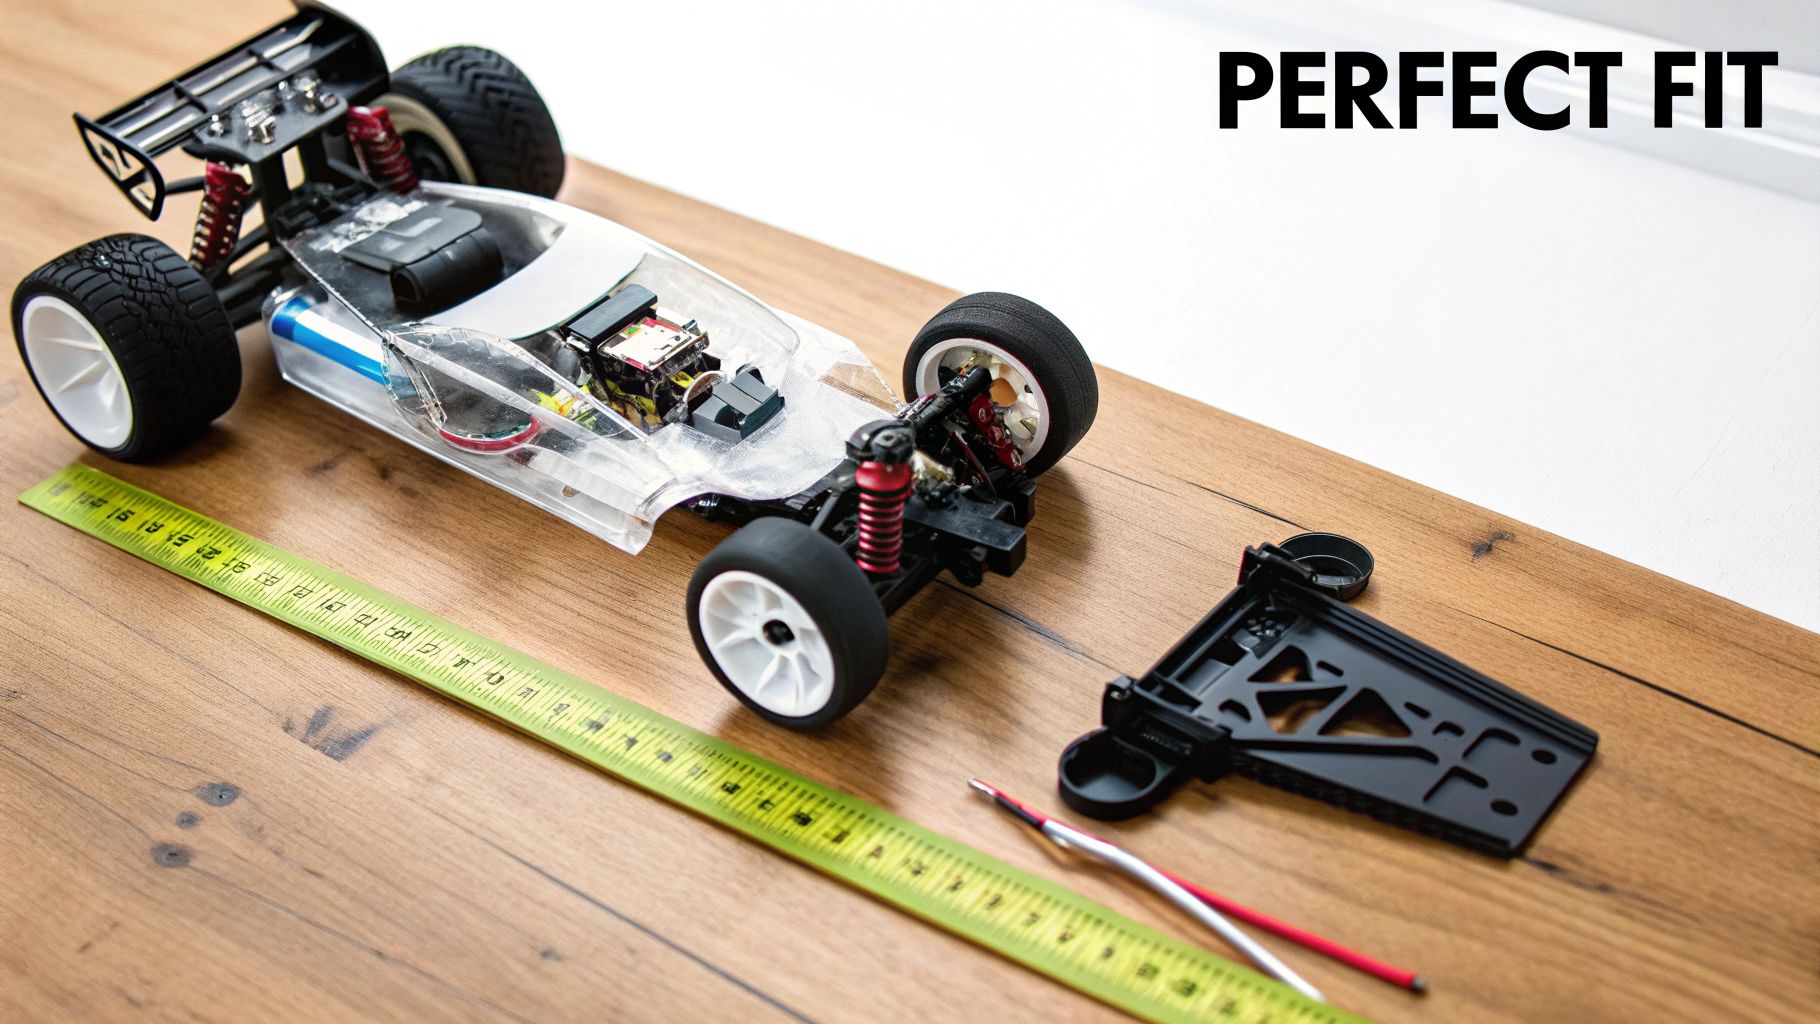
Before you can even think about aerodynamics, your chosen rc car body 1/10 has to fit your chassis. Perfectly. An ill-fitting body isn't just a cosmetic issue; it's a performance killer that ruins handling, causes tire rub, and throws off your car’s entire balance. Getting this right is the first and most critical step.
Think of it like this: your chassis has a specific footprint, defined by its core dimensions. Forcing the wrong body onto it is like trying to race in shoes that are two sizes too small. You might get them on, but your performance will be a disaster. The two measurements that matter most are wheelbase and width.
Understanding Wheelbase and Width
Your car's wheelbase is its stride—the distance from the centre of the front axle to the centre of the rear axle. A longer wheelbase generally adds stability, especially on big, sweeping corners and high-speed straights. A shorter wheelbase, on the other hand, lets the car rotate more aggressively for quicker direction changes in tight, technical sections.
The car's width, measured from the outside of the tires, is like its shoulders. A wider stance offers more stability and helps prevent traction roll on high-grip surfaces like carpet. Most 1/10 scale touring car bodies are designed for a standard 190mm width, which is the spec for the vast majority of competitive racing classes.
A mismatch of just a few millimetres in either of these dimensions can have a huge impact on handling. A body with a wheelbase that's too short for the chassis will shift the aerodynamic balance, while one that's too narrow can cause the body to hit the tires during cornering, leading to completely unpredictable behaviour.
For competitive racers running a high-performance chassis like an Awesomatix A800FX or the XRAY T4, precision is everything. These platforms are engineered to tight tolerances, so pairing them with an equally precise body from a top manufacturer like Mon-Tech or Zoo Racing is non-negotiable. Thankfully, these body manufacturers list the intended wheelbase and width specs clearly, so matching them to your chassis is straightforward.
How to Measure for a Perfect Match
Confirming these measurements on your car is simple. Grab a ruler or a set of callipers and measure your chassis's wheelbase directly, from the centre of the front axle to the centre of the rear axle. Most 1/10 touring cars will fall somewhere between 255mm and 260mm. Do the same for the width across the outermost edge of your tires.
Once you have your chassis measurements, you can shop with confidence. For example, a popular Mon-Tech body might specify a wheelbase of 257-258mm and a width of 190mm. If your XRAY T4 is set up within that range, you know you have a perfect match. This simple check eliminates all the guesswork and ensures the body will perform exactly as the designers intended.
To make things even easier, here's a quick reference guide for common 1/10 on-road racing classes.
1/10 On-Road RC Chassis and Body Fitment Guide
This table breaks down the common wheelbase and width standards for popular racing classes, helping you quickly identify the right body style for your car.
| Racing Class | Typical Wheelbase (mm) | Typical Width (mm) | Recommended Body Style |
|---|---|---|---|
| 1/10 Electric Touring | 255 - 260 mm | 190 mm | High-downforce touring car (e.g., Mon-Tech, Zoo Racing) |
| 1/10 FWD (Front Wheel) | 255 - 258 mm | 190 mm | Hatchback or FWD-specific touring shapes |
| 1/10 Pan Car (WGT-R) | 255 - 258 mm | 200 mm | Le Mans Prototype (LMP) or GT-style bodies |
By paying close attention to these fundamental dimensions, you ensure your new shell doesn't just look great—it functions as a true performance component, working in perfect harmony with your chassis.
Choosing the Right Body Material and Finish
Once you’ve nailed down the perfect fit, the next decision is all about the material. Not all bodies are created equal, and the type of polycarbonate, its thickness, and how it’s finished directly impact how your car behaves on the track. This is where you can find a real competitive edge.
For serious on-road racing, one material stands above the rest: Lexan. Think of it as the carbon fibre of RC bodies. It hits that perfect sweet spot of strength, flexibility, and incredibly low weight that no other plastic can match. That flexibility is key—it lets the body absorb hits from track barriers and other cars without shattering, often just popping back into shape.
Standard Versus Lightweight Bodies
Your biggest choice here is between a standard and a lightweight body. This is the classic trade-off: do you want durability or all-out performance?
- Standard Bodies: These are the workhorses, usually made from 0.7mm to 0.8mm thick Lexan. That extra material gives them way more durability, making them the go-to choice for practice, club racing, or for drivers who are still finding the limit.
- Lightweight Bodies: Built from thinner Lexan (around 0.5mm), their main advantage is a lower centre of gravity. By shaving grams off the highest point of the car, a lightweight body from a brand like Mon-Tech cuts down on body roll and lets the car change direction faster and more aggressively.
Most top-level competitors have both. They’ll beat up a durable standard body during practice, then bolt on the featherlight option for qualifying and the mains where every millisecond is on the line.
The Clear Advantage of Unpainted Shells
While pre-painted bodies look great on the shelf, the competitive scene in Canada is all about clear, unpainted shells. It’s no surprise that 62% of bodies are sold clear for custom painting, even commanding a 12% price premium over pre-painted versions. Racers value the weight savings and personalization that much. After the 2019 IFMAR Canada Cup, where body failures were behind 19% of DNFs, there’s been a big shift toward tougher, higher-quality materials that have boosted durability by up to 35% in crash tests. Discover more insights about 1/10 scale body trends in Canada.
By painting the body yourself from the inside, you not only get a custom look but also protect the paint from scuffs and scrapes. More importantly, you control the weight—a carefully sprayed custom job is almost always lighter than a thick factory finish.
Pre-Cut Versus Uncut Options
The final piece of the puzzle is how the body comes out of the package: pre-cut or uncut.
An uncut body is a completely blank slate. You’re in charge of trimming the excess Lexan, cutting the wheel arches, and drilling the holes for your body posts. It gives you total control, but it’s a time-consuming process where one slip of the scissors can ruin your new shell.
For racers who want precision without the hassle, pre-cut bodies are a massive time-saver. Brands like Zoo Racing and Mon-Tech offer bodies where the wheel wells and outlines are laser-cut at the factory. This guarantees perfect symmetry and a pro finish every time, letting you get straight to the fun part of painting and hitting the track. When you’re prepping for a big race day, that hassle-free fit is a huge advantage.
How Aerodynamics and Weight Win Races
A competitive 1/10 scale RC car body does way more than just cover your chassis—it actively manipulates the air it slices through, turning invisible forces into real, tangible grip. This is where races are won and lost. A body's shape is a powerful aerodynamic tool that completely changes how your car feels and performs on the track.
Think of your RC car body as an upside-down airplane wing. A plane's wing is built to create lift, but your car's body is shaped to do the exact opposite: it generates downforce. This is the force pushing the car down into the track surface, which dramatically increases tire grip and lets you carry much higher speeds through the corners.
But it’s a constant balancing act. The two key forces at play are downforce and drag. While downforce is your best friend in the corners, drag is the resistance that holds you back on the straights. The perfect body for any given track finds the ideal compromise between the two.
The Downforce Versus Drag Trade-Off
Choosing the right body really comes down to the track layout. Is it a tight, technical circuit loaded with hairpins, or a big, flowing track with a long main straight? Your answer will tell you what kind of aerodynamic help you need.
A high-downforce body, like many designs from Zoo Racing, will have aggressive front splitters, steep windshield angles, and pronounced side dams. These features are all designed to generate massive downforce, planting the car firmly on the track. This lets you carry incredible speed through tight corners without breaking traction. The trade-off? More drag, which can limit your top speed on the straights.
On the other hand, a low-drag body—a specialty of brands like Mon-Tech—is all about efficiency. These shells feature smoother lines, a lower profile, and more subtle designs. They slice through the air with minimal resistance, giving you a clear advantage in a straight line. The catch is that with less downforce, they can feel a bit "looser" in technical sections, demanding a more precise driving style.
Fine-Tuning with Wings
The rear wing is the most adjustable aerodynamic part on your car. Think of it as a rudder that lets you fine-tune the car's balance on the fly. Small adjustments here can totally transform your car's handling, letting you dial out understeer or cure a snappy rear end.
- Increasing Wing Angle: Tilting the wing up adds rear downforce. This plants the rear end, adding stability in high-speed sweepers and helping to fix oversteer (when the back of the car wants to spin out).
- Decreasing Wing Angle: Flattening the wing reduces both drag and rear downforce. This can free up the car, helping it rotate better in tight corners while also boosting your top speed.
- Wing Position: Shifting the wing forward or backward also changes its leverage on the car. Moving it further back typically adds more stability.
By playing with these settings, you can find the perfect aero balance—the ideal distribution of downforce between the front and rear of the car. This is what makes a car feel predictable and responsive from corner entry to exit.
The Critical Role of Weight
Beyond aerodynamics, the actual weight of the body and where that weight sits is hugely important. Every single gram you can shave off the highest part of your car helps lower its centre of gravity (CG). A lower CG is the secret to quicker handling and higher cornering speeds.
Think of it like trying to balance a broomstick on your hand. It's much easier to balance it from the middle than from the very top. A car with a lower CG is just more stable and far less likely to feel tippy or traction roll on high-grip tracks.
This is exactly why lightweight bodies are so popular in competitive racing. A lightweight shell, often weighing 20-30 grams less than a standard one, significantly lowers the car's overall CG. This reduction in top-heavy weight leads directly to:
- Faster transitions in chicanes.
- Less body roll during hard cornering.
- More direct and responsive steering feel.
A lighter body simply lets the chassis react more quickly to what you're telling it to do. For any racer looking for that extra edge, exploring lightweight performance bodies is a must. To see how these principles work in the real world, check out our deep dive on the Xtreme Twister Speciale 190mm touring car body. Once you master both aerodynamics and weight, you can turn your RC car body into a true unfair advantage on race day.
Your Step-By-Step Body Prep and Painting Guide
Transforming a clear Lexan shell into a race-ready masterpiece is one of the most satisfying parts of any rc car body 1/10 build. A pro-level paint job isn’t just for looks—a clean, lightweight finish actually contributes to on-track performance. This guide walks you through the essential steps to get a flawless result that lasts.
The whole process starts long before you even think about spraying paint. The secret to a durable finish that won't flake off after the first tap of the barriers is meticulous prep work. Every new body comes from the factory with a fine film of mould release agent, and paint absolutely will not stick to it.
Your first job is always a thorough wash. Use warm water and a little bit of dish soap to gently scrub the inside of the body with a soft sponge. This is a critical step that removes all greasy residue, leaving the polycarbonate perfectly clean for what comes next.
Getting The Surface Ready For Paint
Once the body is completely dry, you need to give the paint a surface it can mechanically grip. This is done by lightly scuffing the entire interior of the shell with a fine-grit scuff pad. You're not trying to remove material here, just dulling the glossy finish to a hazy, matte look.
This micro-abrasion creates a texture for the paint to lock into, which is vital for flexibility and impact resistance. After scuffing, give the body one last rinse with water to wash away any dust, then let it air dry completely before moving on to the creative part: masking.
Masking is where your design truly comes to life. Using high-quality masking tape made for RC bodies lets you create sharp, clean lines for multi-colour liveries.
- Apply Firmly: Press the tape down securely, paying close attention to the edges to prevent any paint from bleeding underneath.
- Trim Carefully: Use a sharp hobby knife with a fresh blade to trim the tape into your desired shapes and patterns.
- Plan Your Colours: Always spray your darkest colours first. Lighter colours like white or yellow should be applied last to stop the darker shades from showing through.
Achieving A Flawless Finish
With your masking complete, it’s finally time to paint. The secret to a professional finish is applying multiple thin, even coats instead of one thick, heavy one. A heavy coat can lead to runs, uneven colour, and takes much longer to cure properly.
Hold the spray can about 15-20 cm from the body and use smooth, sweeping motions. Start with a very light mist coat, let it "flash off" for a few minutes until it's just tacky, and then follow up with slightly heavier coats until you have full, even coverage. Following these steps helps the paint adhere correctly for a vibrant finish. For more specialized tips, our guide on using Tamiya spray paints is a great resource.
A critical step many racers use is "backing" their colours. After your main colour is dry, applying a final coat of white or silver will make the primary colour appear much brighter and more vibrant on the track. Backing with black, on the other hand, can create a deeper, richer tone.
The infographic below shows the core aerodynamic principles your finished body will influence, connecting your prep work directly to on-track performance.
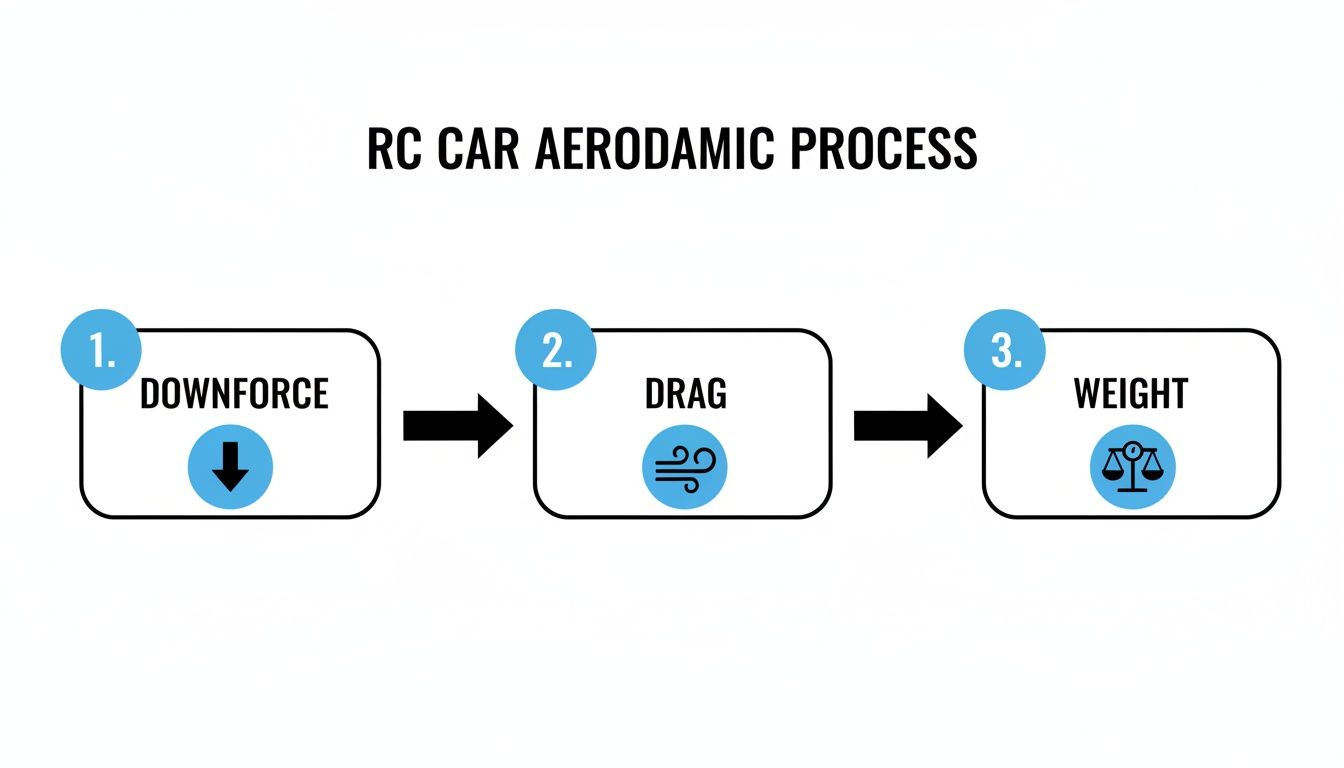
This process flow shows how downforce, drag, and weight are the three key factors your body manipulates to achieve better performance.
Final Trimming And Detailing
After the paint has fully cured, it's time for the finishing touches. Carefully peel off the outer protective film to reveal your glossy paint job. Now you can trim the excess Lexan from around the body, using curved Lexan scissors for the wheel wells and a straight blade for the bottom edges.
For the mounting holes, a body reamer is the best tool for the job. It creates perfectly clean, round holes for your body posts without risking any cracks. Finally, apply your decals. Beyond paint, many racers personalize their shells with unique designs, and understanding custom sticker printing can help you achieve a truly one-of-a-kind look. Taking your time with these final steps ensures all your hard work results in a durable, lightweight, and professional-looking body that's ready to hit the track.
Mounting Your Body for Maximum Performance
After all the hard work of trimming and painting, mounting your rc car body 1/10 is the final piece of the puzzle. It's easy to rush this step, but how you mount your body is a critical setup adjustment that directly impacts balance, handling, and ultimately, your on-track performance.
A perfectly mounted body can be the difference between a consistent, predictable car and one that's a handful to drive. The goal is simple: get the ride height right and make sure the body is perfectly centred, both front-to-back and side-to-side. If it sits too high, you’re raising the centre of gravity, which adds body roll and makes the car feel lazy in quick transitions. Mount it too low, and you risk the tires rubbing the body under cornering loads—a surefire way to scrub speed or even spin out.
Achieving Perfect Positioning
Start by setting the unpainted body over the chassis. Take your time adjusting its position until the wheel arches are perfectly concentric with the tires. You're looking for an even gap all the way around. Pay attention to the front-to-back placement too; a body that's too far forward or back can mess with the car's aerodynamic balance.
Once you’re happy with how it sits, grab a fine-tip marker and carefully mark the locations for your body post holes from the inside of the shell. A dedicated body reamer is the best tool for this job. It creates clean, round holes without stressing or cracking the polycarbonate. The fit should be snug, with no slop.
Solving Common Mounting Problems
One of the most frustrating issues racers face is "body tuck." This is when the thin sides of the body flex inward during a hard turn and get snagged on a tire, often causing the car to spin out unpredictably. Thankfully, the fix is simple: reinforce the wheel arches.
Here are a couple of track-proven techniques:
- Shoe Goo and Drywall Tape: Apply a thin layer of Shoe Goo and a small piece of mesh drywall tape to the inside of the wheel arch. This adds incredible strength with almost no weight penalty.
- Lexan Scraps: You can also glue small, curved pieces of scrap Lexan from your offcuts to create a stiffening rib that prevents the body from flexing.
Proper mounting height is just as crucial. A great starting point is to have the body sit about 5mm above the tires. This gives you enough clearance to avoid rubs under full suspension compression while keeping the centre of gravity as low as possible for razor-sharp handling.
Advanced Mounting for Lower Lap Times
For serious competitors, every gram matters, especially high up on the car. Advanced mounting techniques focus on shedding weight from the highest points. This means swapping standard body posts for lightweight carbon fibre or plastic versions and using lighter body clips or even Velcro.
These small changes might seem insignificant, but they collectively lower the car's overall centre of gravity. The result? Faster cornering speeds and quicker direction changes. Understanding why body posts matter can give you a real edge. A well-mounted body isn't just about looks—it’s about building a car that's fast, reliable, and legal.
Common Questions About 1/10 RC Bodies
When you're chasing every last tenth of a second, the details matter. Choosing the right rc car body 1/10 can feel overwhelming, so let's clear up some of the most common questions we hear from racers.
What's the Real Difference Between Standard and Lightweight Bodies?
It all comes down to the thickness of the Lexan. A standard body is typically made from durable 0.7mm material, making it a great choice for practice days when you're likely to have a few bumps and scrapes.
A lightweight body, on the other hand, uses thinner 0.5mm Lexan. The primary advantage here is a lower centre of gravity. This seemingly small change reduces body roll in corners and lets the car change direction more aggressively. It's a true performance advantage, perfect for qualifying and main events where precision is key.
Why Is My Paint Flaking Off?
Nine times out of ten, paint flaking is a prep problem. Before a single drop of paint touches that shell, you absolutely have to wash the inside with warm, soapy water. This removes the mould release agents from the factory that paint just won't stick to.
Once it's bone dry, lightly scuff the entire inner surface with a fine-grit pad. You’re not trying to sand it down, just creating a slightly rough texture for the paint to grab onto. Most importantly, only use paints specifically made for polycarbonate. These paints are designed to flex with the body on impact, preventing them from cracking and peeling off.
Which Body Is Better: High-Grip Carpet or Low-Grip Asphalt?
Your track surface completely changes your aerodynamic needs.
On a high-grip carpet track, your main enemy is traction roll. You need to keep the car stable and calm. A body with a smoother, less aggressive aero profile is often the best choice here, as it won't generate excessive side bite that can cause the car to flip.
For low-grip asphalt, the mission is simple: create as much downforce as possible. Look for bodies with aggressive front splitters and large, effective rear wings to plant the car to the track. Brands like Mon-Tech and Zoo Racing are masters at this, offering specialized designs engineered for exactly these different conditions.
Find the perfect rc car body 1/10 and all the essential accessories to give you a competitive edge at Digital RC. Explore our curated collection of high-performance bodies from the world’s best brands. Visit https://digitalrc.ca to get started.