

A Racer's Guide to High Performance RC 1 10 Bodies
That polycarbonate shell on your RC car? It's way more than just a pretty cover. Think of it as a critical aerodynamic tool that directly shapes how your car performs on the track. The right RC 1 10 bodies from brands like Mon-Tech and Zoo Racing, which we carry here at digital-rc, can be the difference-maker for handling, stability, and raw speed, ultimately unlocking faster lap times.
How Your RC Body Unlocks Faster Lap Times
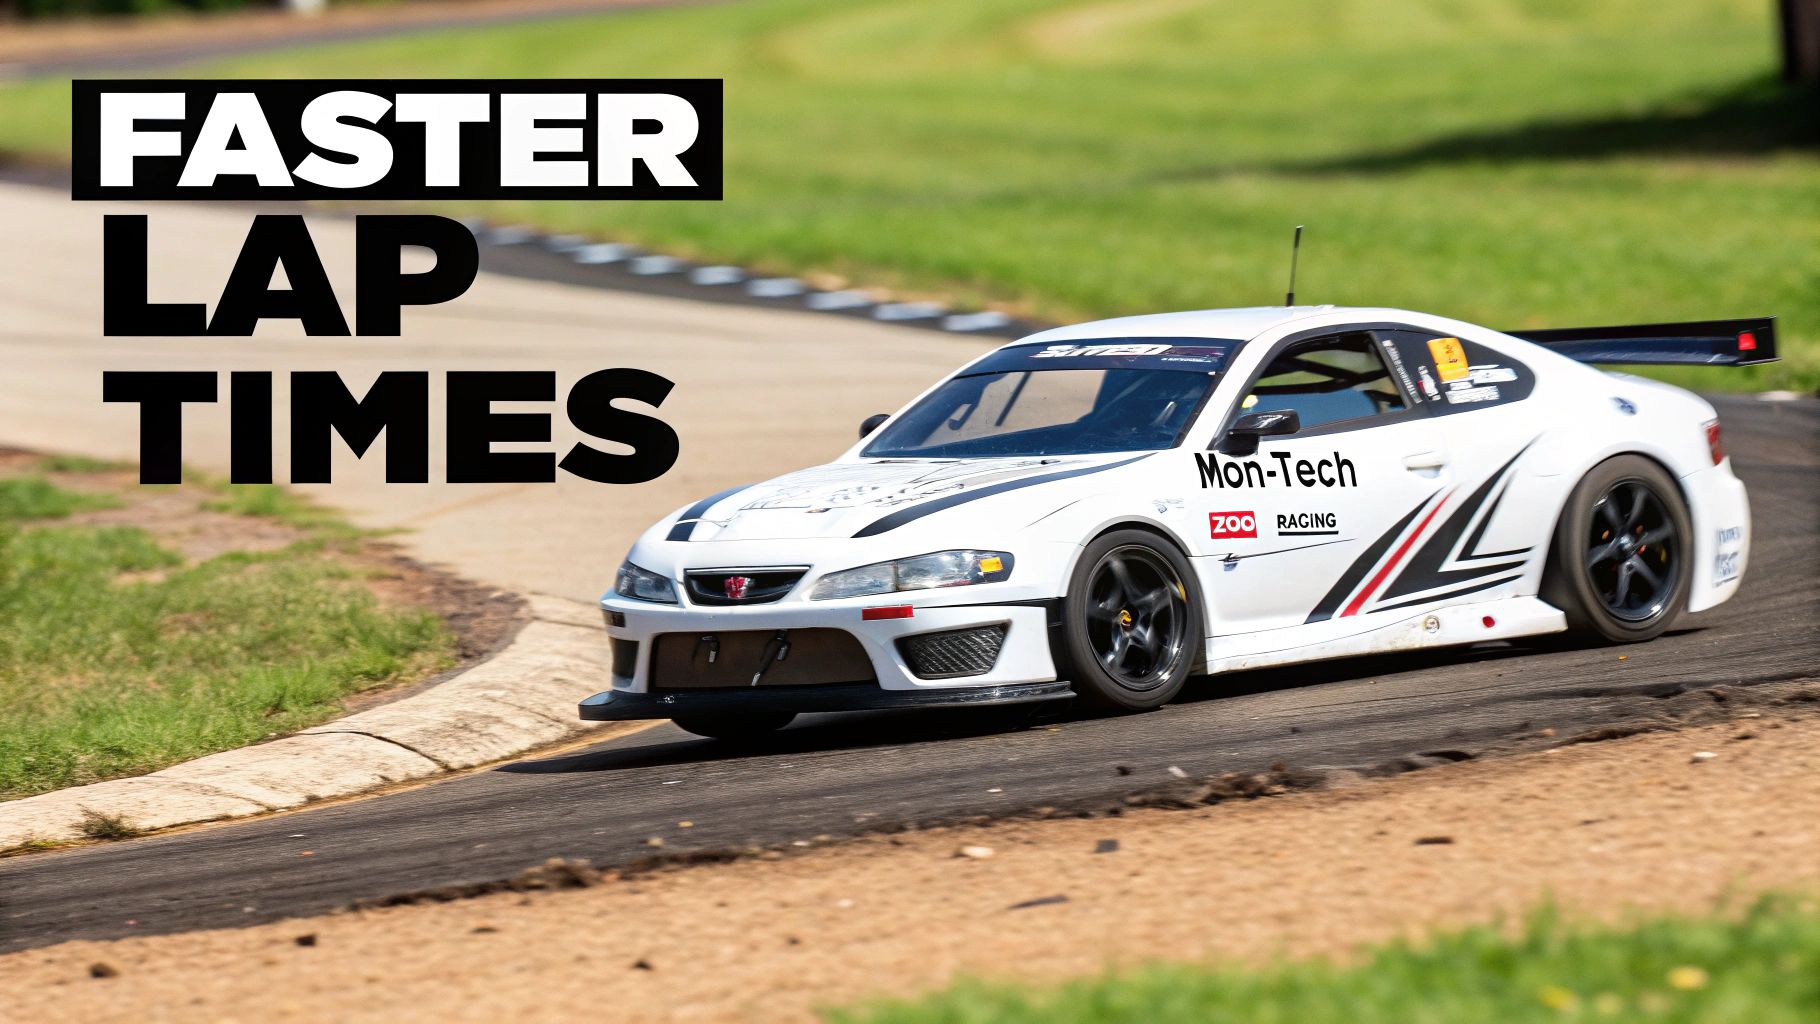
For any serious racer, every single part you choose is a step toward building a faster, more consistent car. We all focus on the motor, battery, and chassis, but that thin shell sitting on top is easily one of the most powerful tuning options you have. It’s not just for looks; it’s a piece of engineered equipment designed to manipulate airflow and completely change how your car behaves at speed.
It’s the exact same principle as the wings and bodywork on a full-scale Formula 1 or GT car. A super sleek, low-profile body will slice through the air with minimal resistance, giving you an edge on long straights. On the flip side, a body with aggressive scoops, sharp angles, and a big wing will generate massive downforce, literally pushing the tires into the track for insane grip through tight, technical corners.
The Role of Aerodynamics in RC Racing
Aerodynamics is just the science of how air moves around things, and for RC 1 10 bodies, it’s everything. As your car picks up speed, air pressure builds up across its surface. A well-designed body channels that airflow to produce very specific handling traits. The game is all about finding the perfect balance between two crucial forces:
- Downforce: This is the downward push created by the airflow. More downforce equals more tire grip, which means you can carry more speed through corners.
- Drag: This is simply the air resistance your car creates as it moves forward. Less drag means a higher top speed.
The real secret to a winning setup is matching the body’s aerodynamic profile to the track you’re on. A high-downforce body can make a car feel totally planted and predictable, while a low-drag body can give you that crucial speed advantage on a big, power-hungry layout.
From Shell to Performance Tool
Choosing the right body for your premium Awesomatix or XRAY chassis is the first step in turning raw power into controlled, usable speed. This is why brands like Mon-Tech and Zoo Racing put so much R&D into their shells—they’re engineered to provide specific benefits, whether it’s aggressive turn-in or rock-solid stability at the rear.
This guide will break down exactly how to select, prepare, and tune your RC body to get a real competitive edge. Understanding how the shape, material, and even how you mount it all work together is the key to shaving those precious tenths off your lap times and leaving the competition behind. Let’s dive into what separates a good body from a great one.
Choosing the Right Body for Your Racing Class
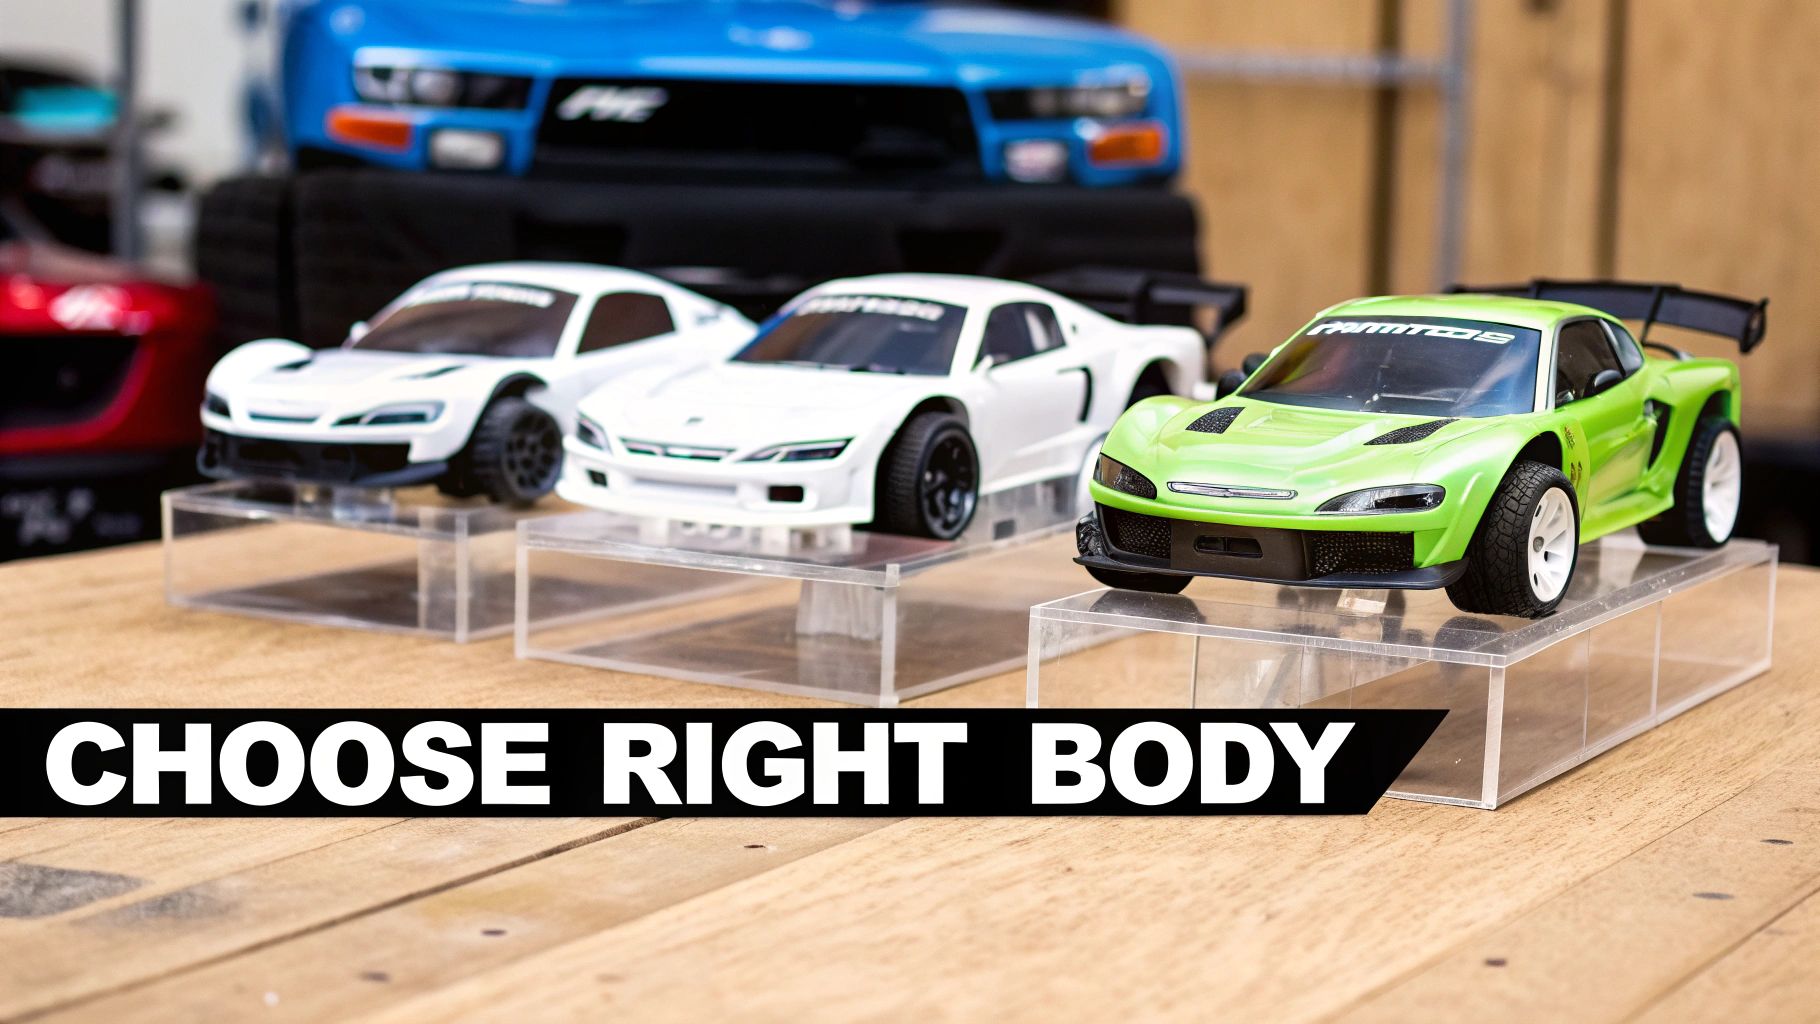
Choosing the right RC 1 10 bodies for your race car is far more than just picking a cool-looking shell. It’s a strategic choice, a lot like a race engineer selecting the perfect tire compound for changing track conditions. The body's shape directly controls how air flows over the chassis, creating aerodynamic forces that can make or break your performance.
Every single body style is engineered with a specific handling characteristic in mind. Some are built for aggressive, high-downforce grip on technical tracks, while others are all about low-drag speed on wide-open circuits. Understanding these differences is the key to matching a body to your driving style and the track you're up against.
Matching Aerodynamics to Track Conditions
On tight, technical circuits with high-grip surfaces like carpet, a high-downforce touring car body is your best friend. These bodies use aggressive front splitters, defined side dams, and steep wing angles to literally press the car onto the track. This extra grip gives you sharper turn-in and lets you carry more speed through the corners—essential for nailing those tricky sections.
Now, take that same body to a big outdoor asphalt track with long straights. All that downforce becomes a parachute. The drag will kill your top speed. In this scenario, a sleek, low-drag body is the only way to go. These designs have smoother lines and a lower profile to slice through the air with minimal resistance, making sure you don't get walked on the straights.
Think of it this way: a body with aggressive features gives you more cornering grip but a lower top speed. A smoother, low-drag body delivers higher straight-line speed at the cost of some cornering stability. The trick is finding the right balance for the track in front of you.
When you're choosing a body, it helps to know what you're looking at. Here's a quick breakdown of the common on-road styles we see at the track.
1/10 Scale RC Body Type Comparison
| Body Type | Primary Aerodynamic Trait | Best Suited For | Brands We Carry |
|---|---|---|---|
| Touring Car | High-downforce, aggressive steering | Tight, technical carpet or high-grip asphalt tracks | Zoo Racing, Mon-Tech |
| Low-Drag | Minimal downforce, maximum top speed | Large tracks with long straights, "outlaw" classes | Zoo Racing, Mon-Tech |
| FWD | Stable, balanced downforce | Front-wheel-drive touring car classes | Mon-Tech |
| GT12/Pan Car | High stability, efficient airflow | High-speed, flowing carpet or asphalt circuits | Mon-Tech |
Each of these styles offers a different feel on the track, and experienced racers often have a few of each in their pit box to adapt to changing conditions.
How Different Brands Influence Handling
Here at digital-rc, we stock top brands like Zoo Racing and Mon-Tech for a simple reason: they offer distinct and predictable handling characteristics. For example, a driver looking for razor-sharp steering and an aggressive front end might gravitate towards a specific Zoo Racing model known for that responsive feel.
On the flip side, if a track is making your car feel loose in the rear, a particular Mon-Tech body might be the perfect fix. Certain models are designed to channel more air over the rear wing, planting the back of the car and making it feel more predictable under acceleration. Finding what works is a huge part of fine-tuning your setup, and you can dive deeper in our comparison of RC car 1 10 bodies.
Your goal should be to build a small arsenal of different bodies. This allows you to adapt your car's aerodynamic profile for any challenge the track throws at you, giving you a competitive edge before the race even starts.
Why Body Material and Thickness Matter
When you're looking at the lineup of rc 1 10 bodies, it’s easy to focus on the shape. But the material itself—specifically the thickness of the polycarbonate—is a powerful tuning tool that completely changes how your car handles. Think of it like a runner choosing between a durable, everyday training shoe and a featherlight racing flat. Each one has a specific job.
The choice of body thickness is always a trade-off between weight and toughness. A heavier, more rugged body can take the knocks of close club racing, while a lighter shell gives a serious performance edge to competitive drivers. This decision directly impacts your car's centre of gravity and its overall agility on the track.
Understanding Body Weight Options
We stock bodies from Zoo Racing and Mon-Tech in different thicknesses because we know every gram counts. Each option offers a different balance of durability and raw performance, and figuring out what you need is key.
Here’s a breakdown of the common choices you'll find:
- Standard Weight (approx. 0.7mm): This is the workhorse. Its thicker polycarbonate gives you maximum durability, which is perfect for practice days or on tracks where a little rubbing is part of the racing. It’s the most forgiving option if you're just starting out.
- Lightweight (approx. 0.5mm): This is the sweet spot for most competitive racers. It shaves off a noticeable amount of weight, lowering the car's centre of gravity for better corner speed and quicker response, but without being so fragile you're afraid to race it.
- Ultra-Lightweight (approx. 0.4mm): This is for high-stakes competition, period. It's the lightest option you can get. The massive weight reduction gives you the sharpest handling imaginable, but it comes at the cost of durability and really needs a skilled driver to get the most out of it.
How Weight Affects Your Car's Handling
The weight of your RC body sits at the highest point on the chassis. That means any change you make up there has a huge effect on the car's centre of gravity (CG). For on-road racing, a lower CG is almost always the goal because it cuts down on body roll and helps the car change direction faster and more predictably.
Dropping from a standard to a lightweight body might only save you 20-30 grams, but because you’re taking that weight off the very top of the car, the performance gain feels massive. The car feels more planted, more nimble, and is less likely to traction roll on high-grip tracks.
So, which one is right for you? It all comes down to what you're trying to achieve. If you're a weekend club racer, the durability of a 0.7mm standard body just makes sense. It can take a few hits without cracking, saving you time and money.
But if you're a serious competitor hunting for that spot on the podium, the extra agility you get from a 0.5mm lightweight or 0.4mm ultra-lightweight body isn't just an option—it's a necessity. This choice is one of the most important tuning decisions you'll make.
A Pro's Guide to Prepping and Mounting Your Body
An unpainted 1/10-scale RC body holds pure potential, but getting it right takes precision. A poorly mounted body isn't just a cosmetic problem; it's a performance killer. It can cause tire rub, mess with your aerodynamic balance, and even get you disqualified from a race. For competitive racing, a perfect fit isn't optional—it's everything.
This guide will walk you through the essential steps to turn that clear shell into a perfectly prepped and mounted masterpiece. From clean trimming to precise hole reaming, these are the techniques pros use to get a factory finish, every time.
This diagram breaks down the choice between durability and performance when you're looking at body thickness.
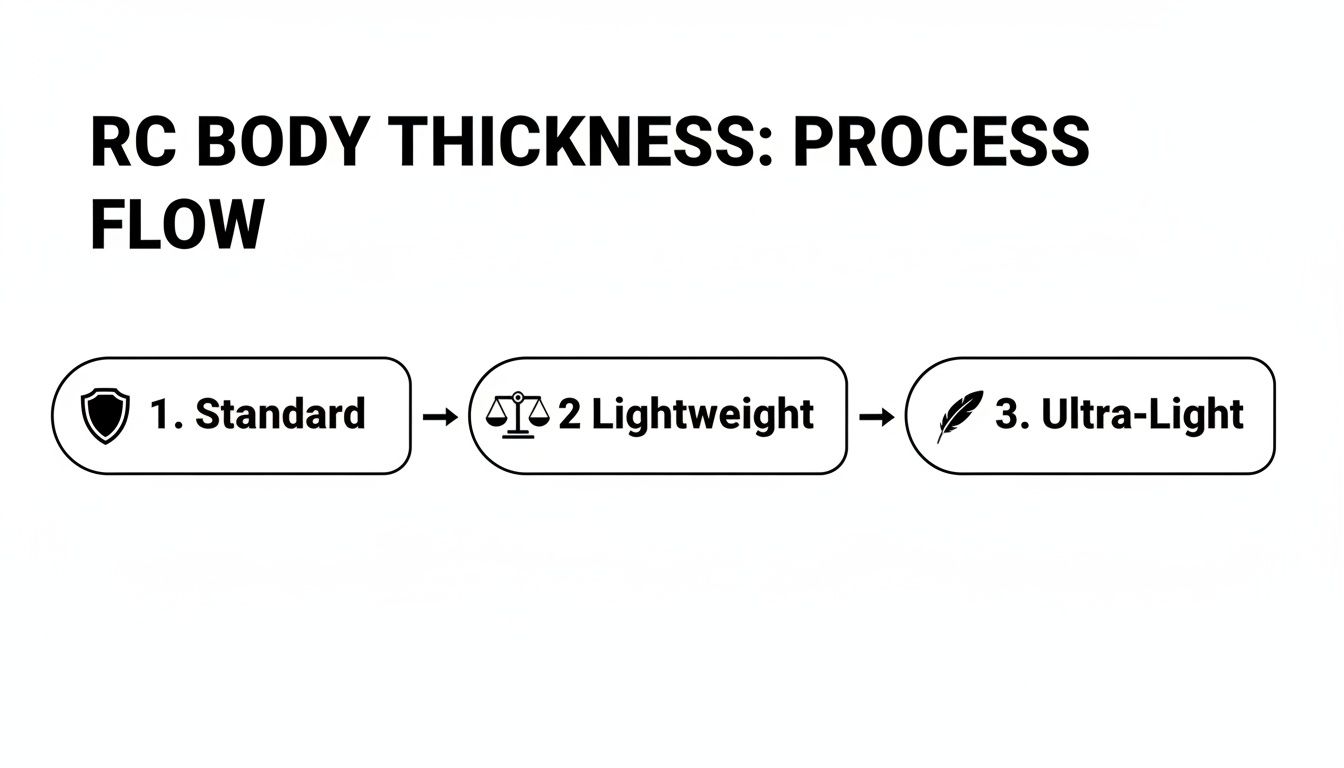
It clearly shows the trade-off. Standard bodies give you maximum protection, while the Ultra-Light options provide the ultimate competitive edge by shedding every possible gram.
Trimming for a Flawless Fit
The first step is also the most critical: cutting the body from its polycarbonate sheet. Rushing this will leave you with jagged edges or, worse, cracks that can ruin the whole shell. Pros use a simple but killer technique to get perfectly clean lines.
- Score the Cut Lines: Don't reach for scissors just yet. Instead, take a sharp hobby knife and lightly score along the moulded cut lines. You don't need to press hard; a light, consistent pass is all it takes.
- Gently Bend and Snap: After scoring, just gently bend the polycarbonate along the line. You'll be amazed—the material will snap away cleanly, leaving a perfectly straight edge that scissors just can't match.
- Use Curved Scissors for Wheel Arches: Now you can grab the scissors. For the curved wheel wells, a pair of curved Lexan scissors is the only tool for the job. They're designed to follow those contours without kinking or stressing the material.
A common rookie mistake is trying to cut the entire body with scissors. This puts a ton of stress on the polycarbonate and can lead to tiny stress fractures that grow over time. The score-and-snap method is your best friend for a clean, professional finish.
Reaming and Mounting with Precision
Once the body is trimmed, the next challenge is getting it mounted perfectly centred and level on the chassis. This is where patience really pays off. One misaligned hole can ruin all your hard work and negatively affect your car's handling on the track.
First, place the uncut body over your chassis and get the position exactly right. Make sure the wheel arches are perfectly centred over the tires and the body is sitting at your desired ride height. Then, from underneath the clear shell, use a fine-tip marker to mark the dead centre of each body post.
Now, it's time to make the holes with a body reamer. A reamer is a conical tool that cuts a perfectly round hole without cracking the polycarbonate—something a drill bit often fails to do.
- Start with a small pilot hole on your marked spot.
- Slowly twist the reamer with gentle pressure until the hole is just large enough for the body post to fit through snugly.
- Repeat for all posts, double-checking the alignment as you go.
Proper mounting is absolutely crucial for performance. For racers looking to maximize stability, upgrading to something like ultra-lite horizontal rear body mounts can be a significant advantage. Follow these steps, and your body won't just look professional—it'll function like a true performance component.
Painting and Tuning for Peak Performance
A wicked paint job on your rc 1 10 bodies is about more than just looking good on the track—it’s a critical part of your car’s performance. Every single layer of paint adds weight. And since it sits at the highest point on your car, a heavy paint job can raise the centre of gravity and kill your handling. The real goal is to get a vibrant, durable finish while keeping the body as light as you possibly can.
This all starts with using the right materials. Polycarbonate-specific spray paints, like the ones from Tamiya, are engineered to flex with the body and stick properly to the inside surface. Laying down several thin, even coats is always better than globbing on one or two thick, heavy layers. This method builds up rich colour without adding useless grams, making sure your car stays nimble and responsive. You can get more pro tips by checking out our guide on Tamiya spray paint.
The Final Step: Mounting the Body
Once your paint is fully cured, it’s time to mount the body and its aero components. This is where you pull everything together into one cohesive performance package. Getting the wing installed properly is a huge deal, as it's one of the most powerful tuning tools you have.
Most high-performance bodies from brands like Mon-Tech and Zoo Racing come with the hardware you need to mount the rear wing. Make sure it's fastened securely, sits perfectly straight, and isn't warped at all. Even a slightly crooked wing can create inconsistent handling and make the car unpredictable at high speeds.
Your rear wing is not a set-it-and-forget-it part. Think of it as an adjustable dial for your car's rear grip. Small tweaks to its angle or position can have a massive effect on how the car feels, especially through fast, flowing corners.
Tuning Your Wing for Maximum Grip
The position and angle of your rear wing directly control how much downforce it generates. More downforce plants the rear tires to the track, giving you more stability and grip, but it also creates more drag, which can scrub off top speed. Finding that sweet spot is everything.
Here’s how different adjustments change the car's behaviour:
- Wing Position (Forward/Backward): Moving the wing forward generally makes the car's rear end feel more eager to rotate. Shifting it back increases rear stability, making the car feel more planted, especially on corner exit.
- Wing Angle: A steeper wing angle creates more downforce, giving you maximum rear grip for high-traction surfaces or tight, technical sections. A flatter angle reduces both downforce and drag, which is perfect for big, high-speed tracks with long straights.
This is the kind of fine-tuning that separates a good setup from a great one. The RC racing scene is a global passion, with market reports showing huge interest across North America and beyond. You can read more about the global remote control cars market trends to see just how much the hobby is growing. By mastering these final tuning steps, your finished body becomes a true performance asset, ready to help you shave those precious seconds off your lap times.
Answering Your Top RC Body Questions
When you're chasing those last few tenths of a second, the world of RC 1 10 bodies can feel complex. A lot of questions pop up, from picking the right shell for a specific track surface to knowing exactly when it's time for a replacement.
Getting the right answers makes a huge difference. This section breaks down the most common questions we hear from racers, with clear advice you can apply directly to your racing program.
Which Body Is Best for a High-Grip Carpet Track?
On a high-grip carpet track, your number one enemy is traction roll. You need a body that keeps the car stable and prevents it from flipping when the grip level is maxed out.
The solution is to find a body with a less aggressive front end and more pronounced rear downforce to plant the car. Look for models from top brands like Zoo Racing and Mon-Tech, especially those described by the manufacturer as having 'high stability' or being 'less aggressive'. A standard (0.7mm) or lightweight (0.5mm) body is usually the sweet spot here. Ultra-light bodies can feel too twitchy on high-bite surfaces, making the car a real handful to drive consistently.
How Often Should I Replace My Race Body?
For a competitive racer, a body's lifespan is all about performance, not just whether it’s still in one piece. While it might look fine from the pit table, its aerodynamic integrity is what really matters on the track.
You should replace your body as soon as it shows signs of significant aerodynamic damage. This isn't just about big crashes. It includes things like warping from heat, small cracks near key aero features, or any flexing that creates inconsistent handling lap after lap. Many top drivers keep two bodies: a fresh one reserved for the mains and an older, beat-up one for practice. This saves their best equipment for when it truly counts.
Think of an RC body as a consumable performance part, just like your tires. Once its aerodynamic shape is compromised, it can't deliver the consistent downforce and handling you need to be competitive.
Does the Weight of a Paint Job Really Matter?
Yes, it absolutely does. In the ultra-competitive world of on-road RC racing, every single gram counts. A complex, multi-layered paint job adds a surprising amount of weight right at the highest point of the car.
This directly raises its centre of gravity, which hurts cornering speed and makes the car feel less responsive. It’s why you see pro racers running simple, lightweight one or two-colour schemes. Their goal is to keep the body as light as possible, maintain a low CG, and squeeze every ounce of performance out of their setup.
What Does It Mean When a Body Is EFRA or ROAR Approved?
These are the official stamps of approval from the major governing bodies in RC racing—EFRA (European Federation of Radio Operated Automobiles) in Europe and ROAR (Remotely Operated Auto Racers) in North America. For a body to be legal for sanctioned championship events, it has to meet a strict set of dimensional rules.
Manufacturers submit their new RC 1 10 bodies to these organizations to get them homologated for competition. We always try to note which of our models are approved in their descriptions. If you plan on competing in major sanctioned races, running an approved body isn't just a good idea—it's mandatory to pass tech inspection.
Ready to find the perfect body for your chassis and track conditions? At digital-rc, we stock a curated selection of race-proven bodies from the world's leading brands. Explore our collection and find your competitive edge today. Visit us at https://digitalrc.ca.