

How to Master Your RC Car Kit to Build
There's nothing quite like cracking open a new rc car kit to build. It's that first step from a box of carefully engineered parts to a high-performance machine ready for the track. This is where races are won and lost before you even plug in a battery. Every screw, every drop of shock oil, every detail matters.
This guide is for Canadian racers who are serious about building to win.
From a Sealed Box to a Podium-Ready Race Car
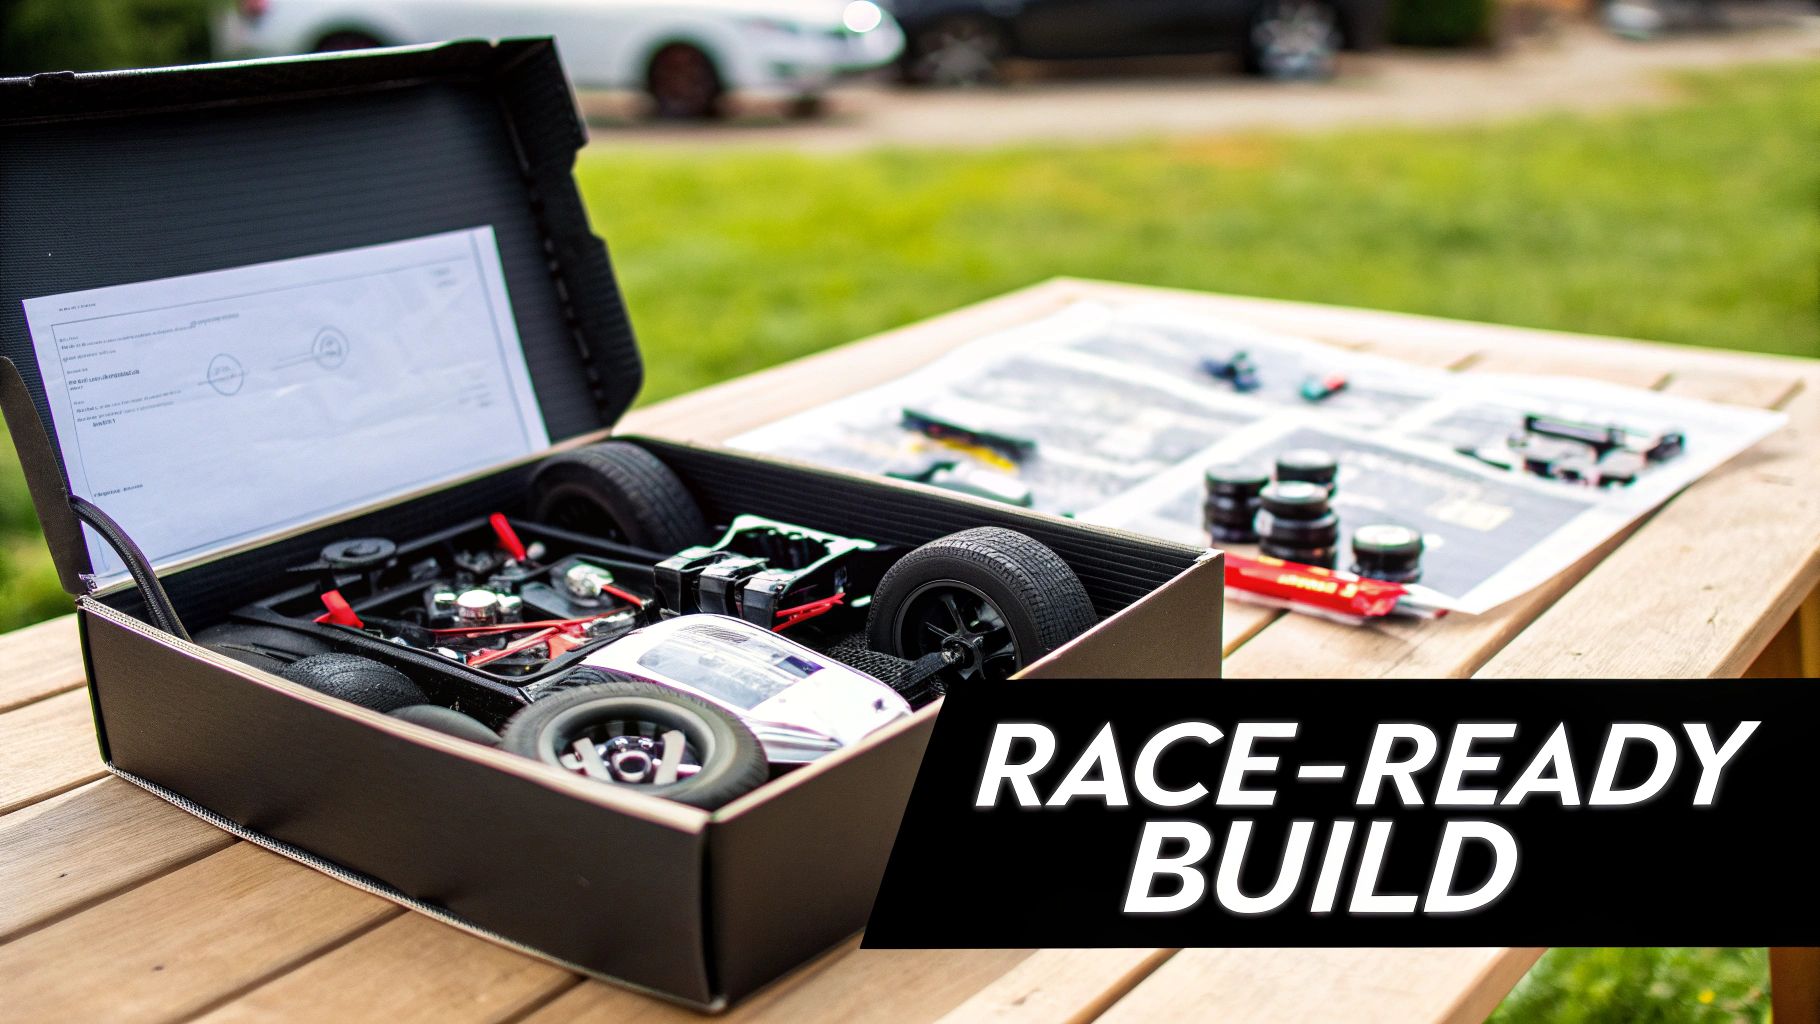
Assembling a proper race kit is a world away from a ready-to-run model. This hands-on process gives you an intimate understanding of your car's mechanics—a massive advantage when you need to make a quick setup change between heats.
We're going beyond the standard instruction manual here. This is a real-world walkthrough for building a competitive 1/10 touring or 1/12 pan car, packed with the insider techniques that turn a pile of parts into a razor-sharp, race-ready vehicle.
Setting the Stage for a Winning Build
A successful build starts with a plan. Before you even tear open that first parts bag, you need to understand the components that will bring your chassis to life. This isn't just about following steps; it's about making strategic choices from the get-go.
We’ll show you how to:
- Pick the right electronics from proven, race-winning brands like Hobbywing and Team Powers.
- Master the assembly of top-tier chassis from Awesomatix and XRAY.
- Prep your car for its first shakedown on the track with total confidence.
Getting this component synergy right is what separates a good build from a great one. The Canadian RC racing scene is full of dedicated enthusiasts who know this level of detail is non-negotiable. In fact, hobbyists account for over 40% of RC purchases, and the trend is clear: serious racers overwhelmingly prefer high-performance kits over mass-market models for that crucial competitive edge. You can dig into the RC hobby market's growth for more on that.
A well-built car is a consistent car. Consistency on the track comes from eliminating variables during the build, ensuring every part moves freely and every setting is exactly where you want it.
Our journey begins here. We're turning that sealed box into a machine that doesn’t just run—it wins. With the right parts from Digital-RC and the right approach, you’ll have everything you need, including fast, tax-free delivery right across Canada.
Choosing Your Tools and Powerplant
Any great race car build doesn't start with the first bag of parts—it starts with getting organized. Setting up a clean workspace and gathering the right tools isn't just a suggestion; it's the first step to a clean, precise build. You'll save yourself a world of frustration by ditching the mismatched Allen keys and investing in quality equipment.
The right tools are what separate a smooth, enjoyable build from a nightmare of stripped screws and damaged parts. A good soldering iron is non-negotiable for reliable electronics, and specialized gear like shock pliers prevents you from marring delicate components. Think of it as a long-term investment in your racing program.
Assembling Your Essential Toolkit
Before a single screw is turned, get your pit space in order. A well-organized bench saves time and prevents silly mistakes. While every kit has its quirks, a solid baseline of tools will carry you through just about any 1/10 or 1/12 scale build you tackle.
I've put together a checklist of the essential tools and electronics you'll need to build a competitive 1/10 or 1/12 scale car. These are the items I recommend having on hand before you even open the box.
Essential Tools and Electronics for Your RC Build
| Category | Item | Key Consideration / Recommended Brand | Why It's Important |
|---|---|---|---|
| Hand Tools | High-Quality Hex Drivers (1.5mm, 2.0mm, 2.5mm) | MIP or XRAY are excellent choices | Prevents stripped screw heads and ensures proper torque. Don't cheap out here. |
| Hand Tools | Nut Drivers (5.5mm, 7.0mm) | Protek or XRAY | Essential for wheel nuts and other M3/M4 hardware. |
| Specialty Tools | Shock Pliers | Protek or XRAY | Grips shock shafts and bodies without scratching the surface, ensuring a leak-free build. |
| Specialty Tools | Digital Calipers | Any decent quality digital set | Absolutely critical for setting precise turnbuckle lengths and checking shim thickness. |
| Assembly | Soldering Station | At least 60W with adjustable temp | A must-have for clean, strong connections on your motor, ESC, and battery plugs. |
| Assembly | Hobby Knife & Side Cutters | X-Acto, Tamiya | For cleanly trimming plastic parts from trees and cutting wires to length. |
| Electronics | Motor | Team Powers | A top choice for both spec and modified classes, offering a great balance of power and efficiency. |
| Electronics | ESC (Electronic Speed Control) | Hobbywing | Known for reliability, smooth power delivery, and extensive tuning options. |
| Electronics | Battery | Team Powers or Maclan Racing LiPo | The "fuel tank" of your car. A high C-rating delivers strong, consistent power. |
| Electronics | Servo | Power HD or SRT Low-Profile | A fast, high-torque servo is vital for the precise steering control needed in racing. |
| Electronics | Receiver & Transponder | Match your radio; AMB/MyLaps for transponder | Your receiver links your radio to the car, and a personal transponder is needed for official race timing. |
Having these items ready to go means you can work through the build efficiently and without interruption. It makes a huge difference in the quality of the final car.
Selecting Your Power System and Electronics
With your tools laid out, it's time for the exciting part: choosing the heart of your machine. Your electronics package—the motor, ESC, battery, and servo—is what defines your car's personality on the track. These components need to work together as a balanced system to deliver controllable, competitive power.
Your electronics package isn't just a random collection of parts; it's a carefully matched system. The goal is to align each component with your racing class and driving style to get maximum performance and, just as importantly, reliability.
For spec classes, the choice is pretty straightforward since the rules dictate what you can run. You'll typically be looking at a 17.5T or 21.5T motor paired with a "blinky" mode ESC. For these setups, a Hobbywing ESC is a proven performer, delivering smooth power and rock-solid reliability, often matched with a Team Powers motor.
Modified racing gives you a lot more freedom, but that also means more ways to get it wrong. The secret is balance. Throwing a ridiculously powerful motor into a chassis can easily overwhelm the tires and make the car nearly impossible to drive. It's about finding usable power. For a deeper dive into this, check out our guide on how to choose the right motor for your RC car.
By selecting compatible, high-quality components from trusted brands, you're giving your rc car kit to build the reliable, high-performance foundation it needs to be quick right out of the box.
Building the Core Chassis and Drivetrain
With your bench cleared and your electronics picked out, this is where the pile of parts in your rc car kit to build begins to look and feel like a real race car. This stage is all about putting together the mechanical heart of your machine—the chassis, drivetrain, and suspension. Think of the instruction manual as your map, but the real secrets to a fast, reliable car are in the details that aren't always written down.
The precision you build in now is what translates to predictable handling on the track. From applying the perfect drop of thread-lock to making sure every part of the drivetrain spins with zero friction, your attention to detail here will pay you back big time later on.
Here’s a simple flow to keep in mind as you get ready to build, moving from your workspace setup to tool selection and finally to your electronics.
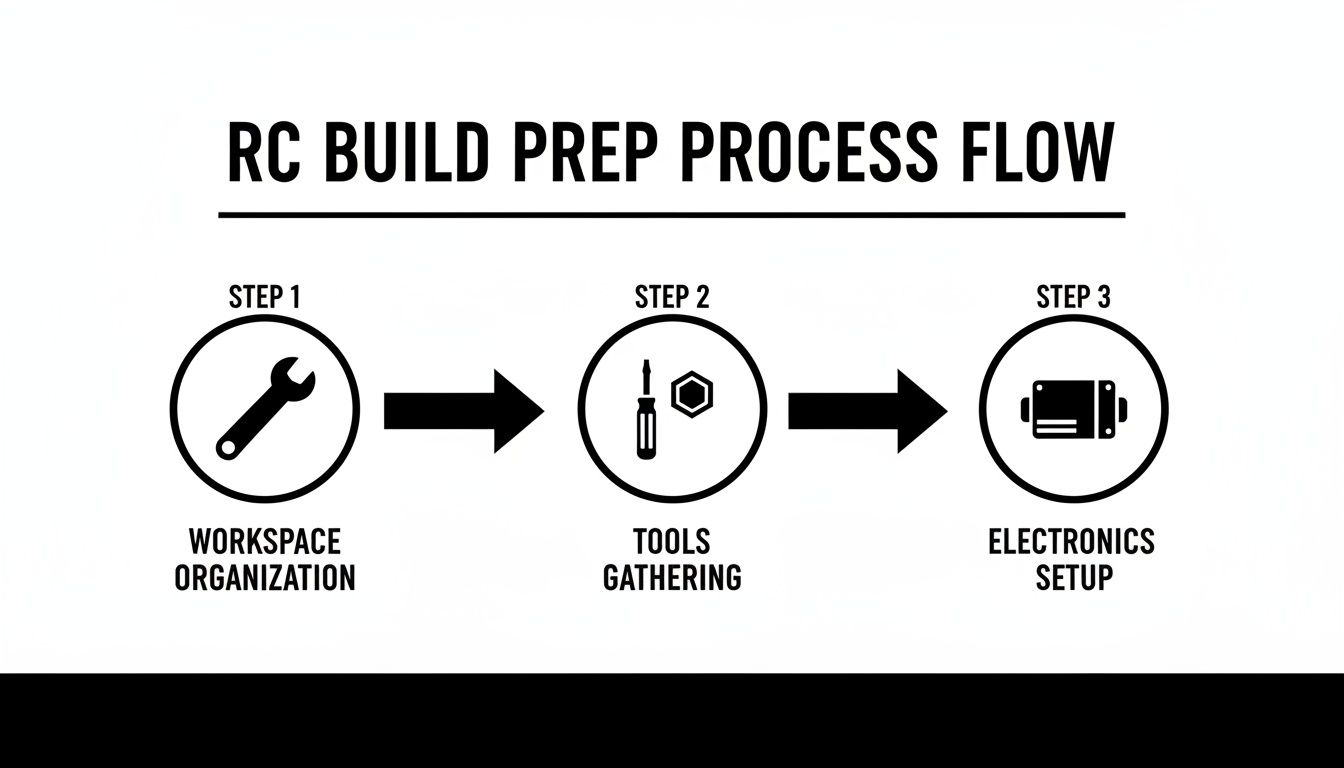
This visual is a good reminder that a successful build is just a sequence of well-prepared steps. It all starts with your environment and tools before you even touch a single component.
Assembling the Chassis Foundation
The chassis is the backbone of your car. For high-performance kits like the XRAY X4 or an Awesomatix A12, you'll be working with beautifully machined carbon fibre and aluminum parts. Your first job is prepping those carbon fibre plates.
Many top-level builders seal the edges of their carbon fibre chassis plates with cyanoacrylate (CA) glue. It's a simple step, but it prevents the carbon from splitting or delaminating in a hard crash, which can save your chassis. Just apply a thin, even layer around all the exposed edges with a cotton swab and let it dry completely.
Once that’s done, you can start mounting the bulkheads and motor mount. This is the first place you’ll reach for the thread-locking compound.
Pro Tip: Use a tiny dab of blue thread-lock on the threads of any screw going from metal into metal. This stops vibrations from loosening critical parts like your motor mount mid-race, which could instantly end your day. A little goes a long way—you only need enough to coat the first few threads.
When tightening the bulkheads, follow the manual's sequence. Always tighten screws in a cross pattern, just like you would on a real car's tire. This ensures even pressure and stops the chassis from tweaking, which is absolutely critical for consistent handling.
Building a Flawless Drivetrain
A free-spinning, efficient drivetrain is non-negotiable for competitive racing. Any friction or binding here robs your car of top speed and runtime. The two most important assemblies are the differential and the spur gear.
For a gear differential, common in 1/10 touring cars like the XRAY X4, a meticulous build is the secret.
- Inspect the Gaskets: Before you do anything, check that the main gasket is perfectly flat and has no weird molding imperfections. A dodgy gasket is the number one cause of a leaky diff.
- Use the Right Fluid: Fill the differential with the recommended weight of silicone diff fluid. If you overfill it, it'll bind up and leak under pressure. A good rule of thumb is to fill it just until the fluid covers the small internal cross pins.
- Smooth Operation: After sealing the diff, turn the outdrives by hand. It should feel buttery smooth with consistent resistance, not gritty or tight.
If you're building a 1/12 scale pan car like the Awesomatix A12, you'll have a solid axle with a spur gear. Mount it carefully to ensure it runs perfectly true. A wobbly spur will cause inconsistent gear mesh and chew up your gears.
Eliminating Drivetrain Binding
With the core drivetrain assembled, it’s time to go on a hunt for any binding. This means checking every single rotating part for unwanted friction.
Start by installing the belts or driveshafts. With the motor still out of the car, spin the centre pulley or spur gear by hand. The entire drivetrain—from the centre right out to the wheel axles—should spin for several rotations with just a light flick of your finger.
If it doesn't, you need to find out why. Is a belt too tight? Is a bearing gritty? A common culprit is over-tightening the screws on a diff or bearing holder, which can pinch the bearings and cause them to bind. Loosen them just a touch and check again.
Constructing the Suspension System
With the chassis and drivetrain taking shape, it's time to build the suspension arms and turnbuckles. These parts determine how your car connects with the track, so their movement has to be perfectly free.
When assembling plastic suspension arms on their hinge pins, you might find the fit is a little snug. Don't just force it. Use a specialized tool called an arm reamer to clean out the hinge pin holes. The goal is simple: the arm should fall under its own weight when you hold the hinge pin level.
Building turnbuckles is all about precision. Use your digital calipers to set the length of each link exactly as the manual's setup sheet recommends. This initial measurement is your baseline for camber and toe settings later. Being off by even 0.5mm can have a noticeable effect on handling. Getting this right now makes trackside tuning way easier and more repeatable.
By taking your time and focusing on these small but critical details, you're building more than just a car—you're building a consistent, predictable, and ultimately faster racing machine. This meticulous assembly is the foundation for everything to come.
With the chassis built and the drivetrain spinning freely, your car is starting to look like a proper racer. Now it's time for the two steps that really separate a good build from a great one: assembling the shock absorbers and installing the electronics.
This is where your patience and attention to detail really pay off. A perfectly matched set of four shocks is the secret to predictable handling, while a clean electronics layout boosts reliability and makes trackside adjustments much easier.
The Art of the Perfect Shock Build
The mission here is simple but critical: build four identical shocks with zero air bubbles and the exact same rebound. Air trapped in the shock oil is the enemy of consistency. It creates unpredictable damping that will make the car feel twitchy and unstable, especially when you're pushing hard through corners or over bumps.
Fortunately, modern kits from brands like XRAY and Awesomatix come with beautifully machined shock components that make the job easier. Your task is to assemble them with precision.
Start by laying out the parts for one shock on a clean pit towel. Before installing the o-rings in the shock cartridge, put a little shock oil or green slime on them. This tiny step is huge—it helps them seal perfectly and keeps them from tearing during assembly.
A classic rookie mistake is cranking down on the lower shock cartridge cap. Overtightening it will squeeze and distort the o-rings, making the shock shaft bind up and causing leaks down the road. Just tighten it until it’s snug; no need to go crazy.
Once the cartridge is together, slide the shock shaft through. You're looking for a silky-smooth action with just a tiny bit of resistance from the o-rings. If you feel any grittiness or binding, stop. Figure out what's wrong before you move on.
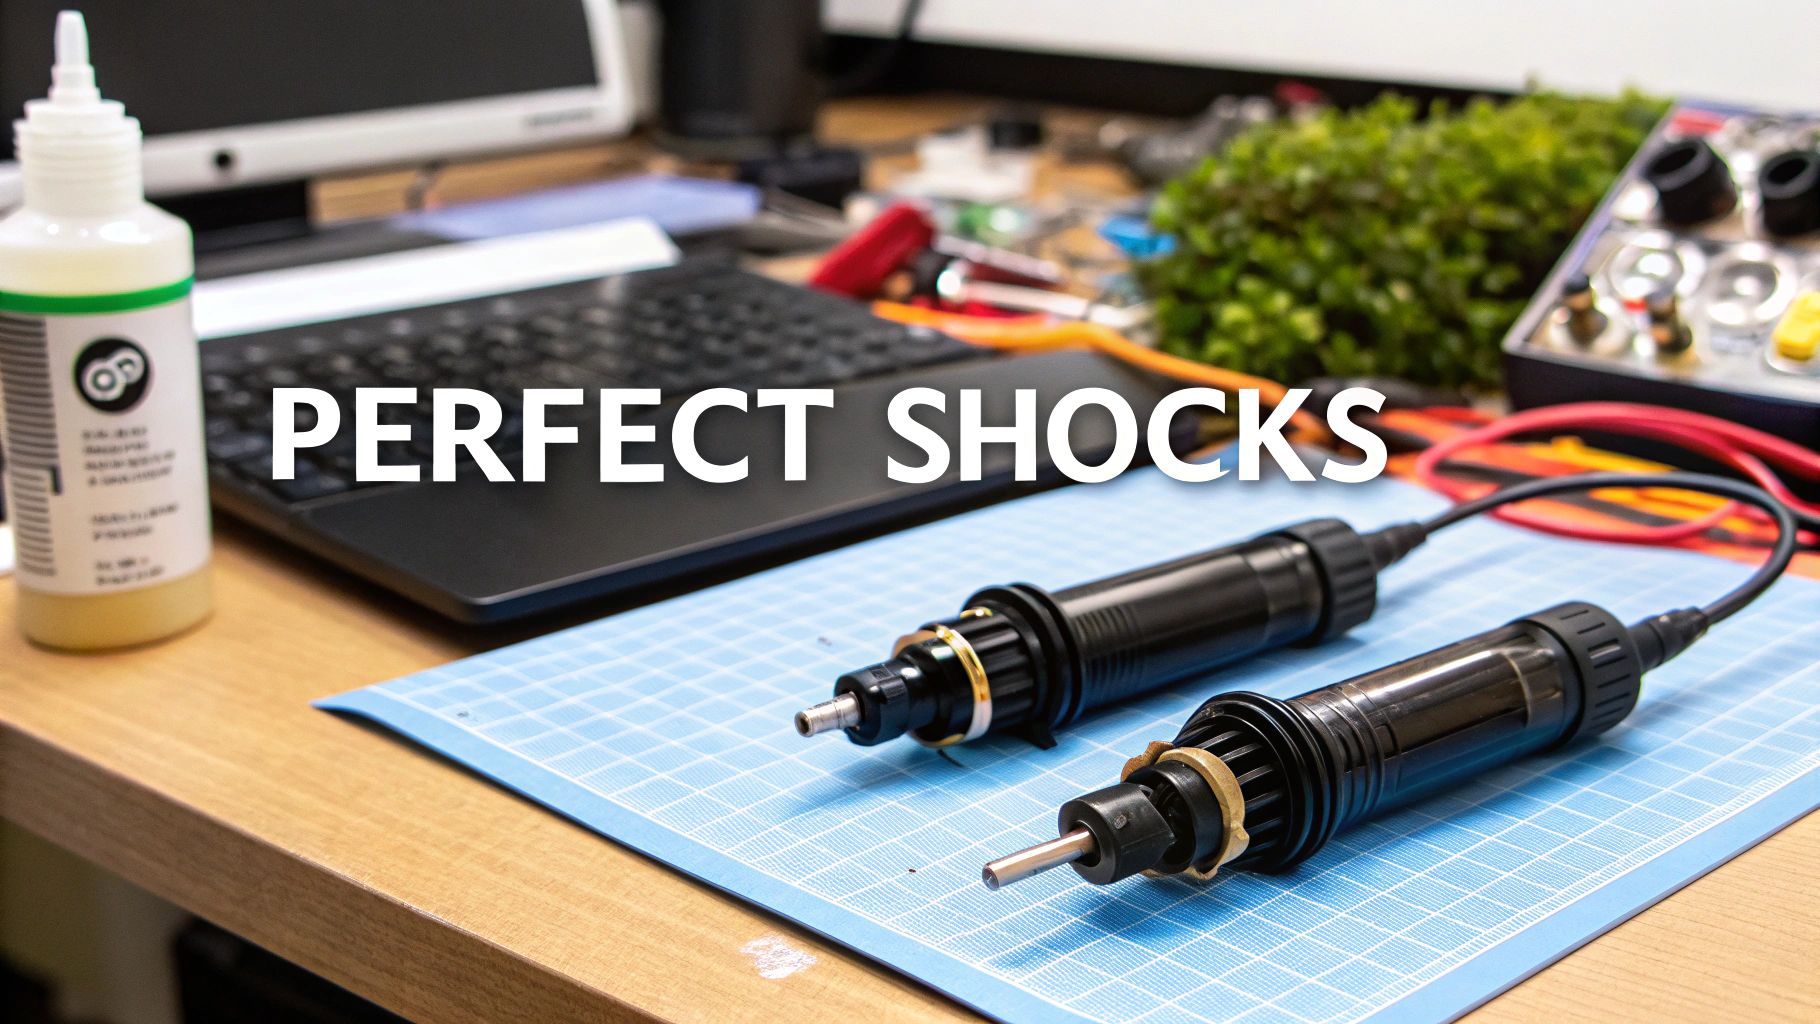
Filling and Bleeding Shocks for Consistency
Now for the most important part: filling the shocks. Get a shock stand or something to hold the shock body upright, and fill it with your chosen silicone shock fluid, leaving about 5mm of air at the top.
Slowly move the shaft up and down a few times. This helps work out any air bubbles trapped under the piston. You’ll see them rise to the surface. Now, let the shock sit for 10-15 minutes. Don't rush this step—letting all the tiny air bubbles escape is essential for a consistent build.
Once the oil is clear, you can top it off and start the bleeding process.
- Set Your Rebound: Push the shock shaft all the way in. For on-road touring cars, a good starting point is between 25% to 50% rebound. This means when you let go of the fully compressed shaft, it should extend back out on its own by that amount.
- Install the Cap: Carefully place the shock cap or bladder on top of the shock body. A little bit of oil should seep out the sides—that’s a good sign it means there’s no air left inside.
- Tighten It Up: While holding the shaft at your desired rebound position, screw the shock cap on. Check the rebound again. If it has too much, crack the cap open a tiny bit, push the shaft in a little more to bleed out more oil, and re-tighten.
Do this for all four shocks, comparing them as you go. They need to feel identical. When you push two shocks against each other, they should compress and rebound in perfect sync. That’s your goal.
Planning Your Electronics Layout
With the shocks done, it’s time to give your car its brain. A clean, well-planned electronics layout is critical for achieving the right weight balance, which has a massive impact on handling. Before you even touch the double-sided tape, do a test fit with your servo, ESC, receiver, and transponder.
Place the components on the chassis and think about how you'll run the wires. You want the wires to be as short as possible, tucked away from any moving parts like belts or driveshafts, and positioned to keep the car balanced left-to-right. If you have corner weight scales, now is the time to use them. If not, you can get surprisingly close just by feel.
Clean Wiring and Soldering for Reliability
A tidy wiring job is a reliable one. Measure your motor and battery wires twice before you cut them. Wires that are too long can get snagged in the drivetrain, but wires that are too short will put stress on the solder joints and eventually break.
Always use high-quality silicone wire and connectors. When you’re soldering, make sure your iron is hot enough—around 370-400°C (700-750°F) gets the job done quickly. You're looking for a strong, shiny solder joint. A dull, cold joint is brittle and will fail from vibration. If you want to dive deeper into this, you can learn more about your RC Electronic Speed Control in our detailed guide.
Final Mechanical Touch: Setting the Gear Mesh
The very last mechanical step before calibrating everything is setting the gear mesh. This is the critical spacing between the pinion gear on your motor and the spur gear on the drivetrain.
Get this wrong, and you'll be destroying gears in no time.
- Too Tight: The mesh will bind, creating friction and heat. This robs you of power and can even melt your spur gear.
- Too Loose: The gear teeth won't engage deeply enough, causing them to strip under heavy acceleration or braking.
To get it right, slide the motor so the pinion just touches the spur. You should be able to feel a tiny bit of "tick-tick" backlash when you rock the spur gear back and forth while holding the pinion still. The old-school trick still works great: place a small strip of regular paper between the gears, push them together firmly, and then tighten the motor screws. Pull the paper out, and the tiny gap it leaves is usually a perfect mesh.
With your shocks built like a pro and your electronics installed cleanly, your race car is really taking shape. These are the meticulous steps that create a consistent, reliable platform that’s ready for the fun part: setup and tuning.
Final Setup and Pre-Race Checks
Your rc car kit to build is now a fully assembled, rolling chassis, but the real work is just beginning. This is where you transform a collection of high-quality parts into a finely-tuned racing machine that actually performs on the track. Think of this stage as giving your car its track personality.
The final setup process is all about dialling in the four pillars of handling: camber, caster, toe, and ride height. Getting these settings right is what separates a good car from a great one. It’s what allows you to carry speed through corners, put power down efficiently, and have the car respond instantly to your inputs.
Dialing in Your Chassis Geometry
First things first, you need a dedicated setup station. This tool is non-negotiable for competitive racing. It lets you measure and adjust your car's geometry with a level of precision you simply can't achieve by eye. You'll be focusing on a few key adjustments that all work together to define how your car behaves.
- Ride Height: This is simply the distance between the chassis and the ground. Lowering it generally reduces body roll and improves handling on smooth surfaces, but go too low and the chassis will slap the track. A solid starting point for most 1/10 touring cars is between 5.0mm and 5.5mm.
- Camber: This is the angle of your tire when you look at the car from the front. Negative camber—where the top of the tire leans inward—helps maximize the tire's contact patch during hard cornering. Start with around -1.5 to -2.0 degrees.
- Toe: This refers to the angle of the tires when viewed from above. Toe-in at the rear adds stability under power, while a little toe-out at the front can sharpen your car's initial turn-in.
- Caster: This is the angle of the steering pivot. More caster adds high-speed stability but can make the steering feel a bit heavy on entry.
Always make small, incremental changes. Remember that adjusting one setting often influences another, so double-check everything after a change. Your kit’s setup sheet is the perfect baseline, but don't be afraid to experiment to find what suits your driving style and the track conditions.
Mastering Tire Preparation
Your tires are, without a doubt, the single most important performance component on your car. They are your only connection to the track. Proper preparation is absolutely essential for unlocking maximum grip and consistency lap after lap.
It all starts with getting the gluing process right. The goal here is to create a rock-solid bond between the rubber tire and the wheel that won't break loose under the extreme side-loads of racing. Use a high-quality CA glue made for RC tires. A common rookie mistake is using way too much glue, which just makes the tire bead brittle and prone to cracking. A thin, even bead is all you need. Use tire bands to hold everything tight while it cures.
A poorly balanced tire will create performance-robbing vibrations at high speeds, making the car feel unstable and putting extra strain on bearings and suspension components. A simple tire balancer is a small investment that pays huge dividends in on-track performance.
Balancing is the crucial next step. Stick a small amount of modelling clay or balancing putty on the inside of the wheel, opposite the heavy spot, until it spins smoothly without any wobble. For a deeper dive into this process, check out our complete guide on RC car tires.
Body Mounting and Final Checks
With the chassis dialled in and your tires prepped, it's time for the final touches. When you're cutting and painting your Mon-Tech or Zoo Racing body, pay close attention to clearance. You need to make sure the body doesn't rub on the tires at full suspension compression or when you're at full steering lock. Mount it as low as you can without it interfering to get that centre of gravity down.
Before you ever put the car on the track, a comprehensive pre-flight check is mandatory. This quick routine will save you from easily avoidable DNFs and frustration.
- Hardware Check: Go over every single screw on the car, especially in the suspension and drivetrain, and make sure everything is snug.
- Electronics Calibration: Turn on your radio, then the car. Recalibrate your ESC to your radio's throttle and brake endpoints. This guarantees you get full power and consistent braking every time.
- Steering Check: Verify your steering trim is perfectly centred. Check that your dual-rate and endpoints are set to allow maximum steering throw without binding the servo.
- Final Look-Over: Do one last check for any binding in the suspension or drivetrain. Make sure your battery is strapped in tight and your transponder is working.
After following this meticulous process, your car is no longer just a kit. It's a prepared, tuned, and reliable racing platform ready to hit the track and compete.
Common Questions About Your RC Car Kit Build
Even with the best instructions in front of you, questions are going to come up when you're building a new rc car kit. It’s just part of the process, whether it's your first build or your fiftieth. This section covers some of the most common things we get asked, pulling from years of trackside experience.
Think of this as your quick-reference guide for those little hurdles that can make a big difference. Nailing these details is what separates a good car from a great one.
What Are the Most Common Mistakes to Avoid Building My First Kit?
Honestly, the biggest mistakes almost always come from rushing. A classic one is over-tightening screws, especially into carbon fibre or plastic parts. It's so easy to strip a hole or crack an expensive component before you've even turned a lap. On the flip side, forgetting to use thread-lock on metal-to-metal screws is just as bad—vibrations will find a way to back those out, guaranteed.
Another common pitfall is not giving the differential and shocks the attention they deserve. If your diff leaks or your shocks aren't perfectly matched, you’ll be chasing a setup that’s inconsistent and impossible to tune. The car will never feel right.
My single best piece of advice is to slow down. Read each step in the manual, then read it again. Before you move on, make sure every moving part is completely free, with zero binding. A patient build is a fast build on the track.
How Do I Choose the Right Motor and ESC?
This is a big one, and the answer is almost always dictated by the rules for the class you plan to race. You have to know what you're building for before you start buying electronics.
- Spec Classes: These are the most common at the club level and have strict rules. You'll likely need a specific motor, like a 17.5T or 21.5T, and an ESC running in an approved "blinky" mode (which means no electronic timing advance). For this, a Hobbywing ESC and a Team Powers motor are benchmark choices we stock because they're proven winners.
- Modified Classes: This is where you have a lot more freedom. But it's still about putting down usable power, not just stuffing the lowest-turn motor you can find into the chassis.
Always, always check your local club's rulebook first. It’s the only way to make sure your investment is legal for race day.
What Essential Spare Parts Should I Have on Hand?
No matter how carefully you drive, crashes happen. It’s a part of racing. Being ready with a small box of the right spares means a minor tap won't end your day prematurely.
For any new car, I always recommend having a spare set of front and rear suspension arms, along with steering knuckles and C-hubs. These are the parts that take the brunt of most impacts. A spare spur gear is also a cheap and very smart piece of insurance to keep in your pit box.
At digital-rc, we stock all the factory parts you need to be prepared. You can easily add these essential spares to your kit order and show up at the track with the confidence that you're ready for anything. Explore our complete collection of kits, electronics, and parts at https://digitalrc.ca.